Kitchen Island ButcherBlock Countertops
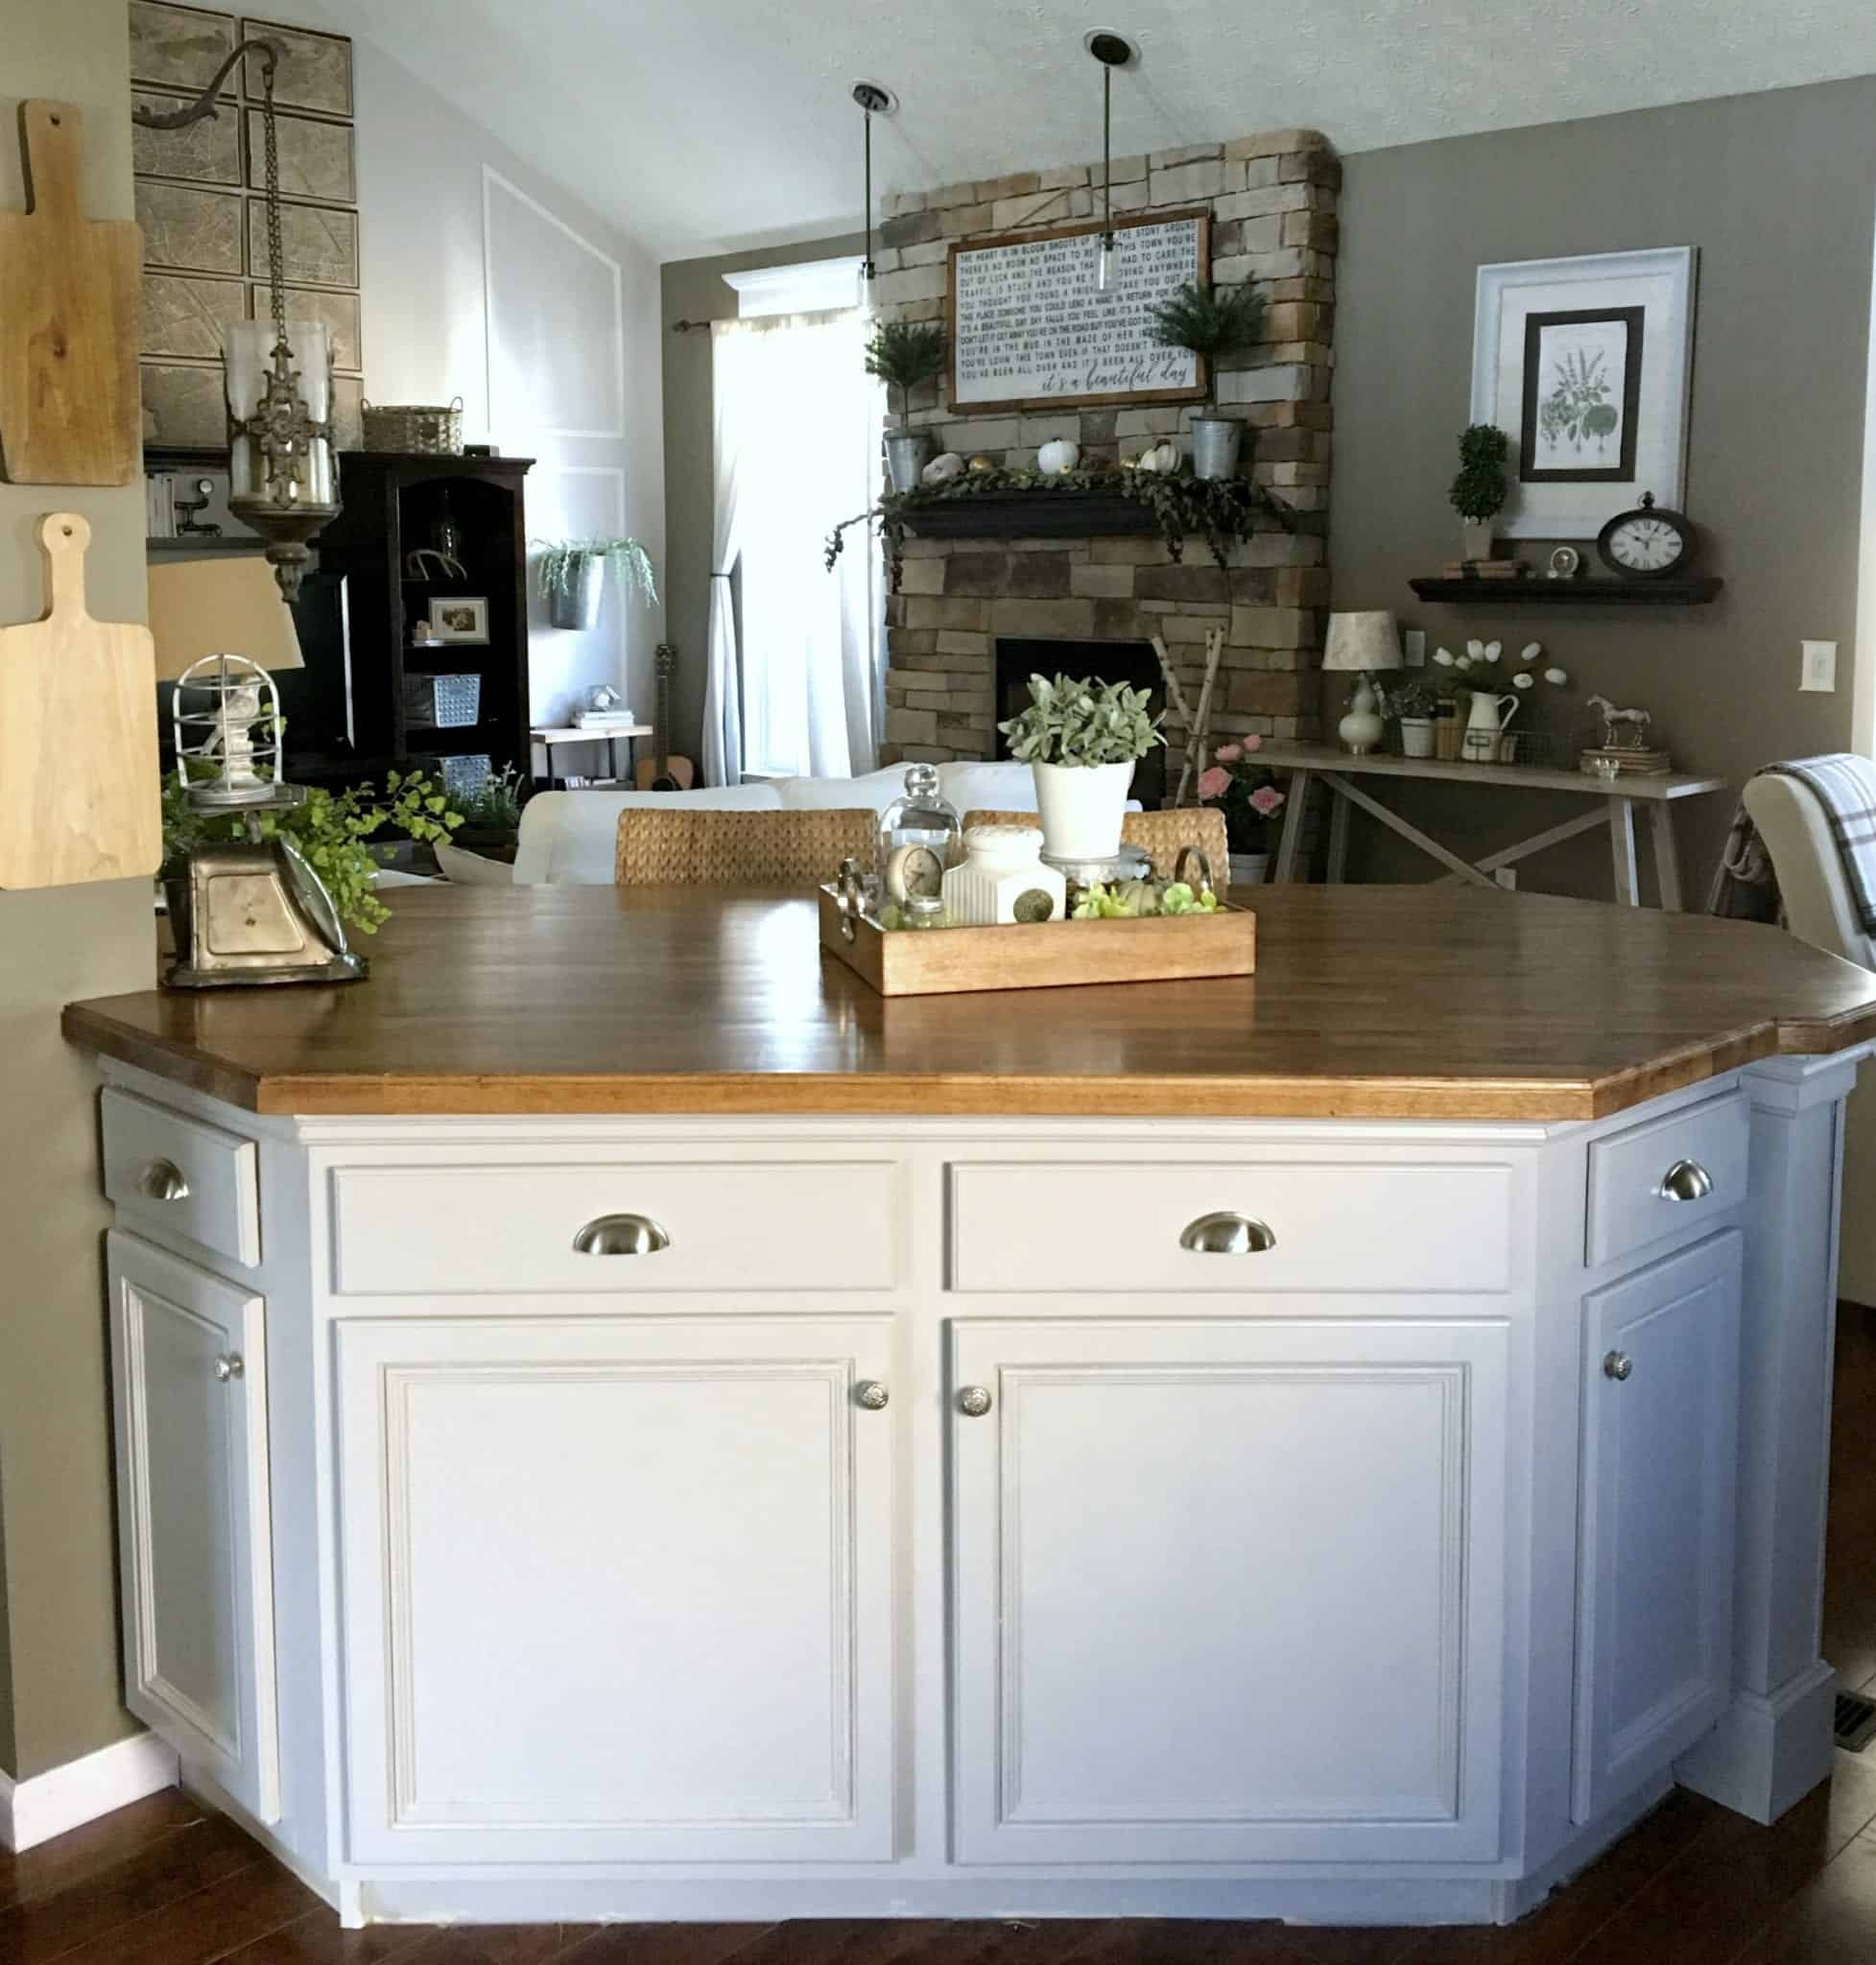
As with most kitchen islands, our island sits right in the middle of our home. We suffered a serious case of “analysis paralysis” as we pondered this DIY. The entire house was upgraded before we’d come back to this project. We finally settled on a “final” look for this eyesore!
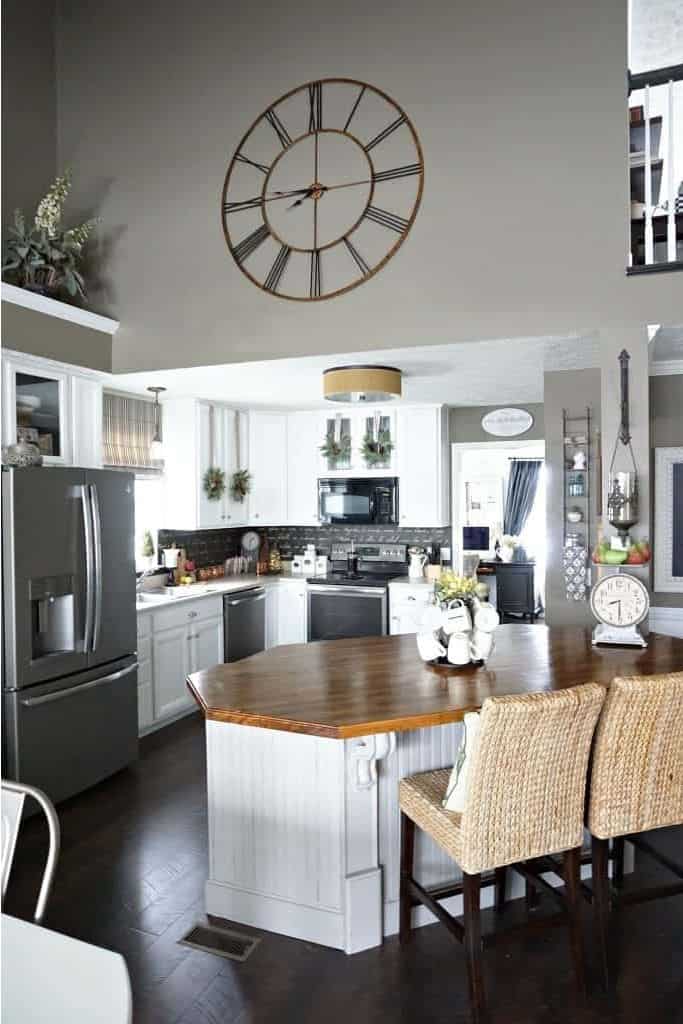
The approximate cost was under $600 (in spite of the many changes throughout the years).
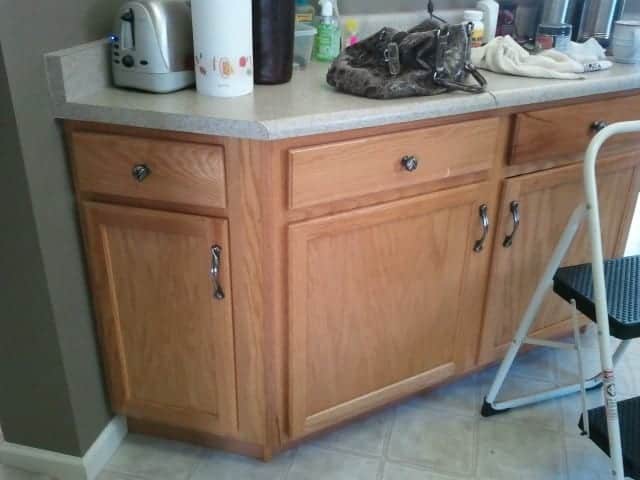
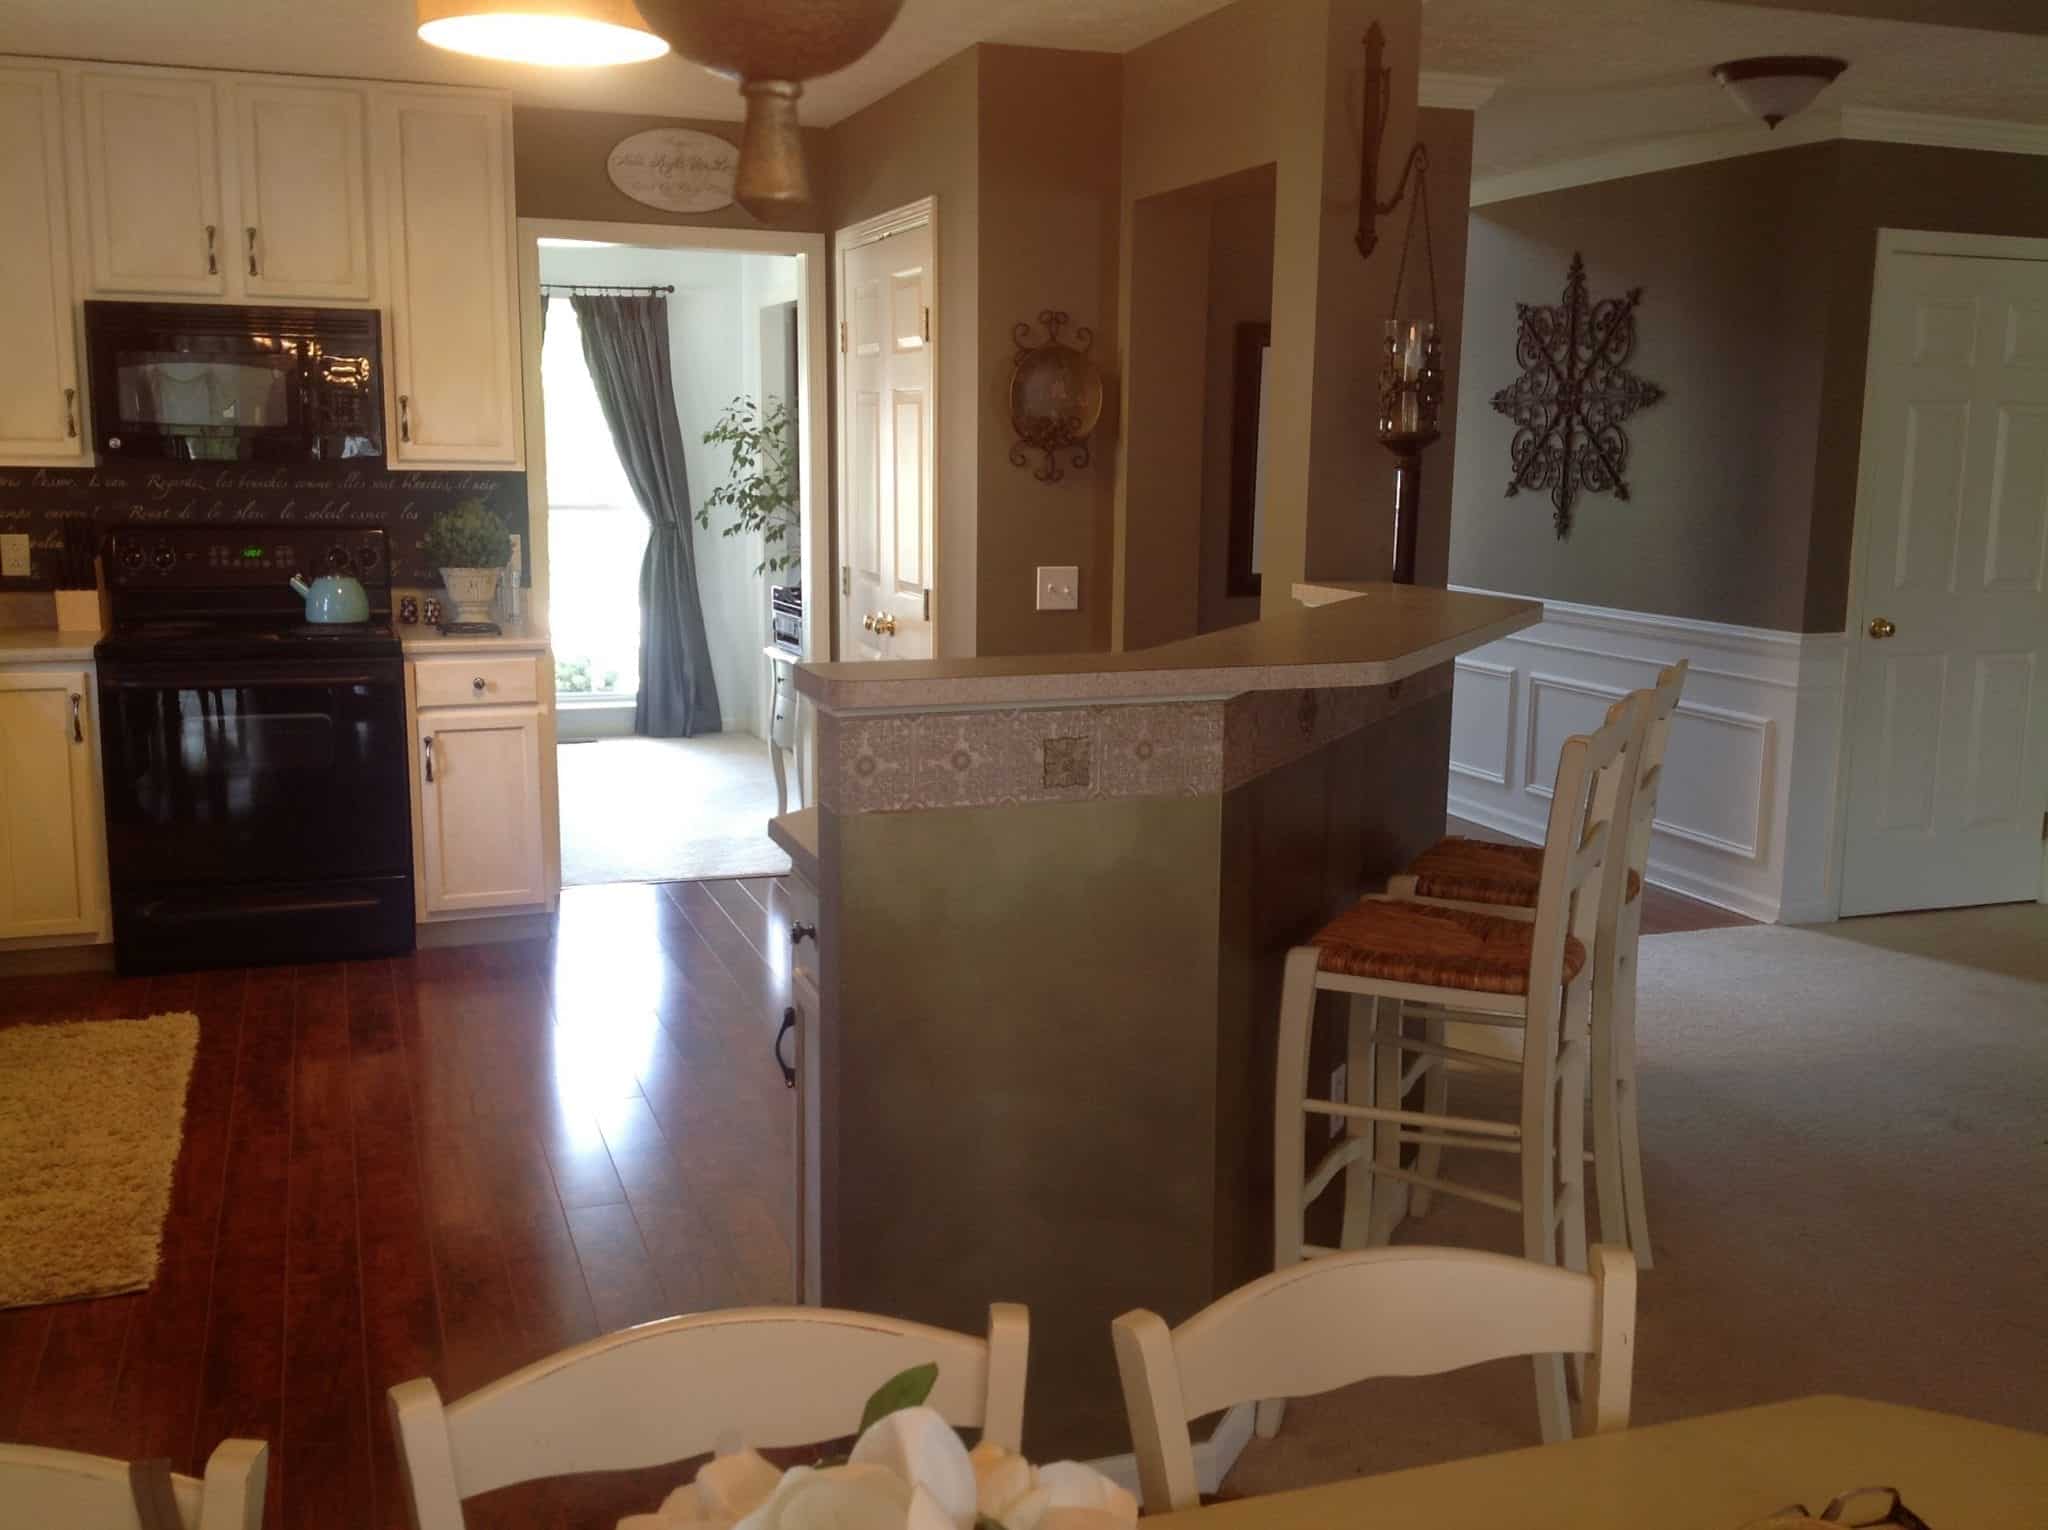
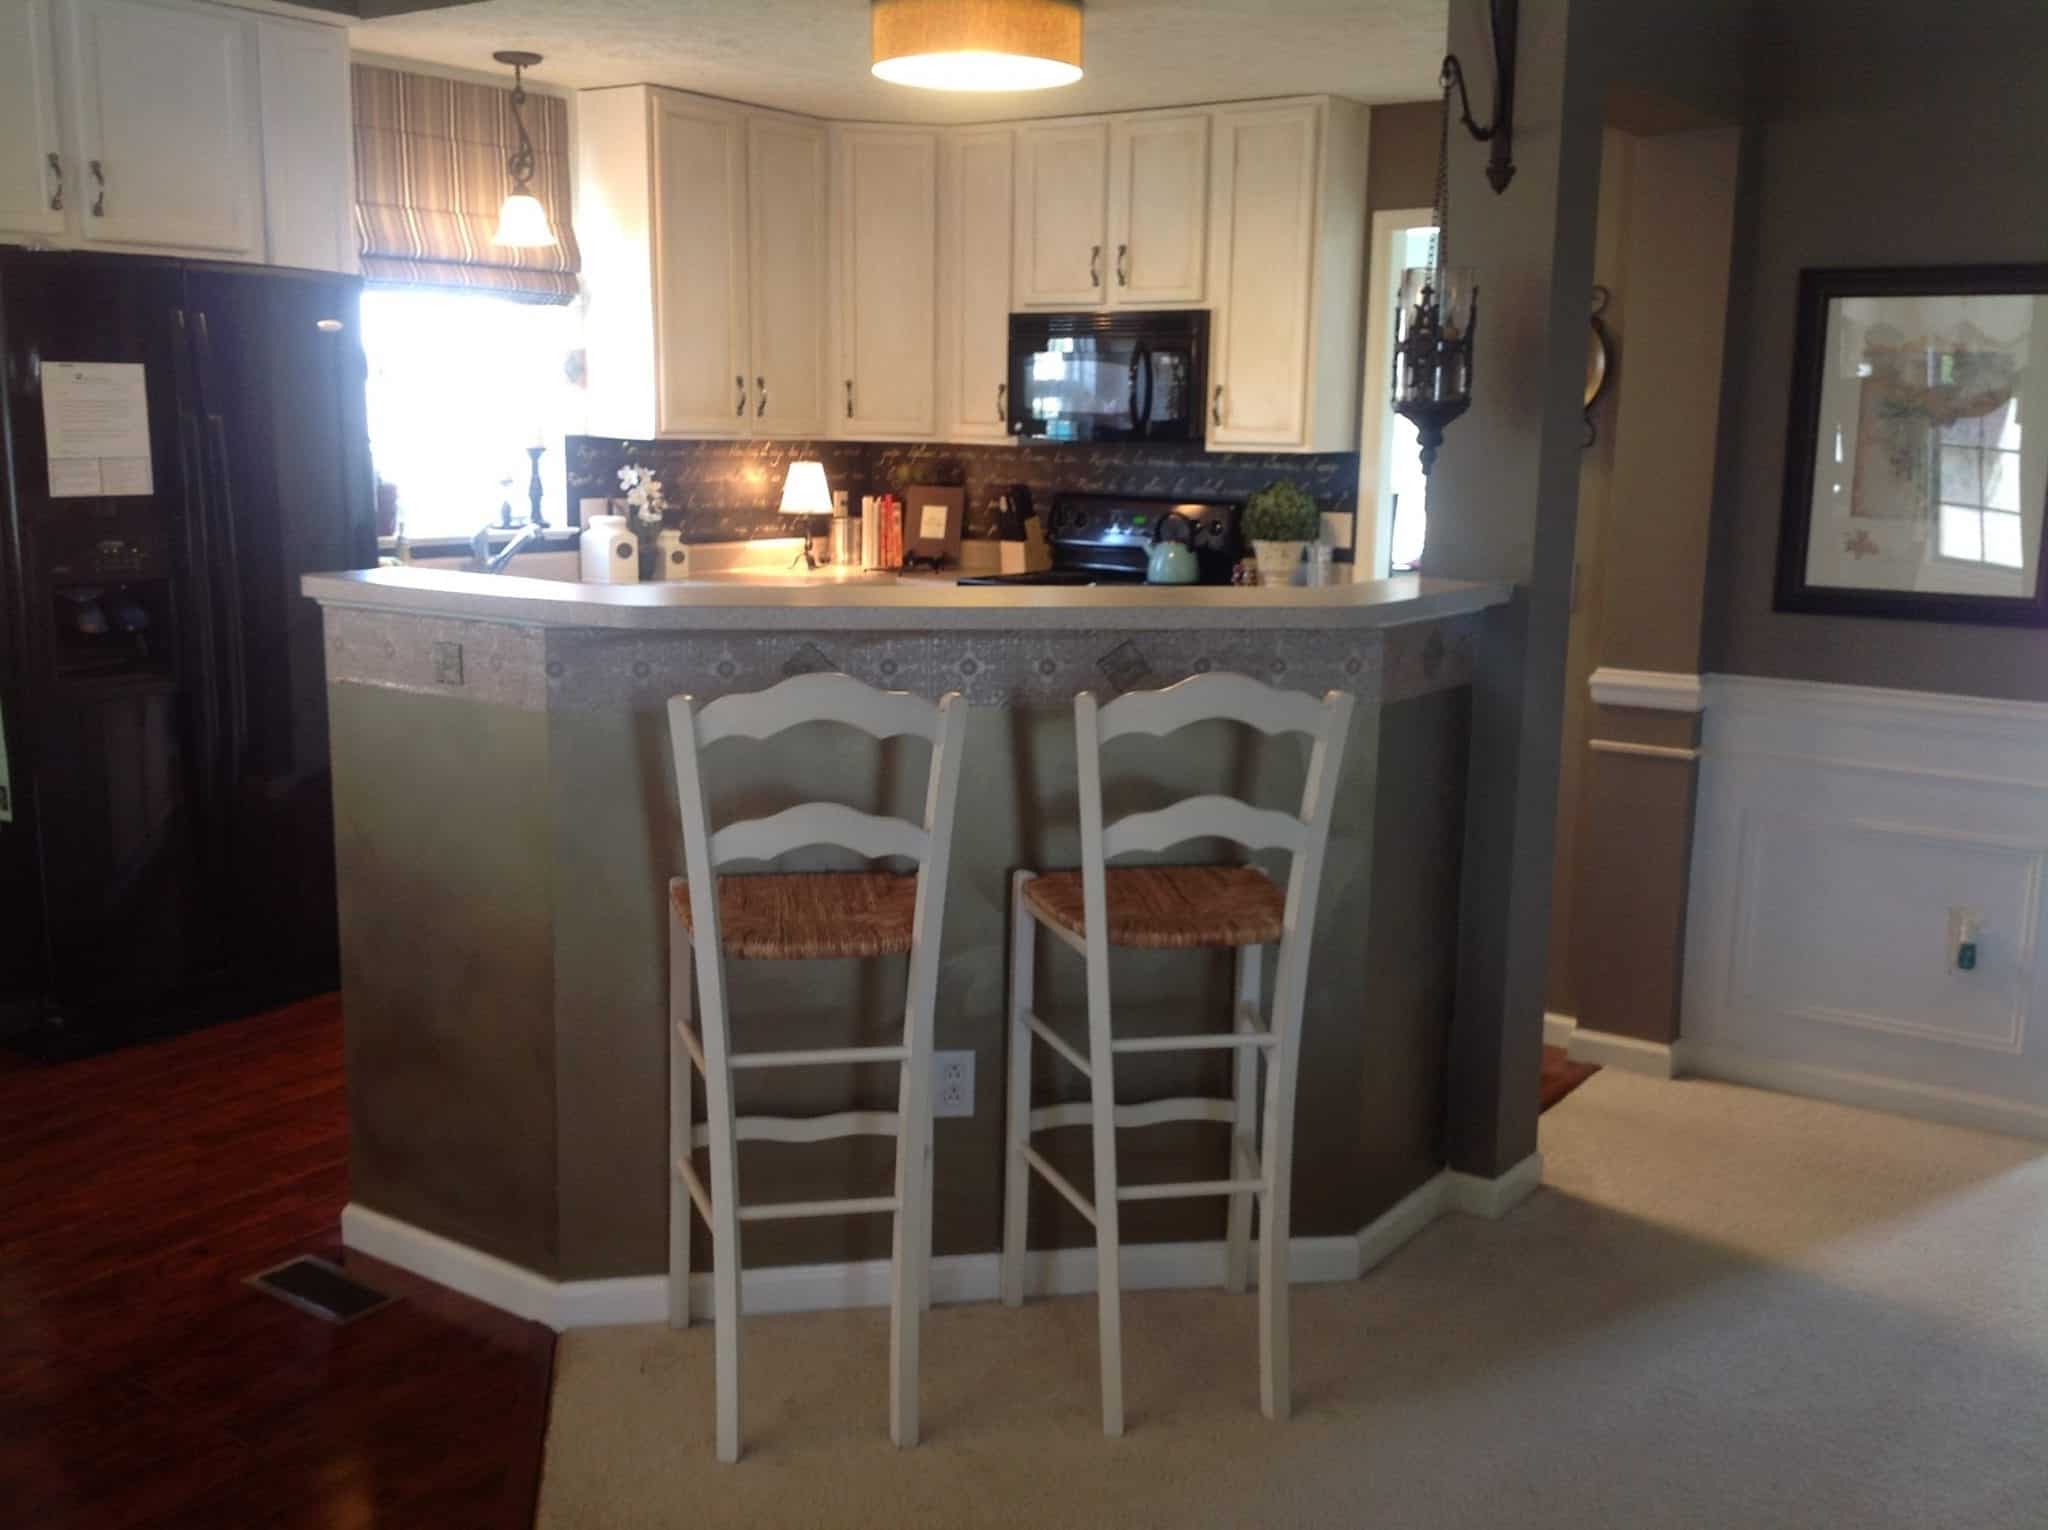
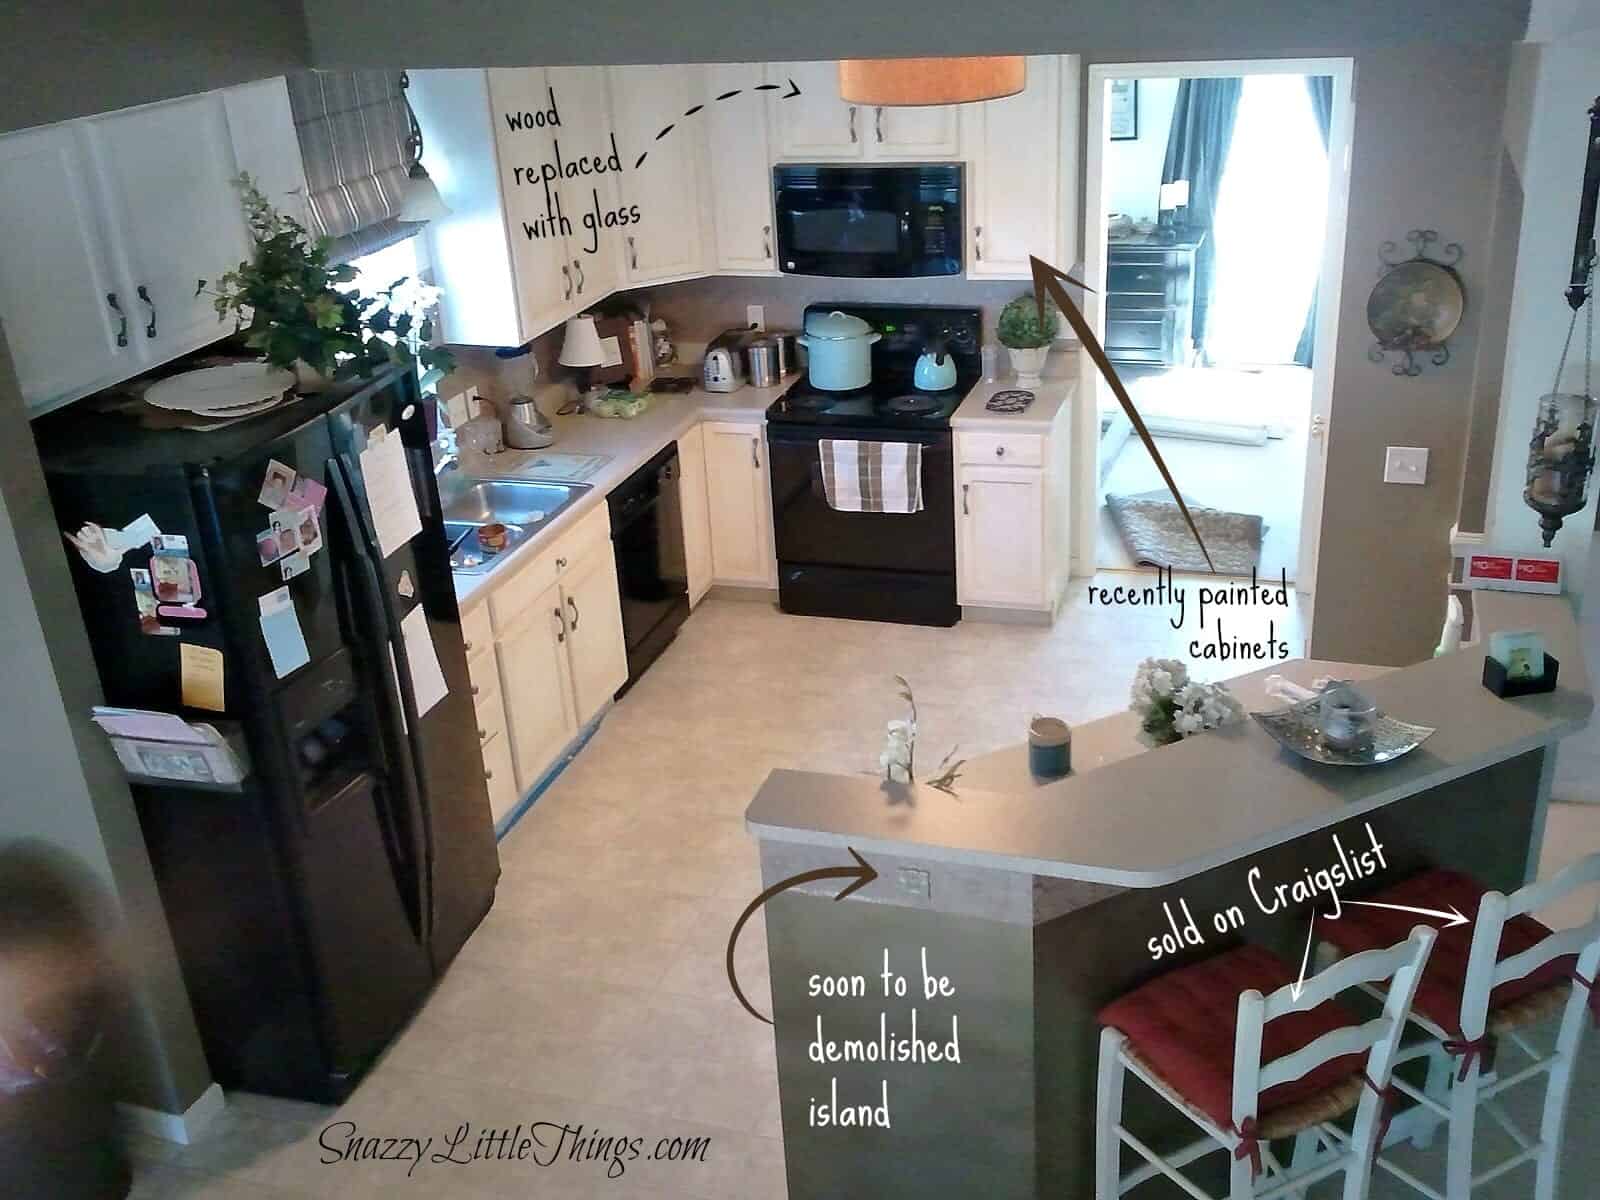
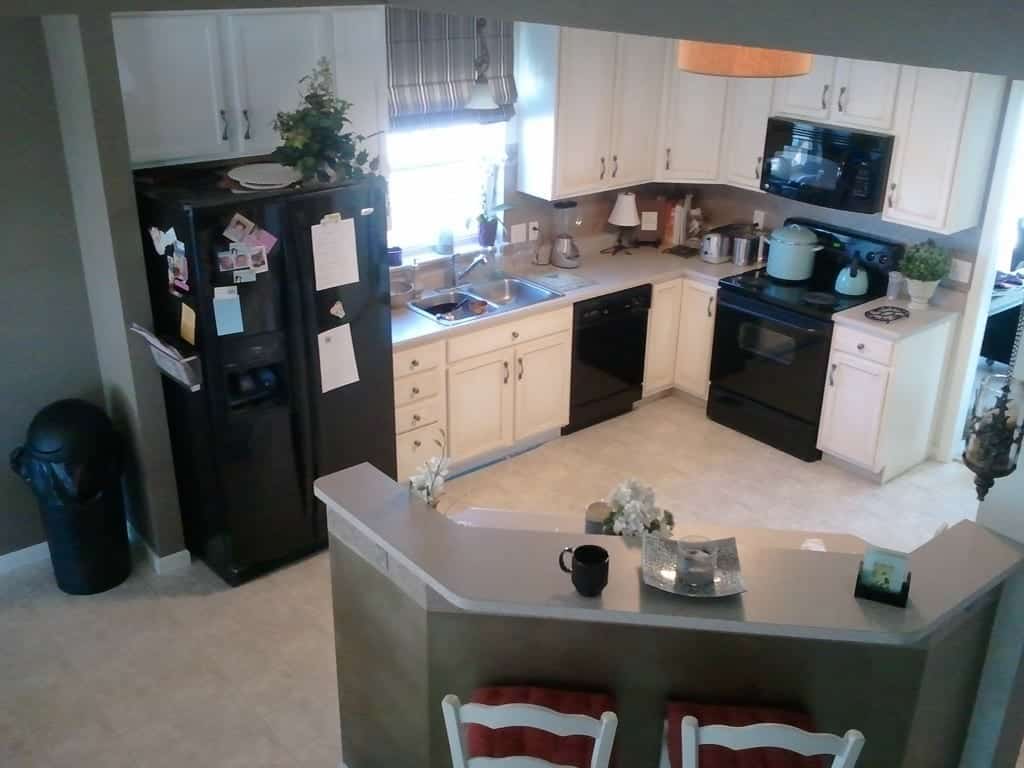
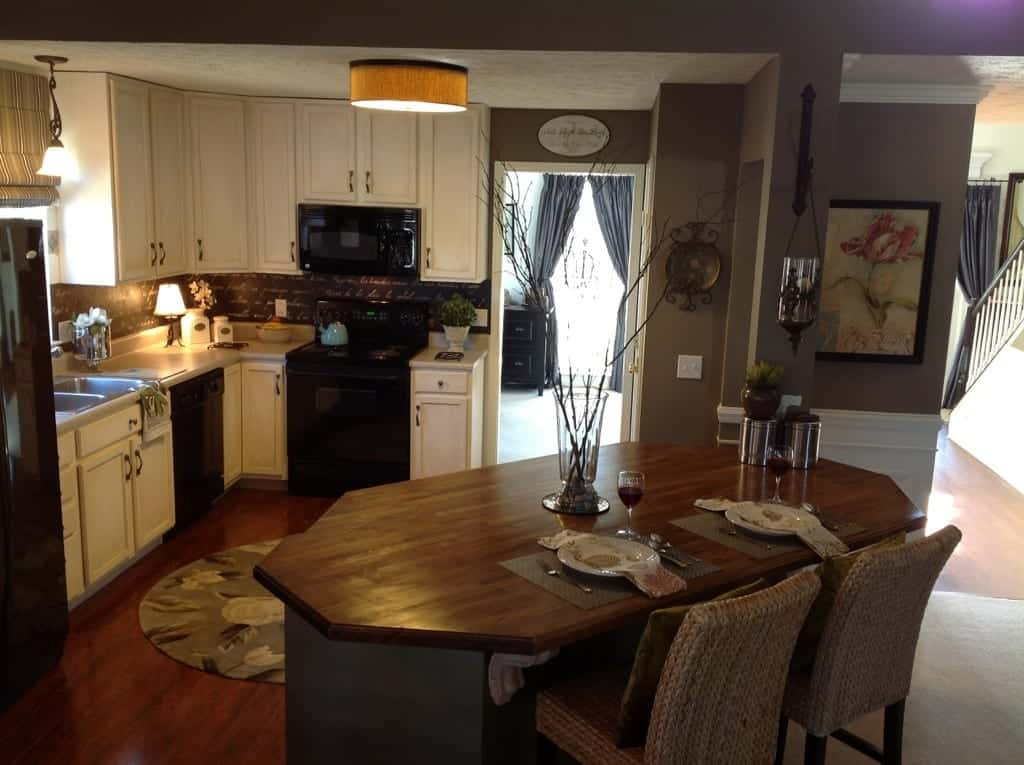
All we knew was our island (before) wasn’t the best. We didn’t love the two tiered coffee bar. No one really sat there. We weren’t sure if we wanted beadboard – that was part of the delay. We questioned whether a beadboard island would be too casual against our classic style wainscot. We finally decided that mixing styles would be okay, and the beadboard would complement our modern farmhouse kitchen really well.
$600 Kitchen Island Upgrade
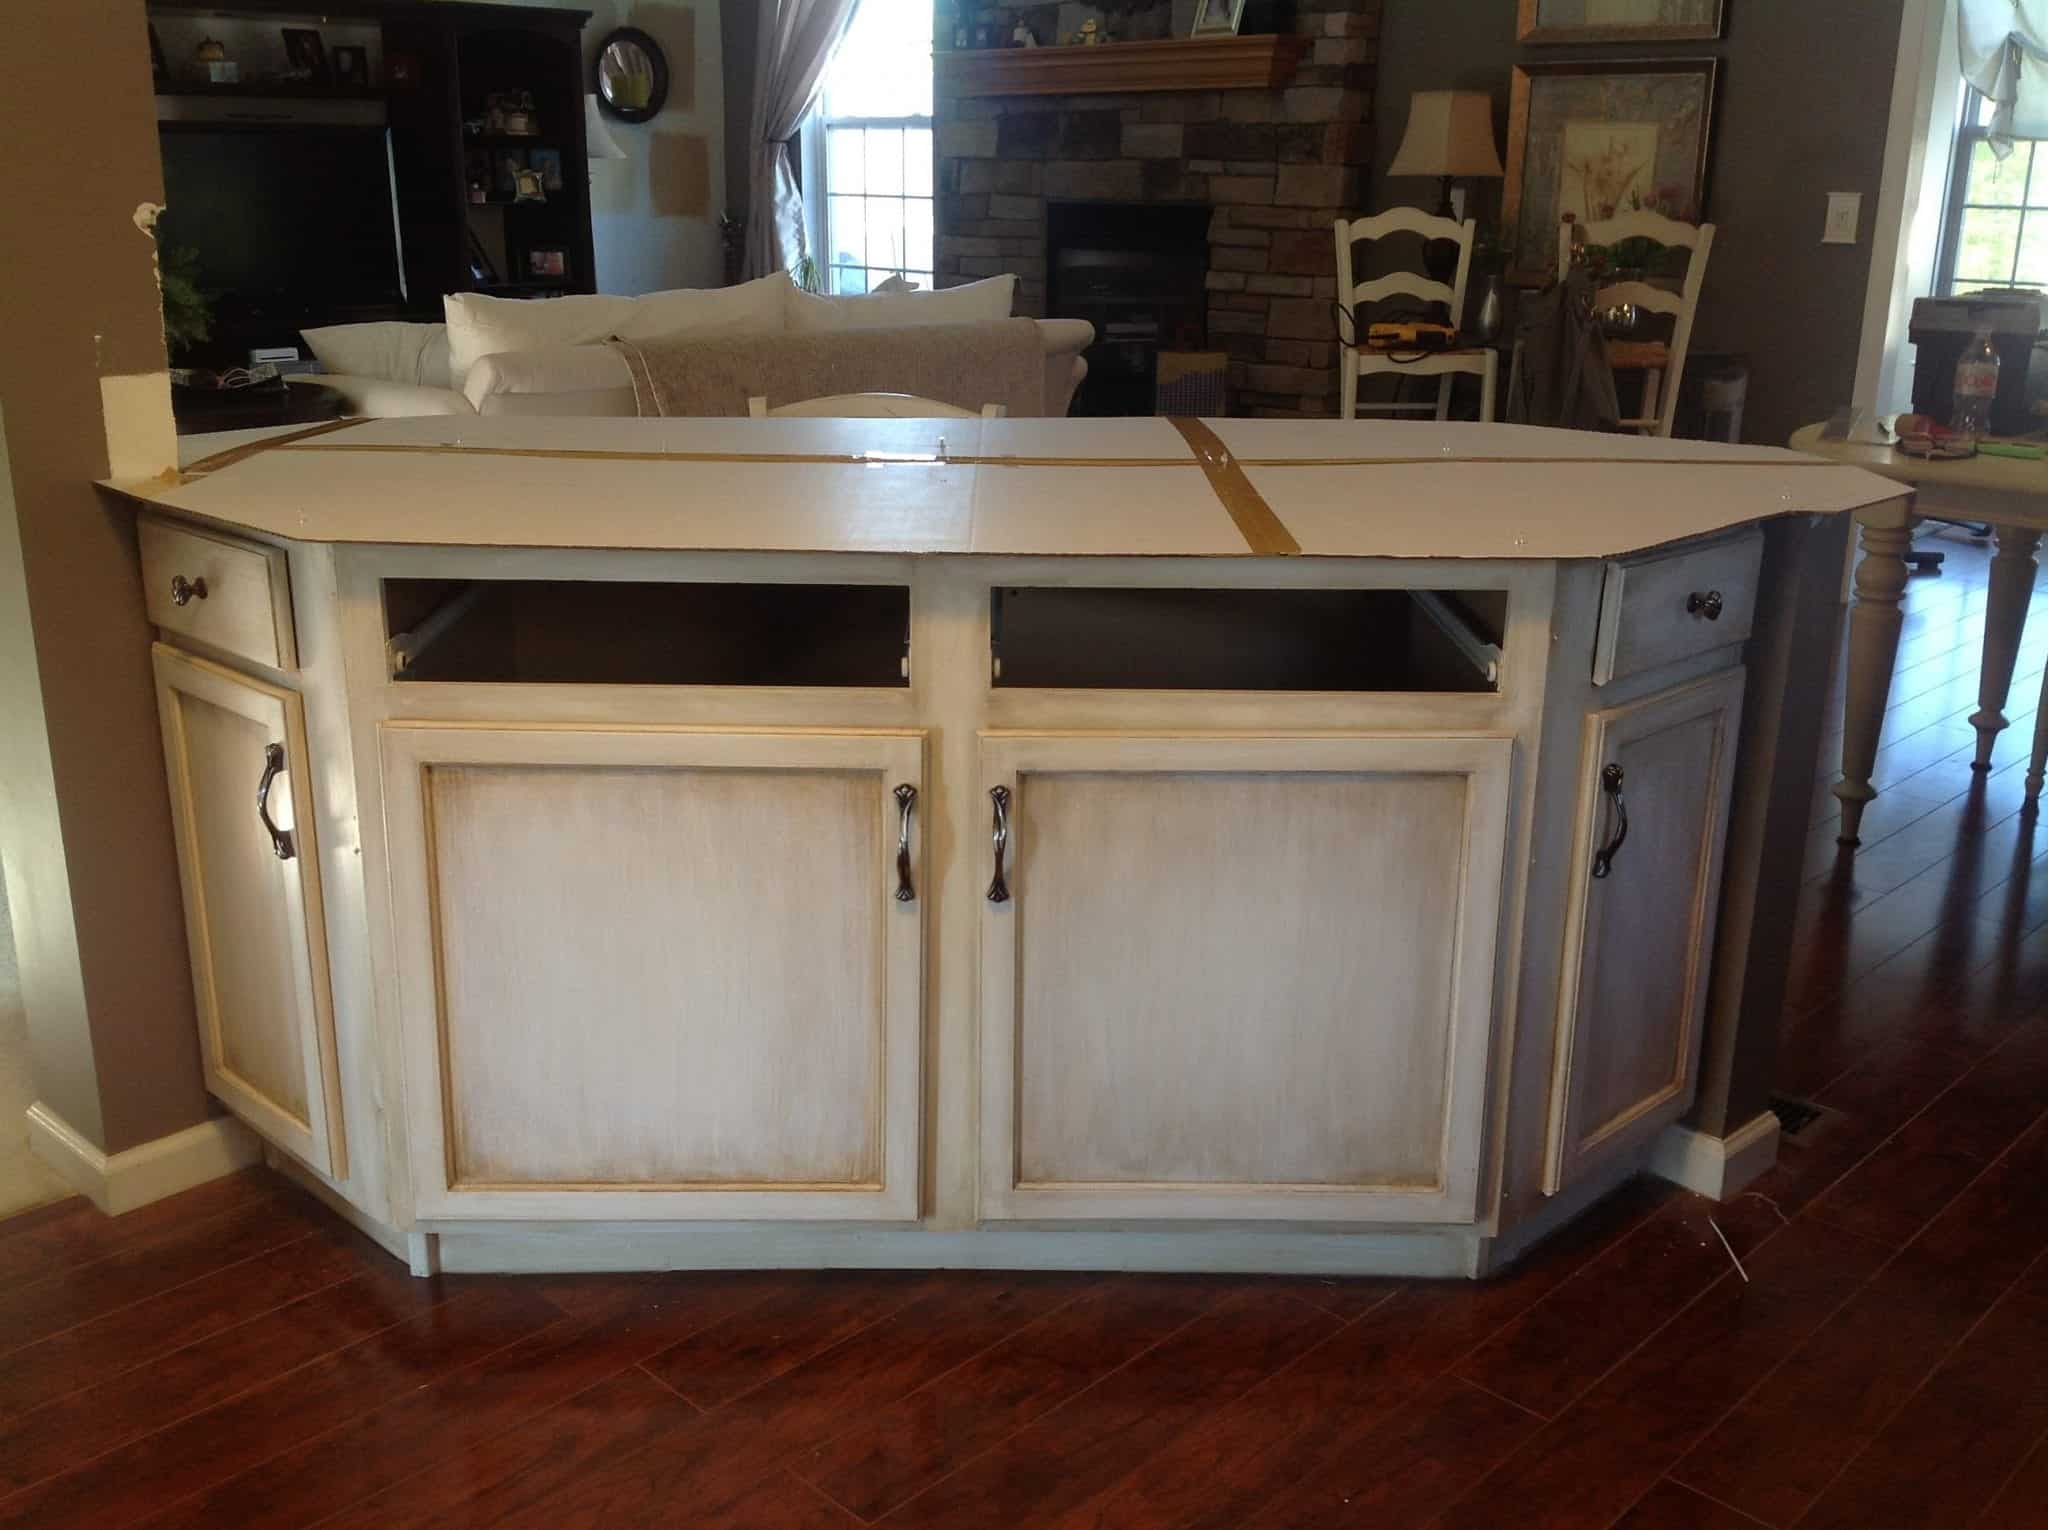
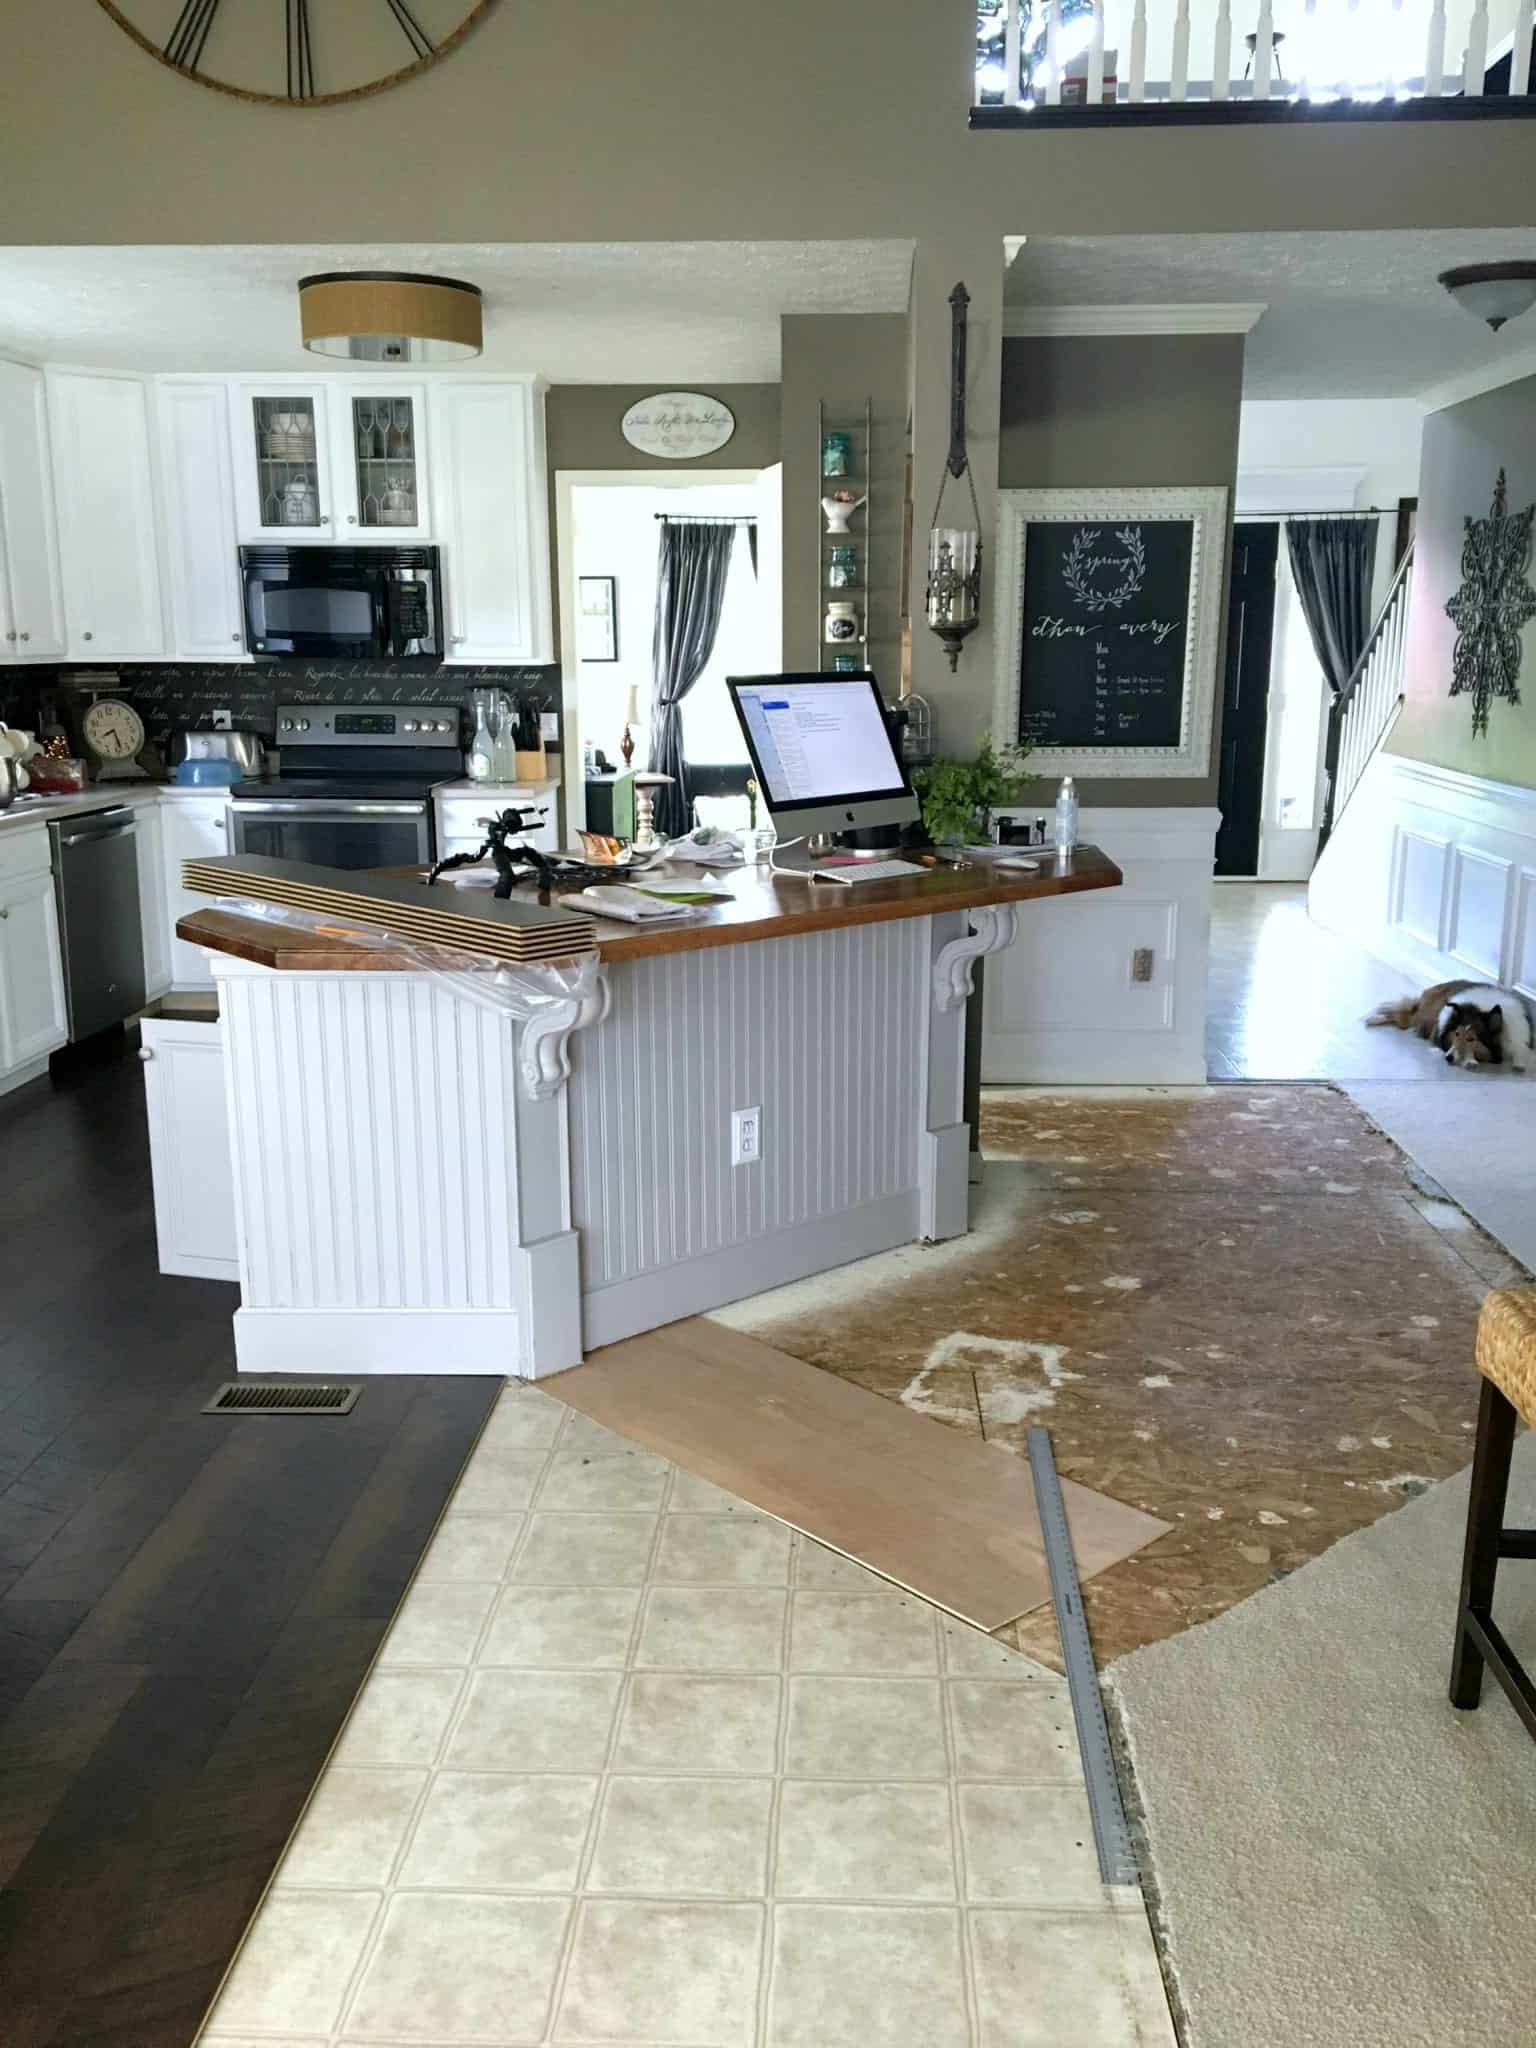
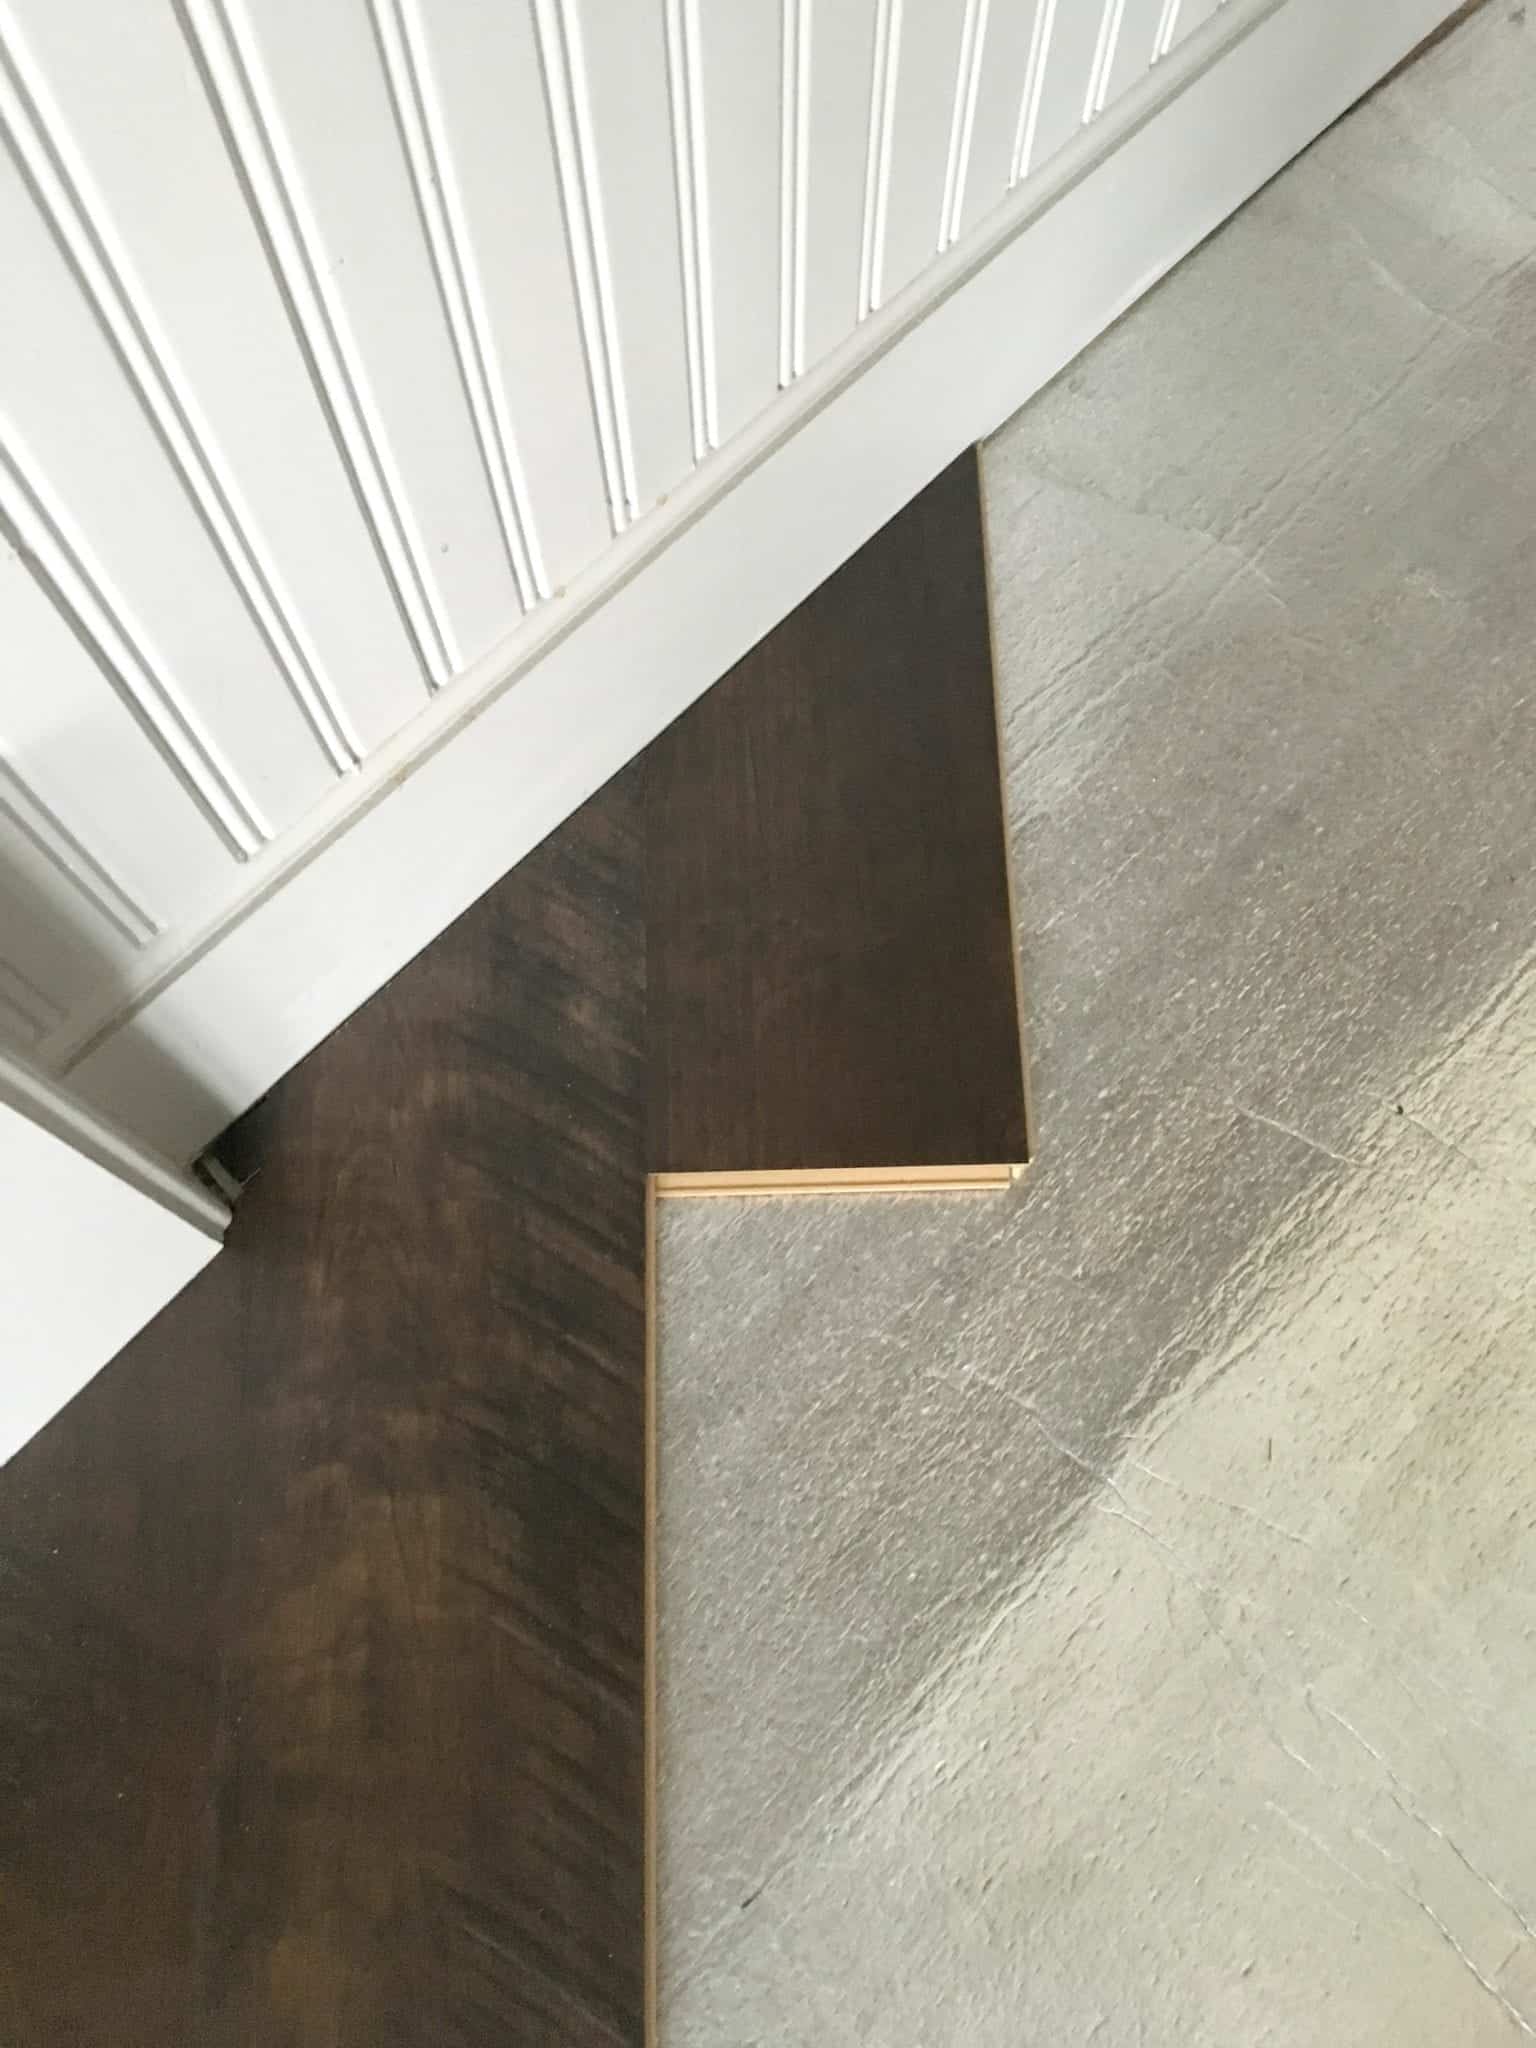
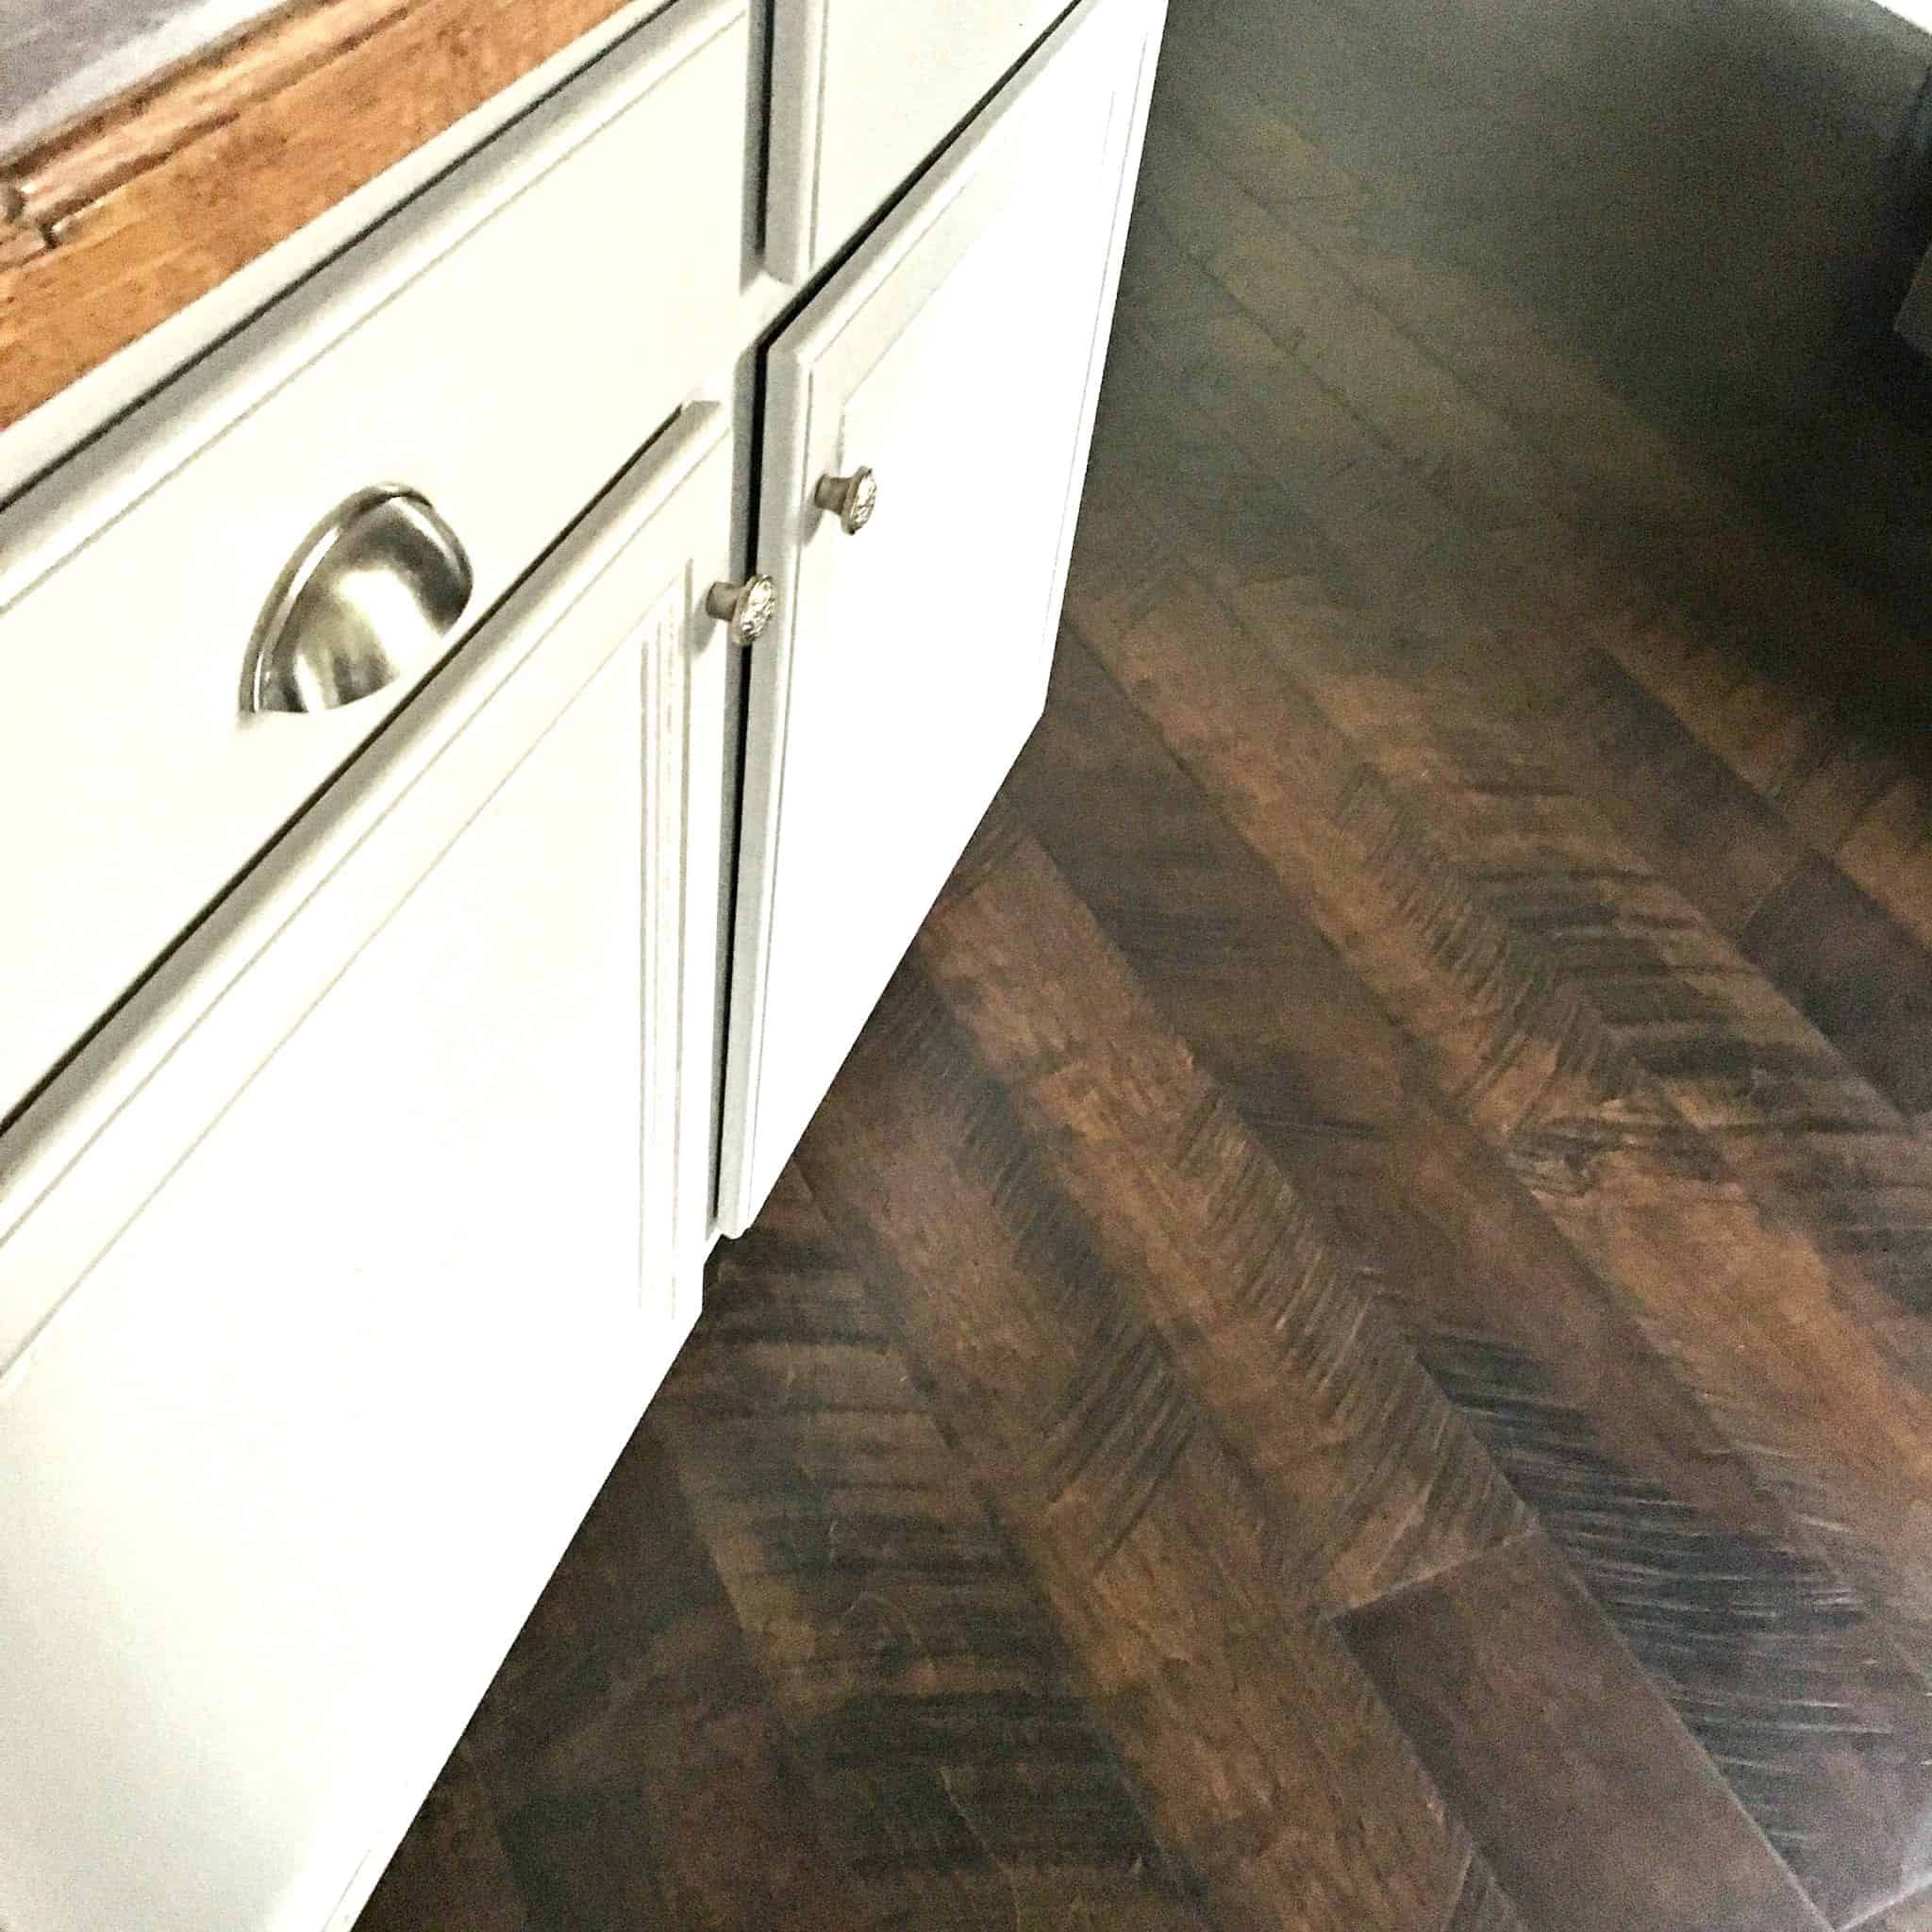
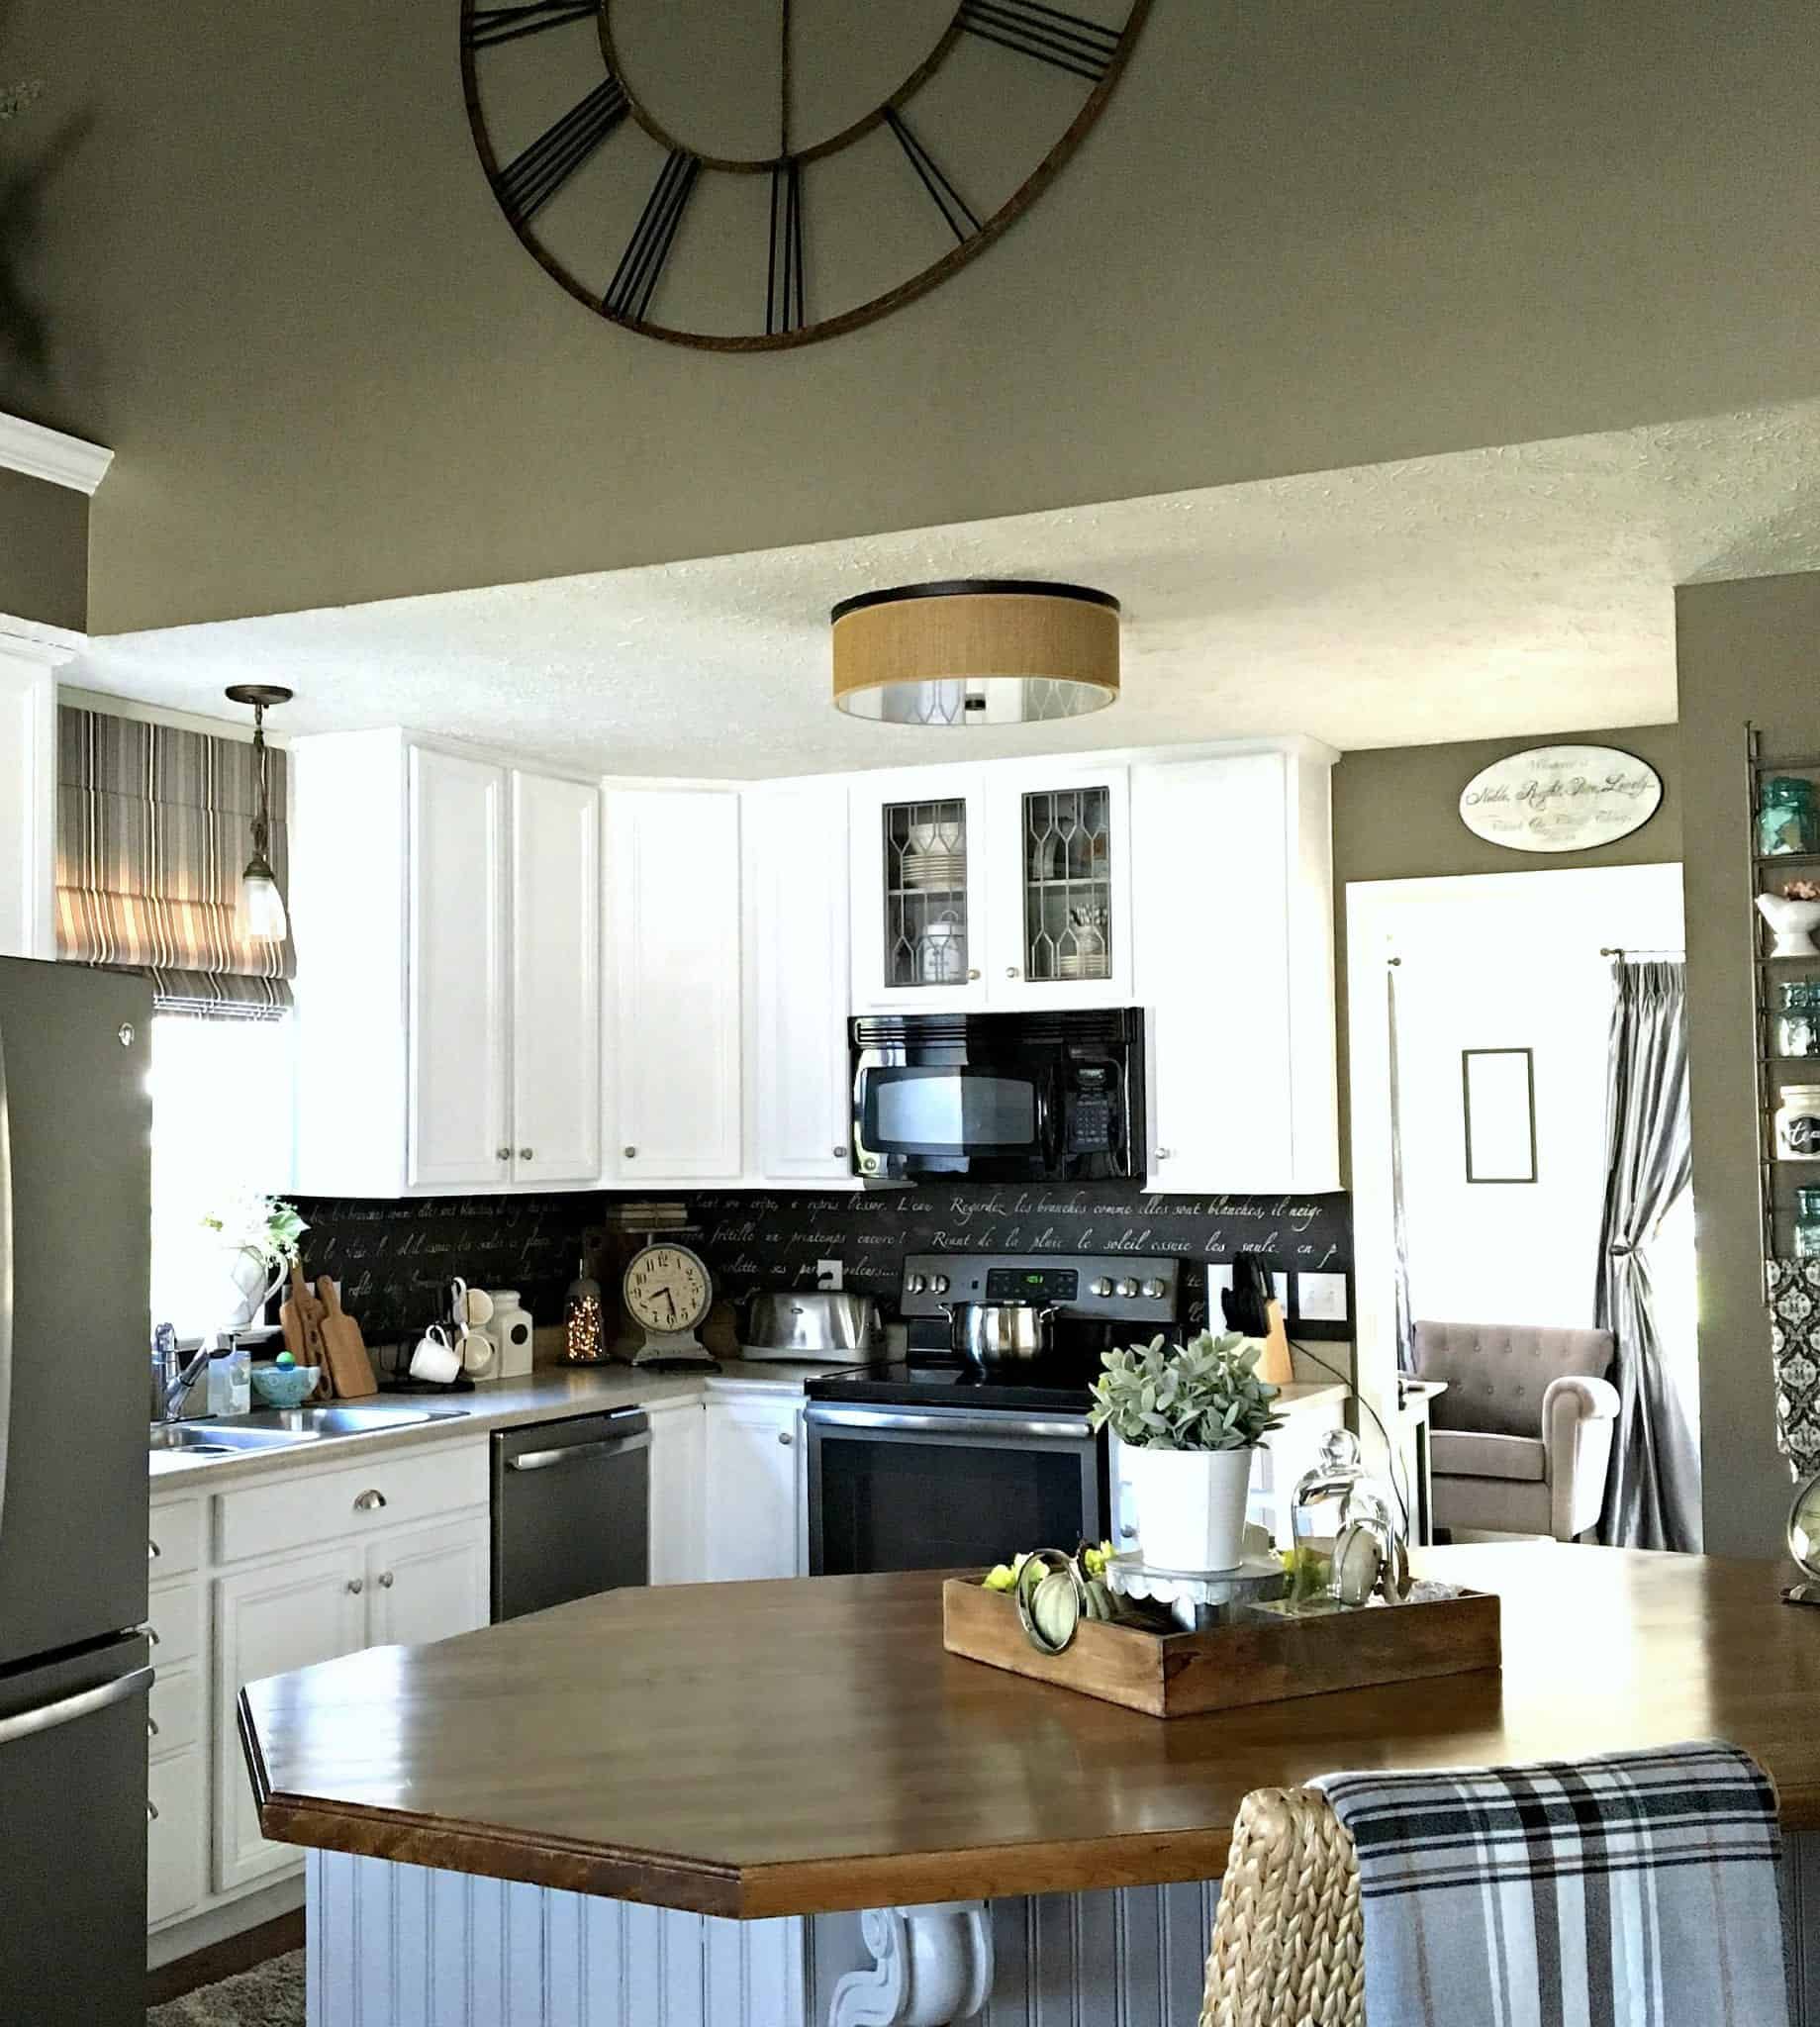
Here is an “in progress” picture which closely resembles the final look. We have since replaced the carpet with new Pergo.
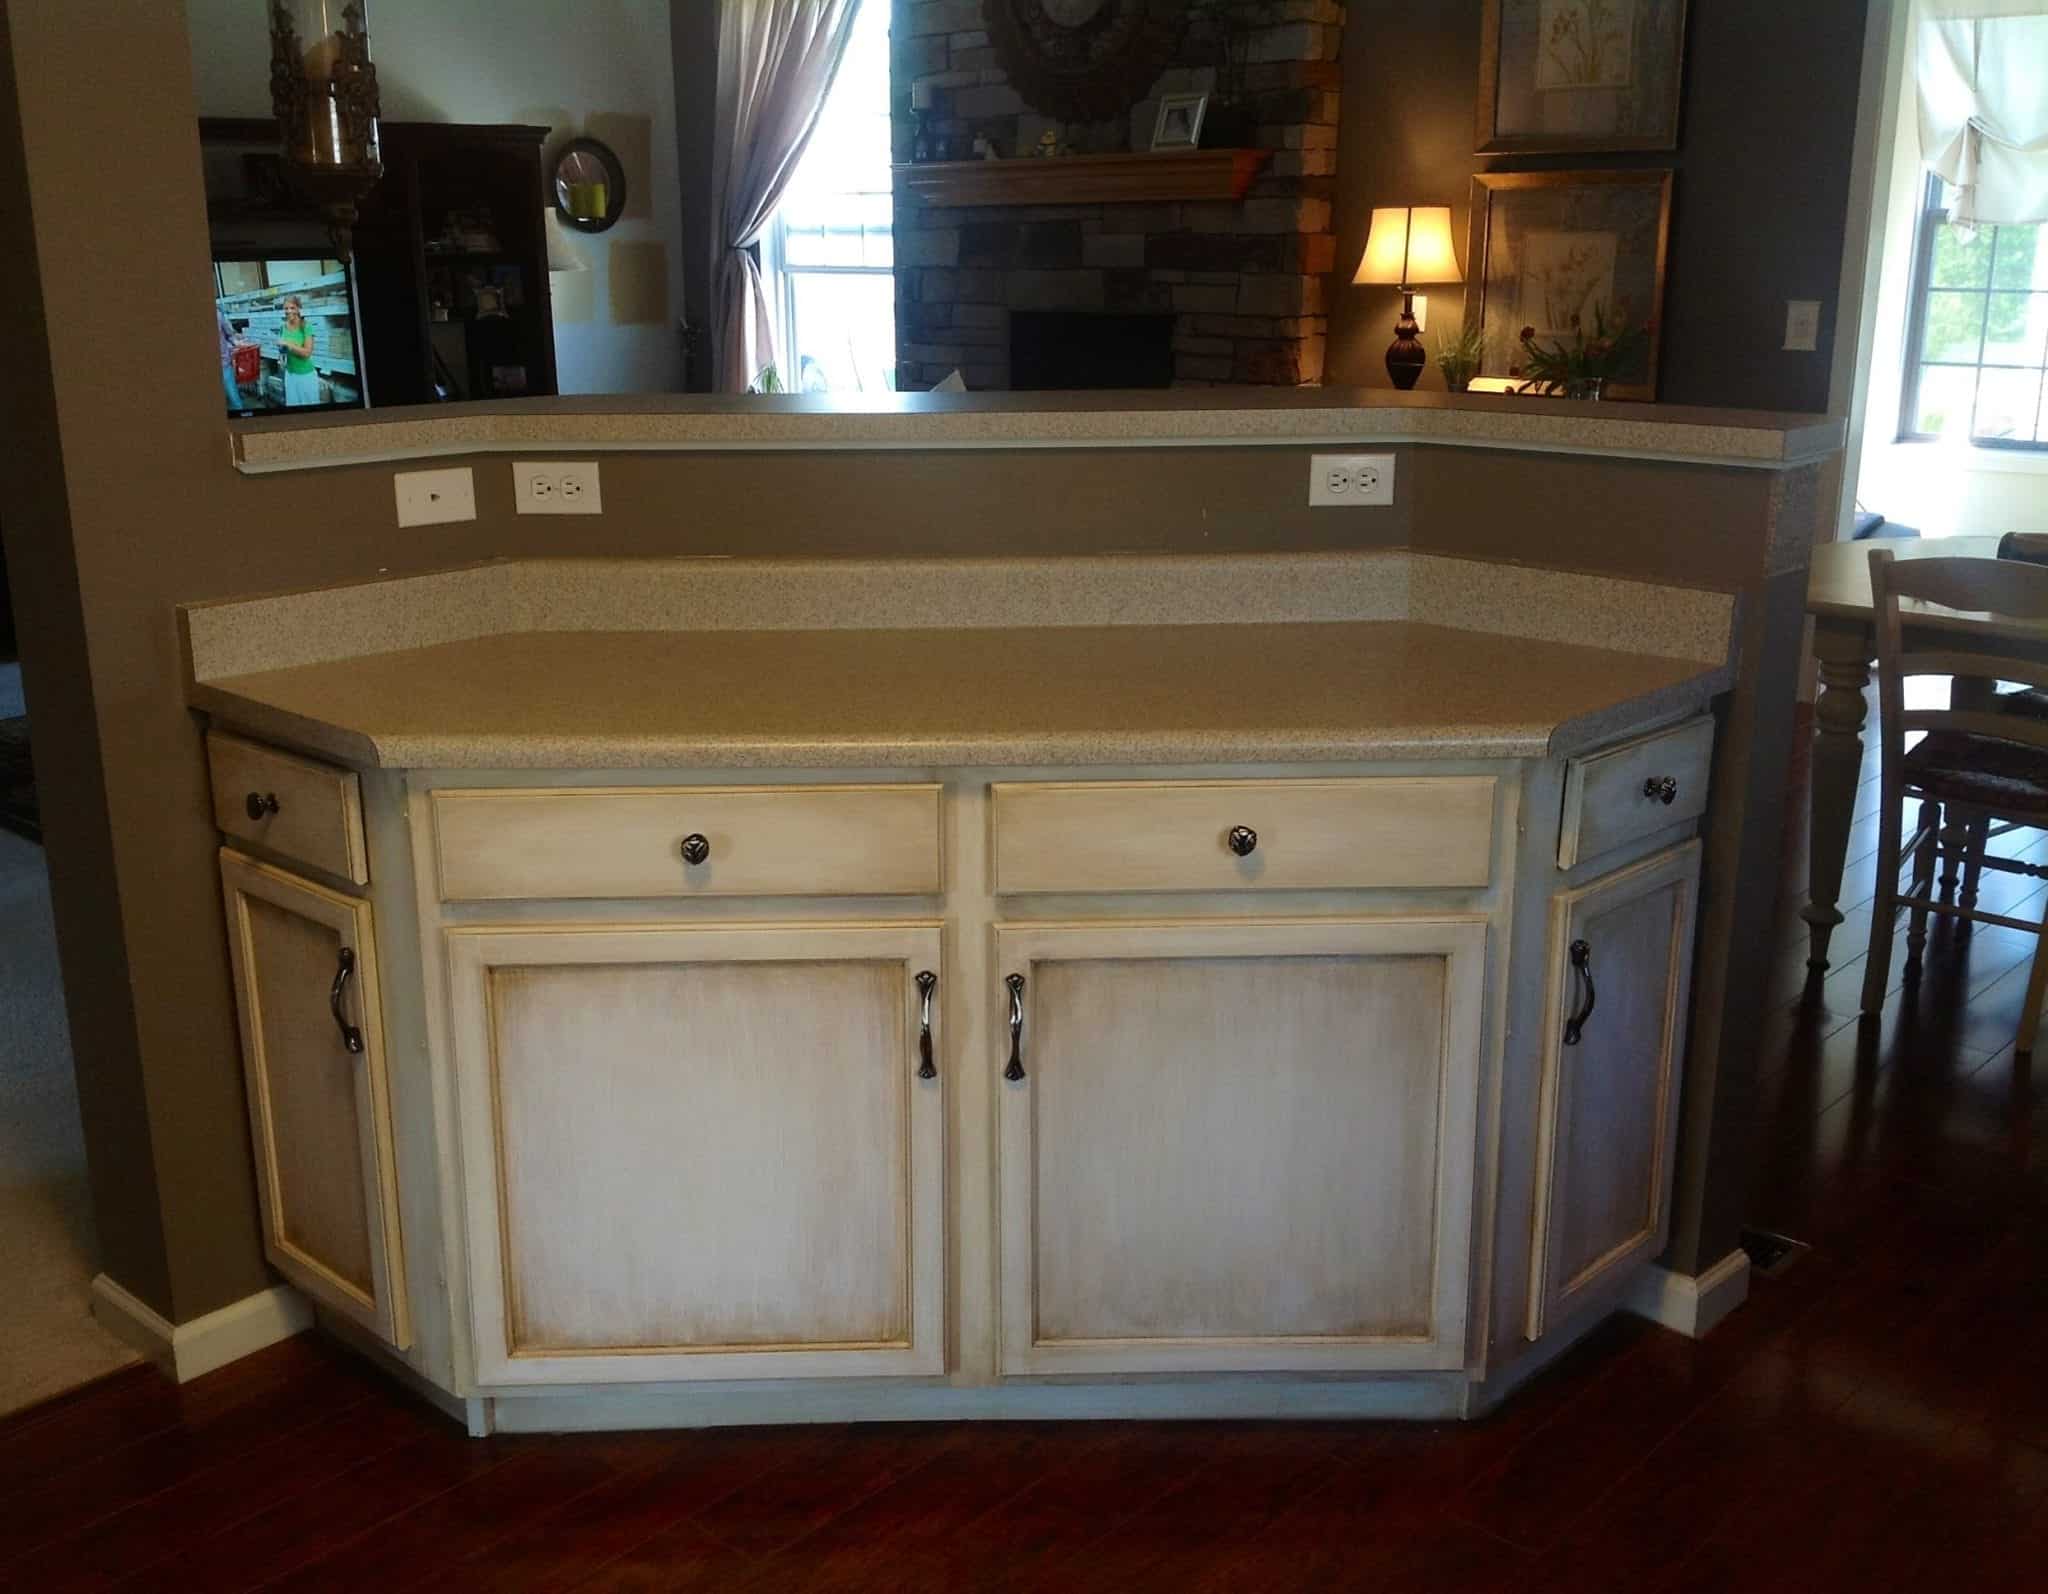
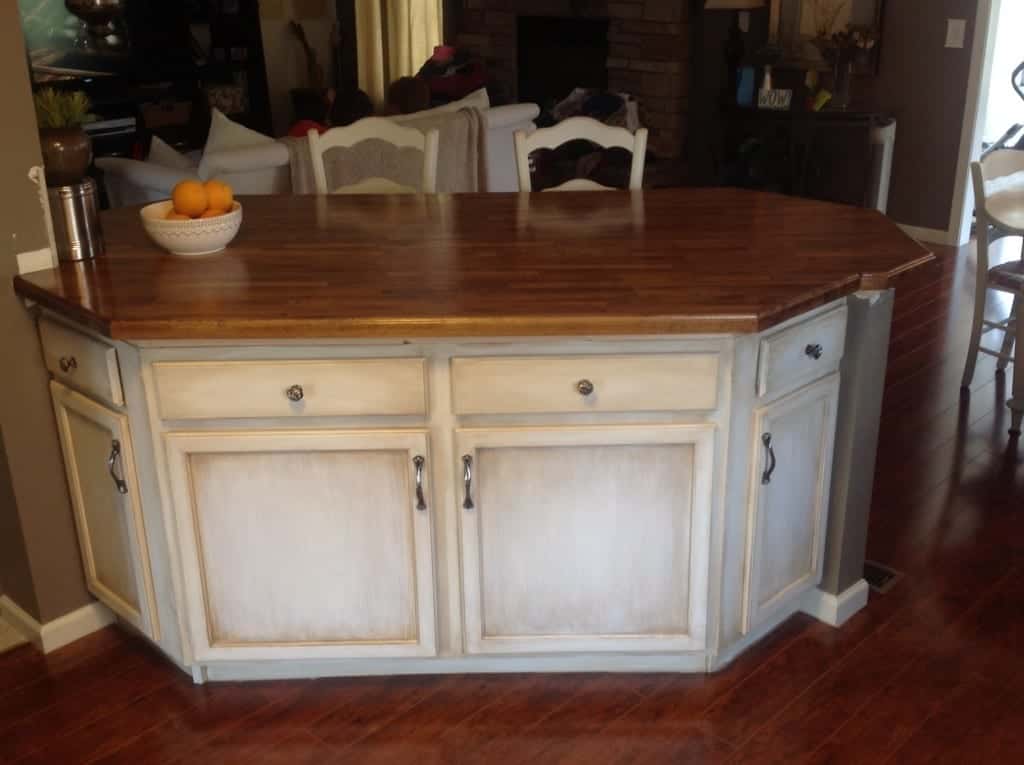
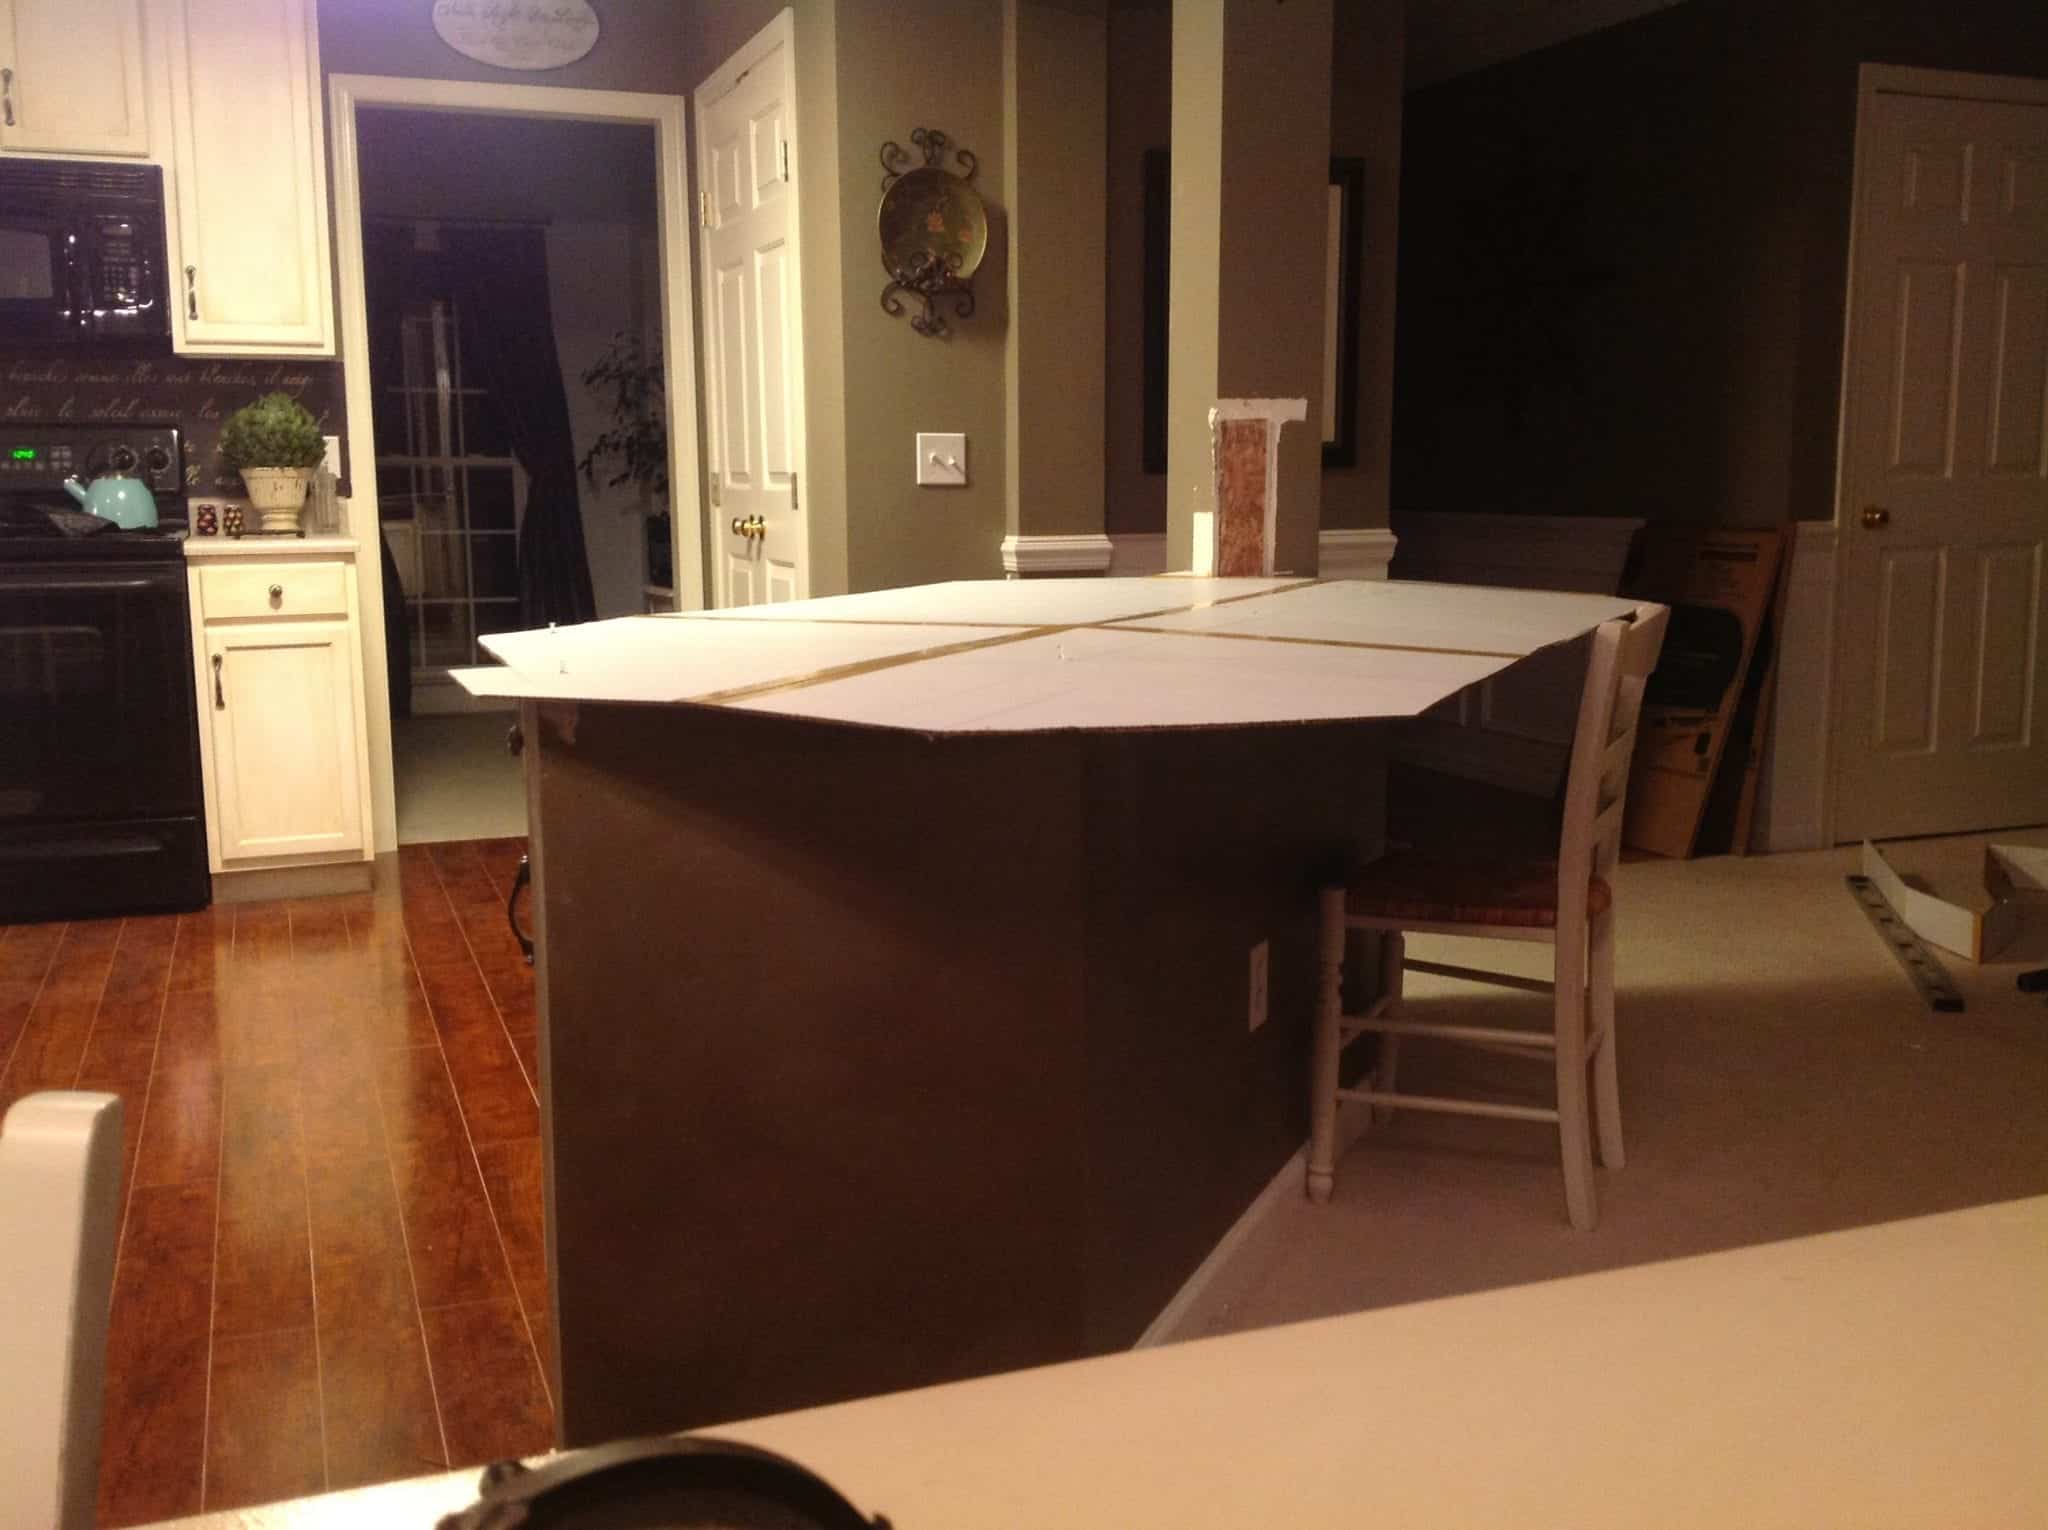
Here are some progression shots I’ve taken throughout the last few years…notice how much the rest of the house (and flooring) kept changing. So I think we finally settled on a “look”.
A summary of this very long journey…
Step 1: Demo the old island and rewired the electrical
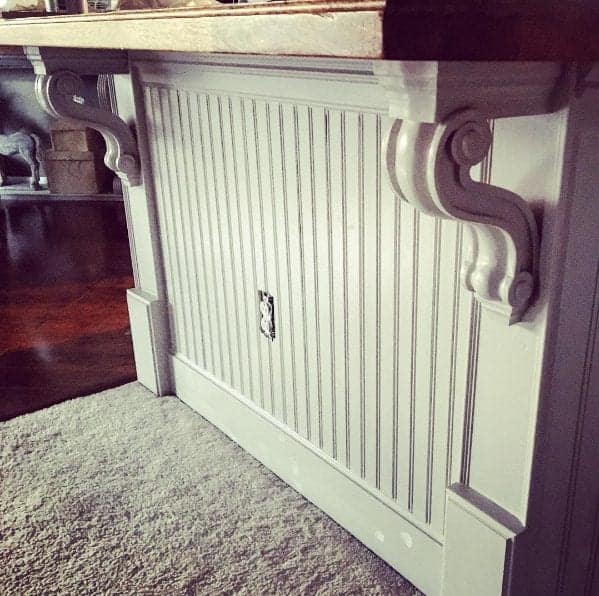
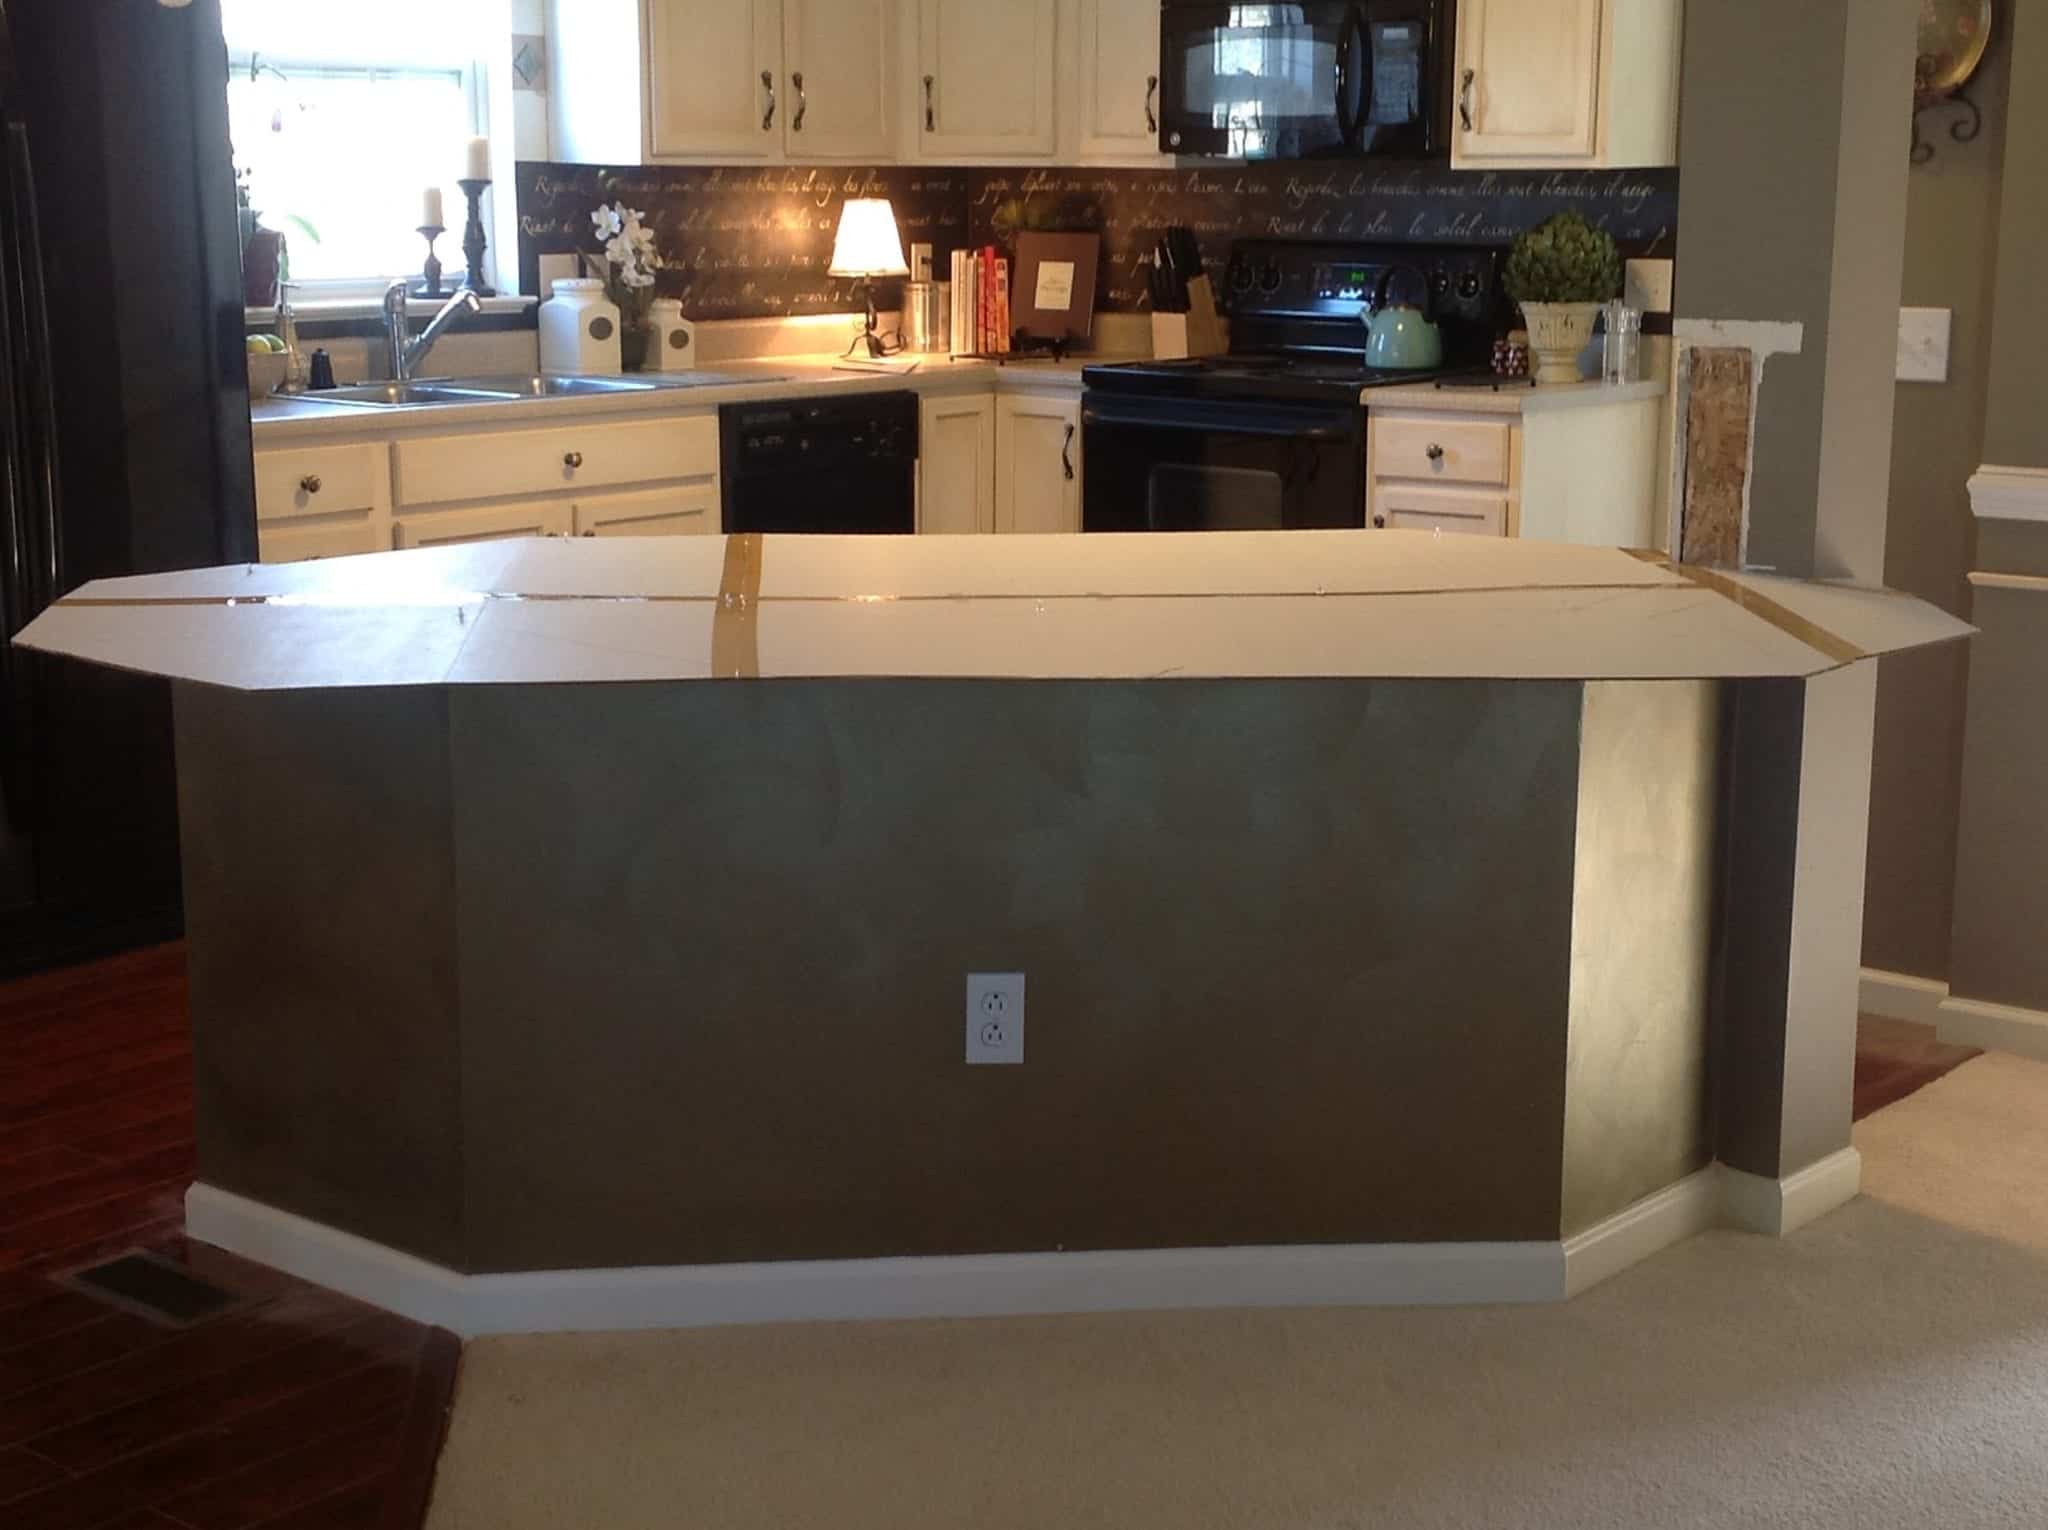
Demolished the two-level “coffee bar” portion of the island down to a single level. We moved the electrical outlets which are now behind the “faux” drawers on the side (you know, the drawers that are typically nailed shut and are just for looks? They now serve a purpose.
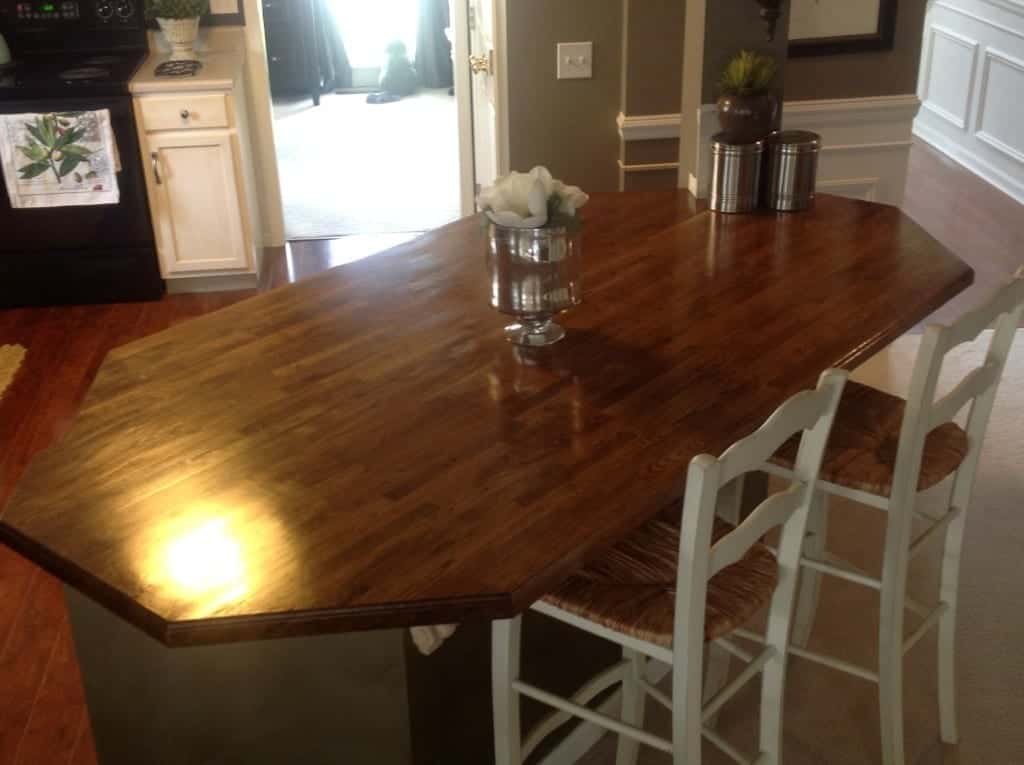
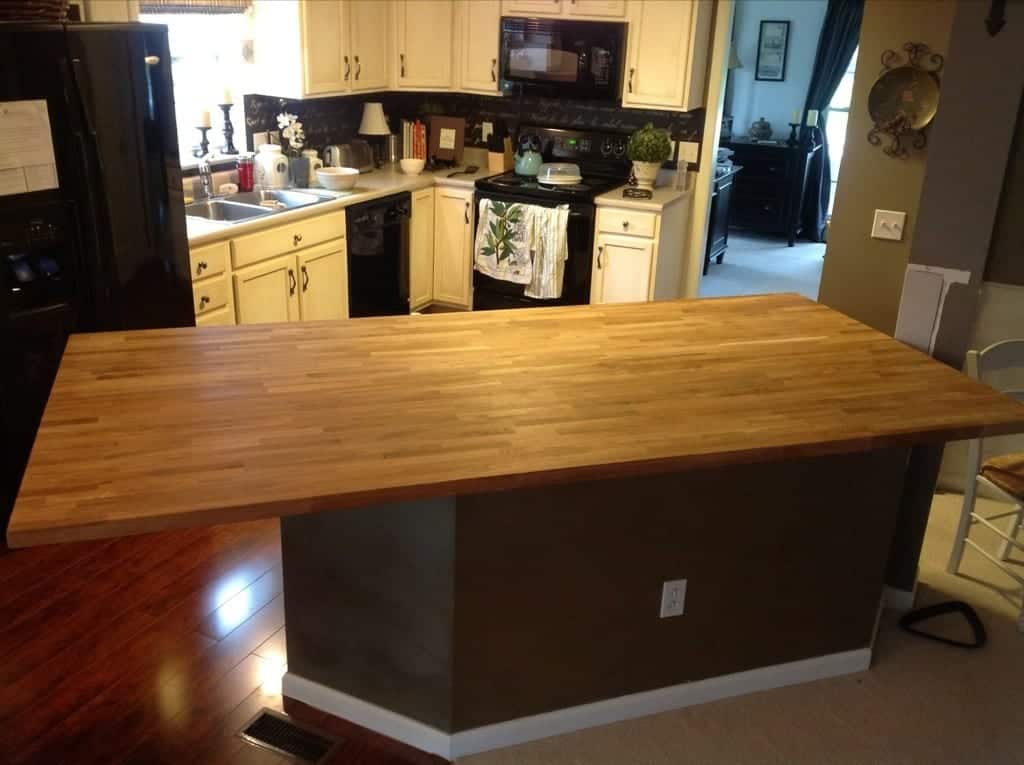
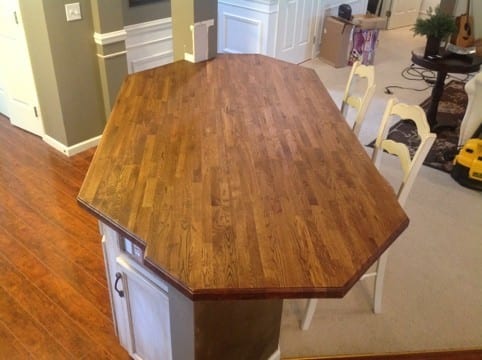
Step 2: Widened the surface with 2 x Ikea Butcher Blocks
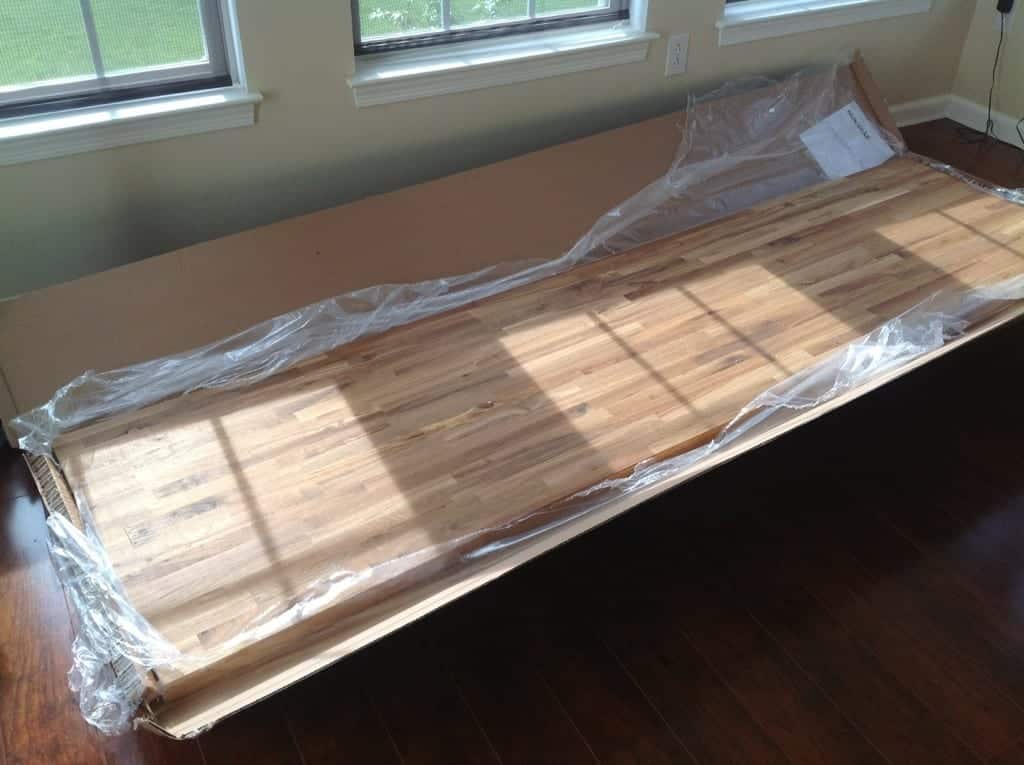
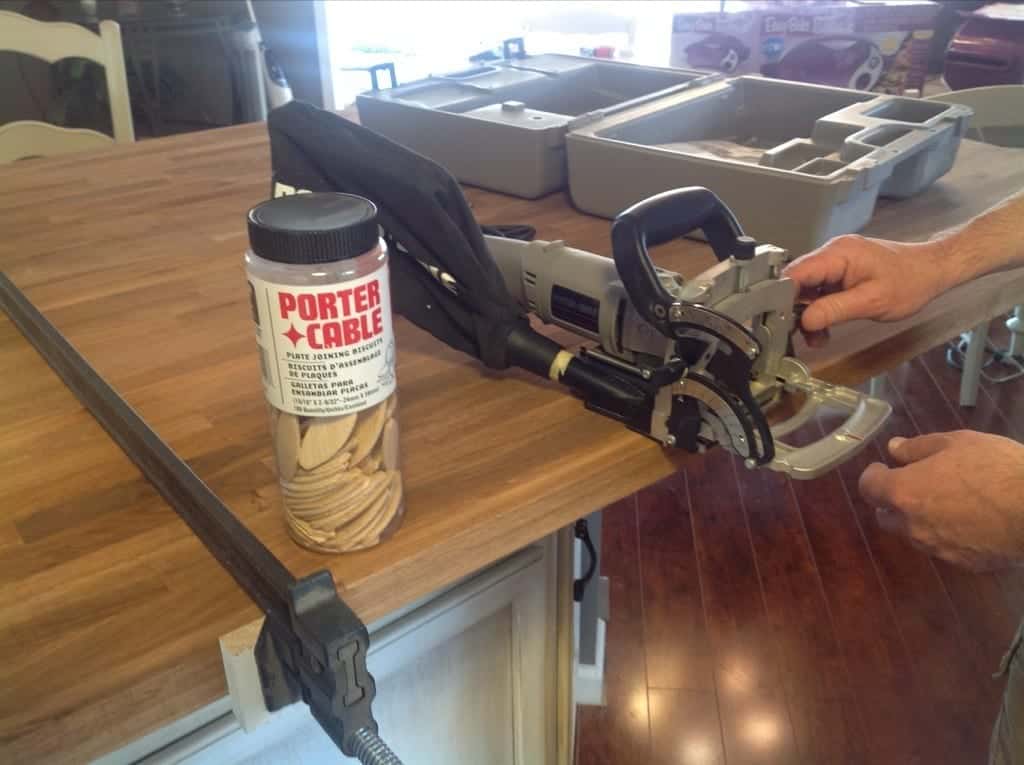
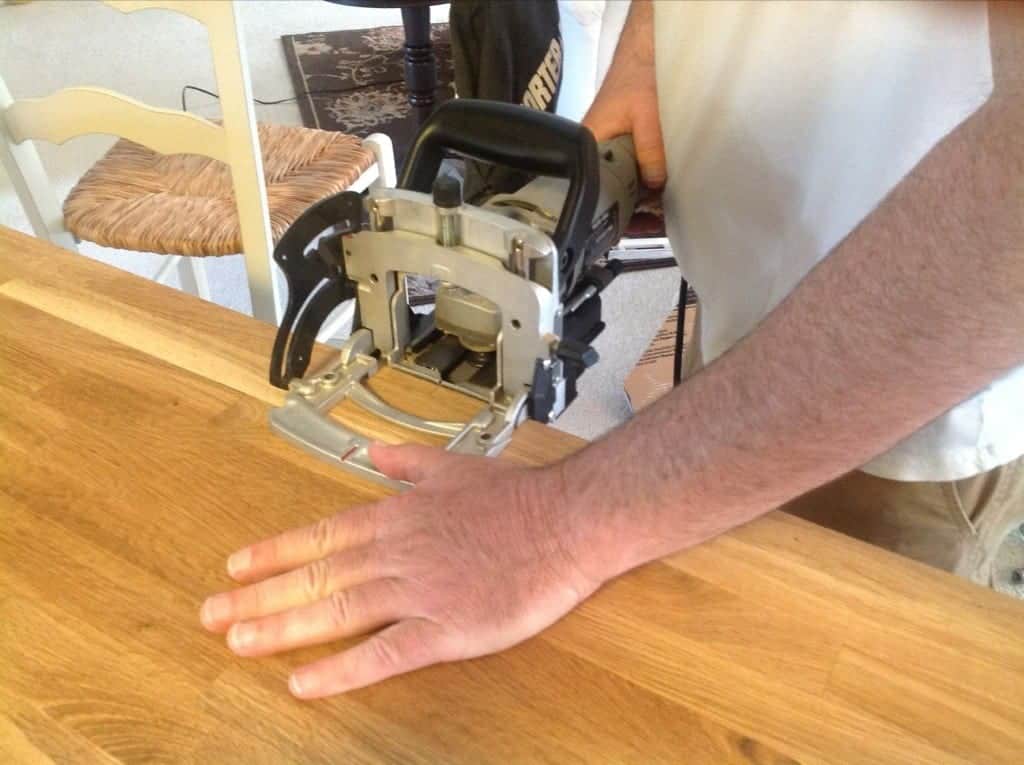
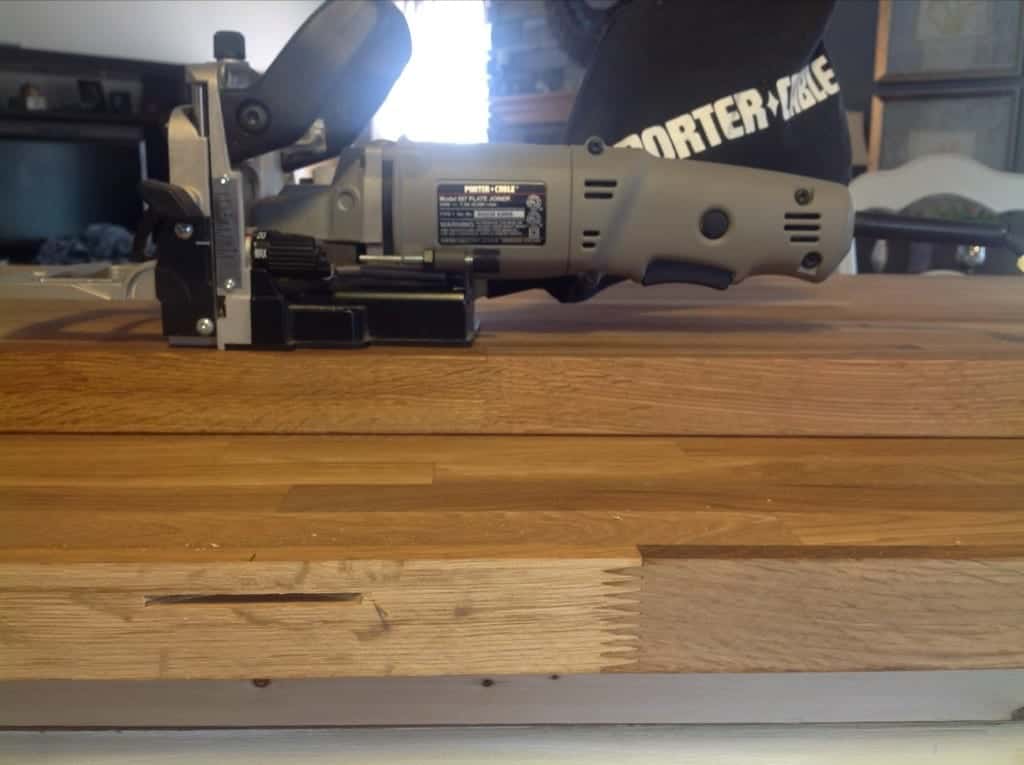
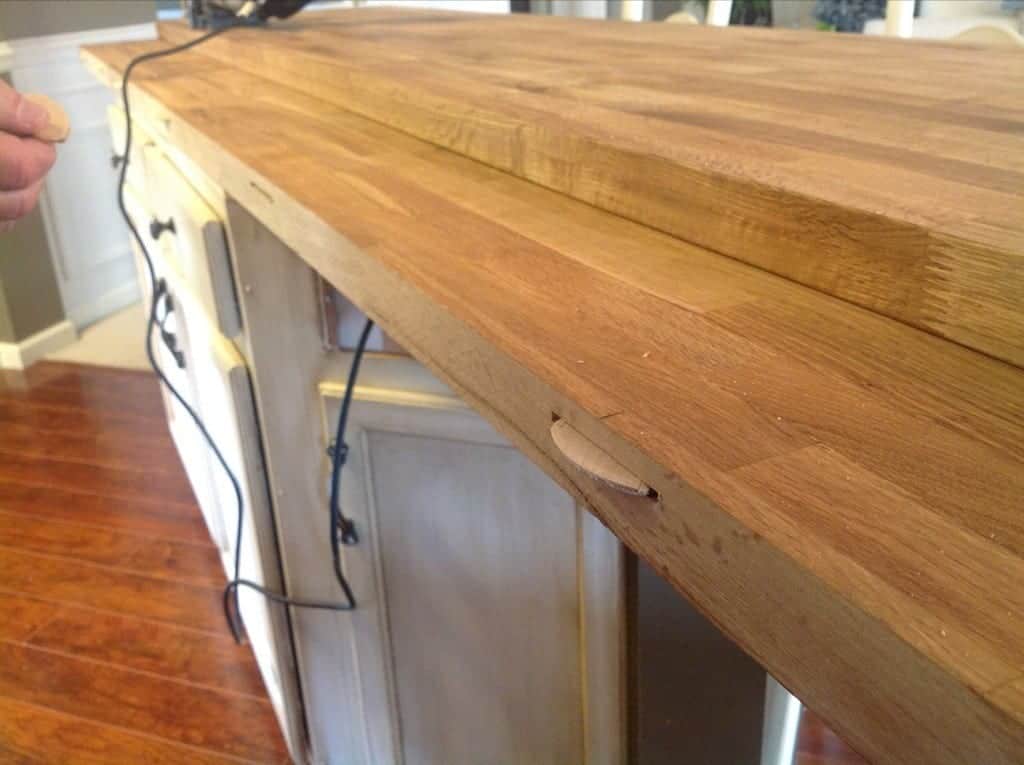
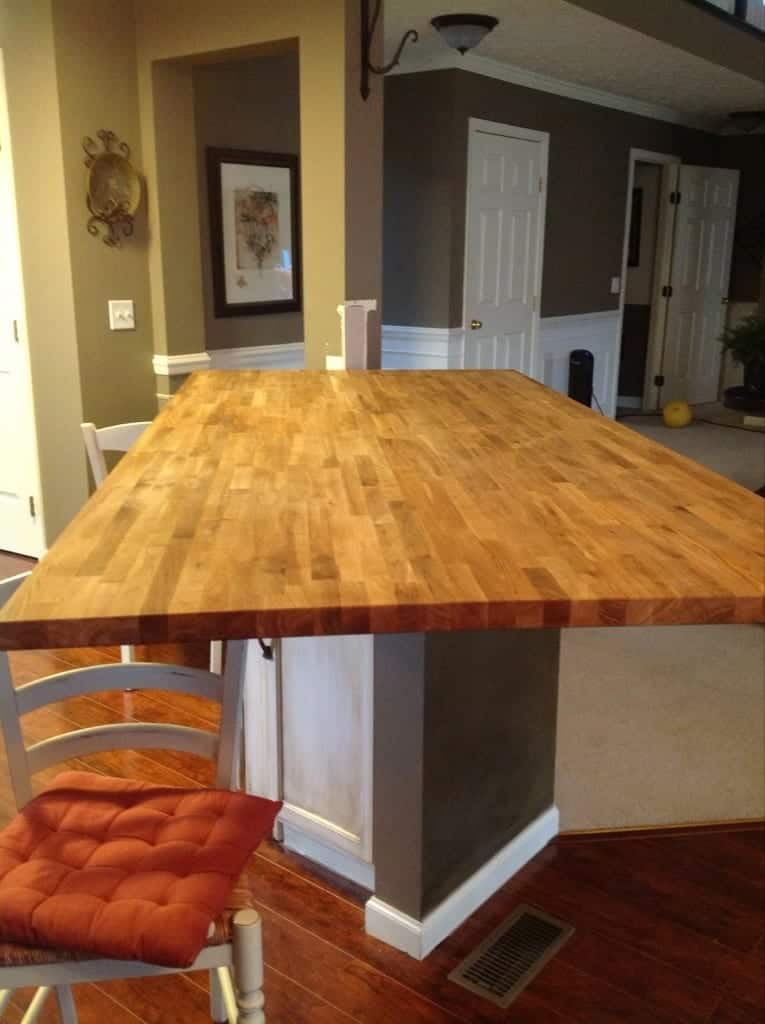
Following this tutorial, we purchased two Ikea Numerar Butcher Block countertops and spliced them together. This was a big job, but the results are amazing!
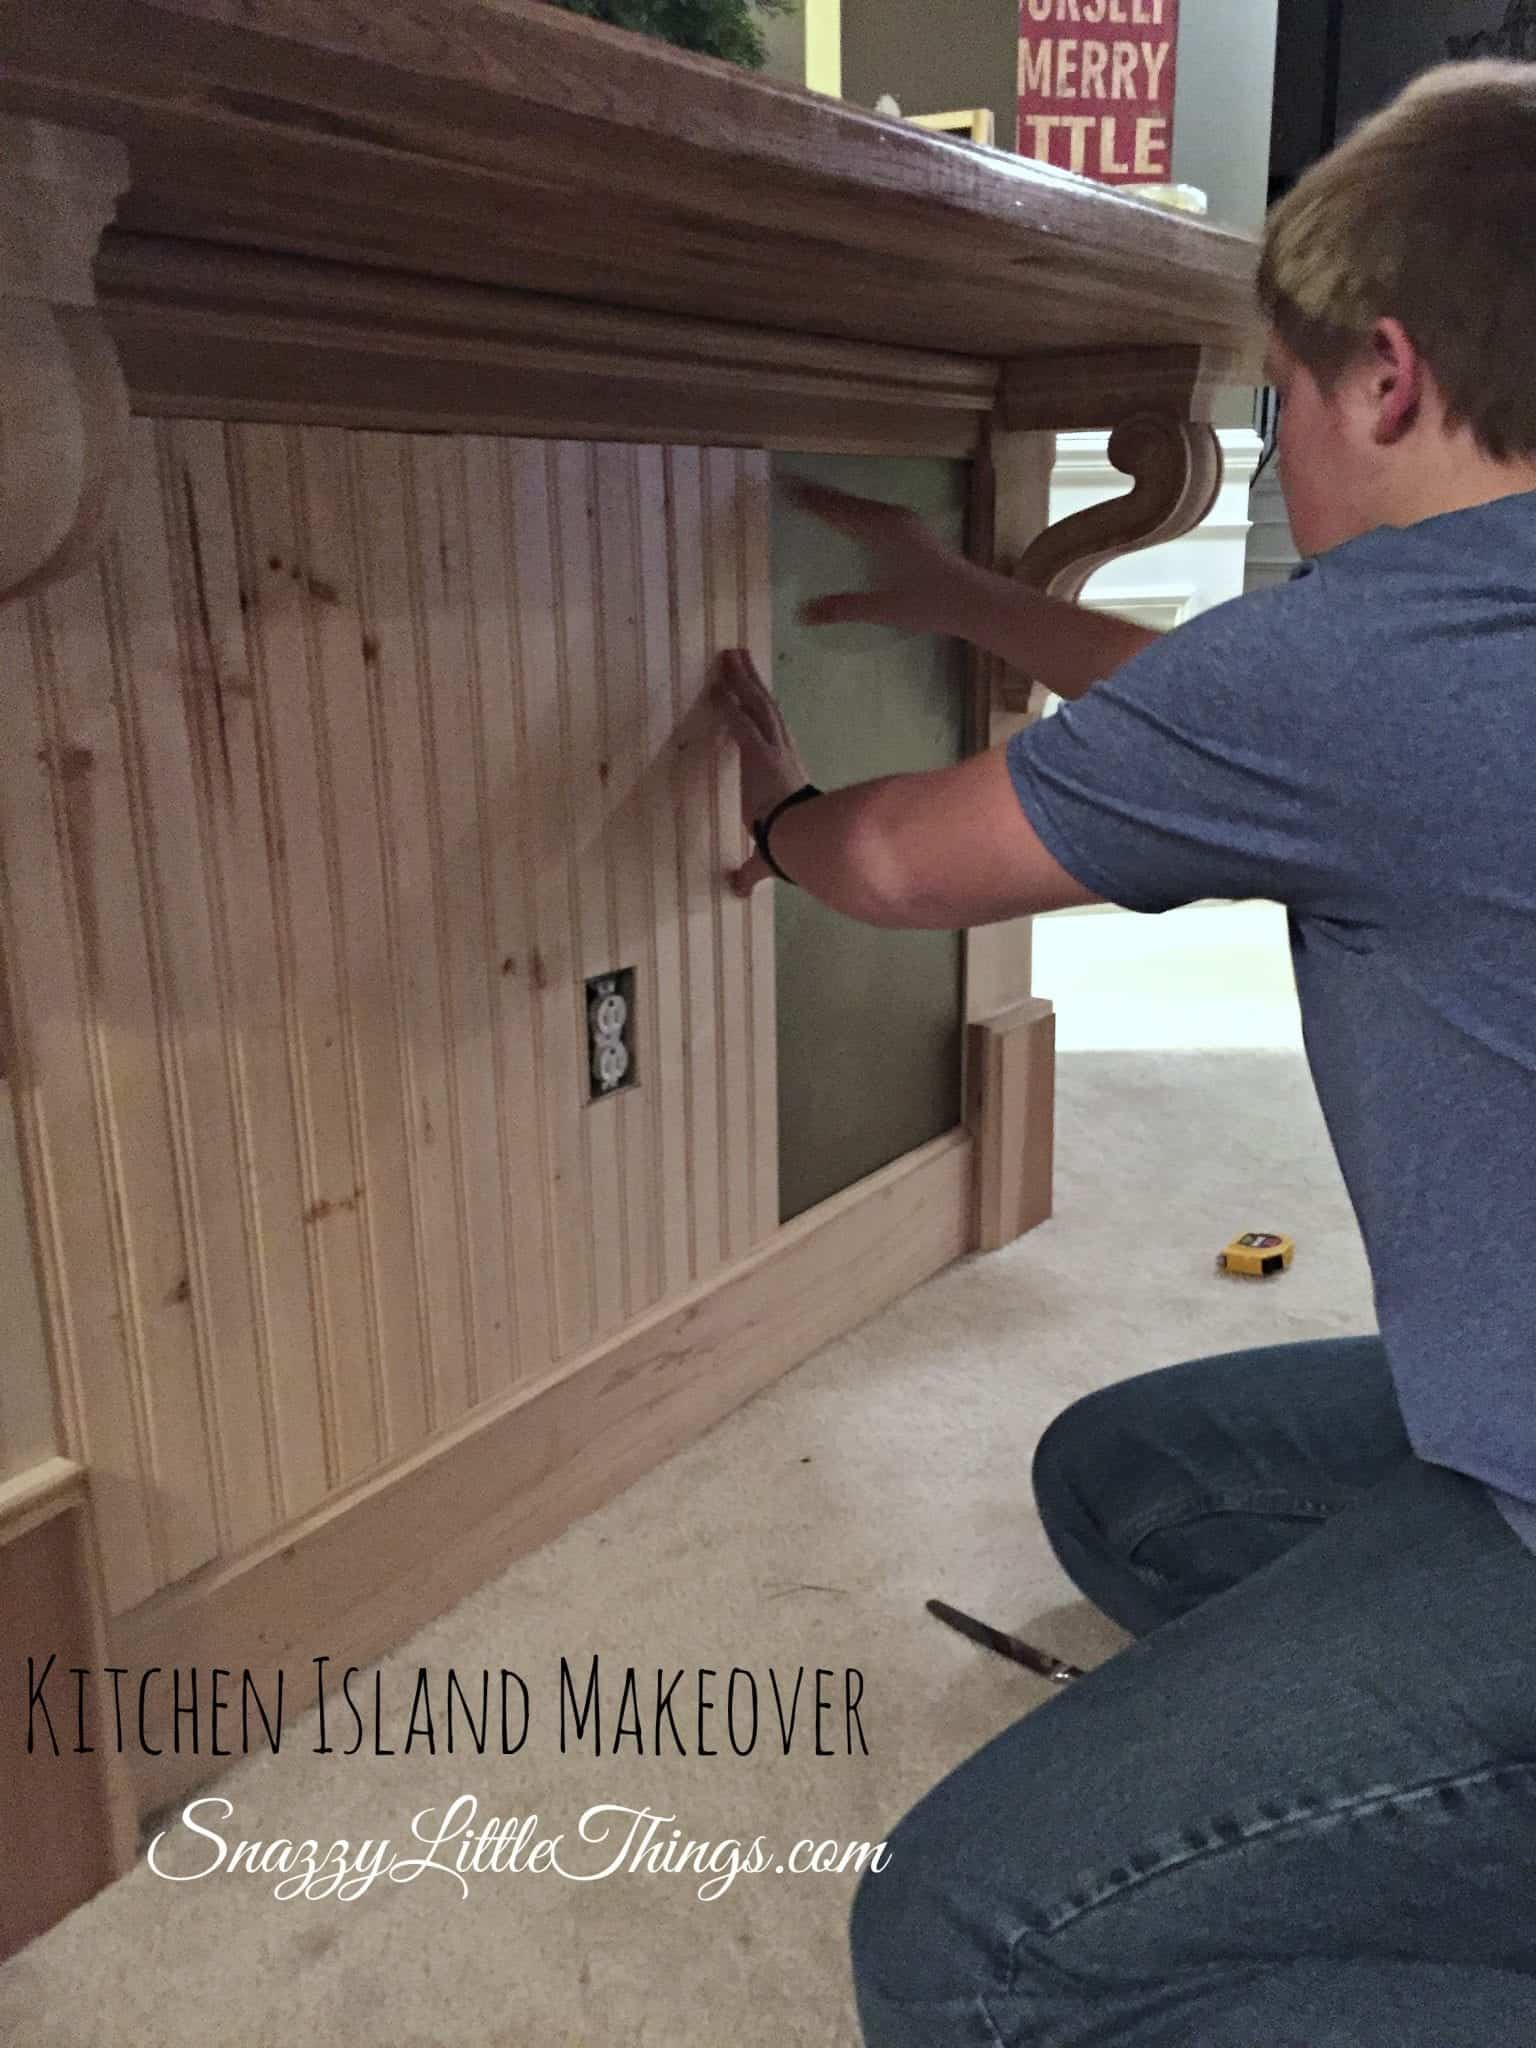
Step 3: Added trim, corbels & beadboard.
We took our time here. But eventually determined to add a tongue and groove beadboard facing. Added corbels underneath the island. And then used trim and wood to “build up” a faux column underneath the corbels to make them look like one unit.
Step 4: Clean & prep the wood
After cleaning with TSP and letting it dry, I filled holes with caulk & applied primer (2 coats). I keep caulk on-hand to fill in any missed spots that become more visible during the remaining steps.
Step 5: Applied DecoArt Stain Blocker and Sealer
This step seals the wood and prevent tannins from seeping through. After about a week, if tannins do seep, you’ll start seeing it then (especially important with oak). If you do see discoloration, scrub with TSP, resand then repeat Step 4 & 5. In my case, I had no tannins so I proceeded to Step 6.
Step 6: Applied two coats of paint.
We won’t even talk about the green and white paint job from the early days…mkay? That was a bad fashion moment. ;-)
After a light sanding, I wiped down the island. Using Decoart brushes, I applied thin, even coats of AMERICANA DECOR® SATIN ENAMELS™ onto the primed and sealed wood. Between coats, another quick and very light sanding would help the paint adhere perfectly. Wipe down, then apply a second coat. Two thin coats seemed to be enough, but you could apply three thin coats for extremely high traffic areas.
So there you have it…and it was really like giving birth, and I’m not even sure why – it was such a simple DIY after all!!! Oh well, now we can say the entire space is fini!




I love how your island is coming out! When we first moved into our house the builders had this one cabinet with a laminate countertop and called it a kitchen is,and. Wasn’t going to work for me since I like to bake. So we bought a second cabinet and added a granite top. I still love the countertop but the laminate cabinets have seen better days. I also have always wanted to add molding and corbels to it to make it more of a custom look. I love the corbels you used and the paint color! I’m wondering if the enamel will work on laminate? But can’t wait to see the rest of e kitchen when it’s done!
Thanks Kim! On the laminate portions, we are talking about adding panels. No matter how durable the paint claims to be, something will likely scratch it at some point. It looks so much better with the corbels and wood trim, we weren’t sure what to do with this space for awhile. Hopefully this is the last paint job these cabinets ever see. Next time, we’ll replace them.
Hi Jeanette, I have always been a fan of DecoArt products since I was a decorative painting teacher for multiple craft stores. And I always search their selection first. The satin enamels are the best. Great project board— coming to life here. Thanks for the tour, Sandi
Hi Sandi, this one will take me awhile, kitchens take such a long time to paint anyway and I’m being ultra picky…and I agree, love DecoArt’s products…but you don’t see many bloggers using it on their kitchen cabinets. Fingers crossed it all works out :)
Hello, I came across this blog on Pinterest! You are so talented :) I cannot find the Americana paint except in 8 oz. containers. Where did you purchase yours? Thank you so much for your inspiration!!
Beth, thank you for visiting my blog! Welcome! For some reason they only come in the 8oz sizes, but they go a long way. For this island I only needed 2 of them. They are water based so you can also dip your brush to apply thin coats. Hope this helps!
Hi Beth, thank you for your comment and sorry for the delay with my response. The Americana paint is only in the 8 oz containers, but it goes a really long way. I think I also replied in email so I hope you received my message. Let me know if I can be more helpful.
Would you recommend this Deco-Art paint kitchen chairs and table?
Definitely and I like it sprayed on, but because it’s self-leveling paint you can roll or brush it on too. It’s designed for high-traffic areas. Many thin layers is the key. :)
Where did you find the corbels on your island? LOVE THEM!!!
Thank you, they are from Architectural Depot.
Would u eve use this paint on a china hutch
Yes, definitely. This is great for high-traffic areas, too. There is a low sheen and you can wipe it down very easily, not chalky at all.