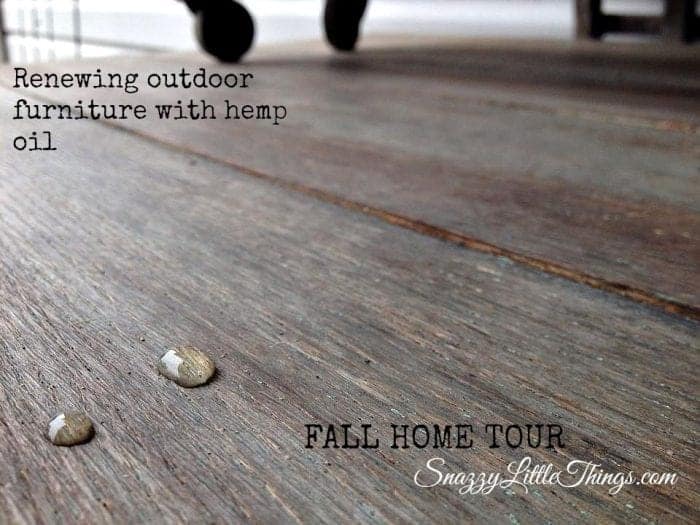
Renewing Outdoor Furniture with Hemp Oil
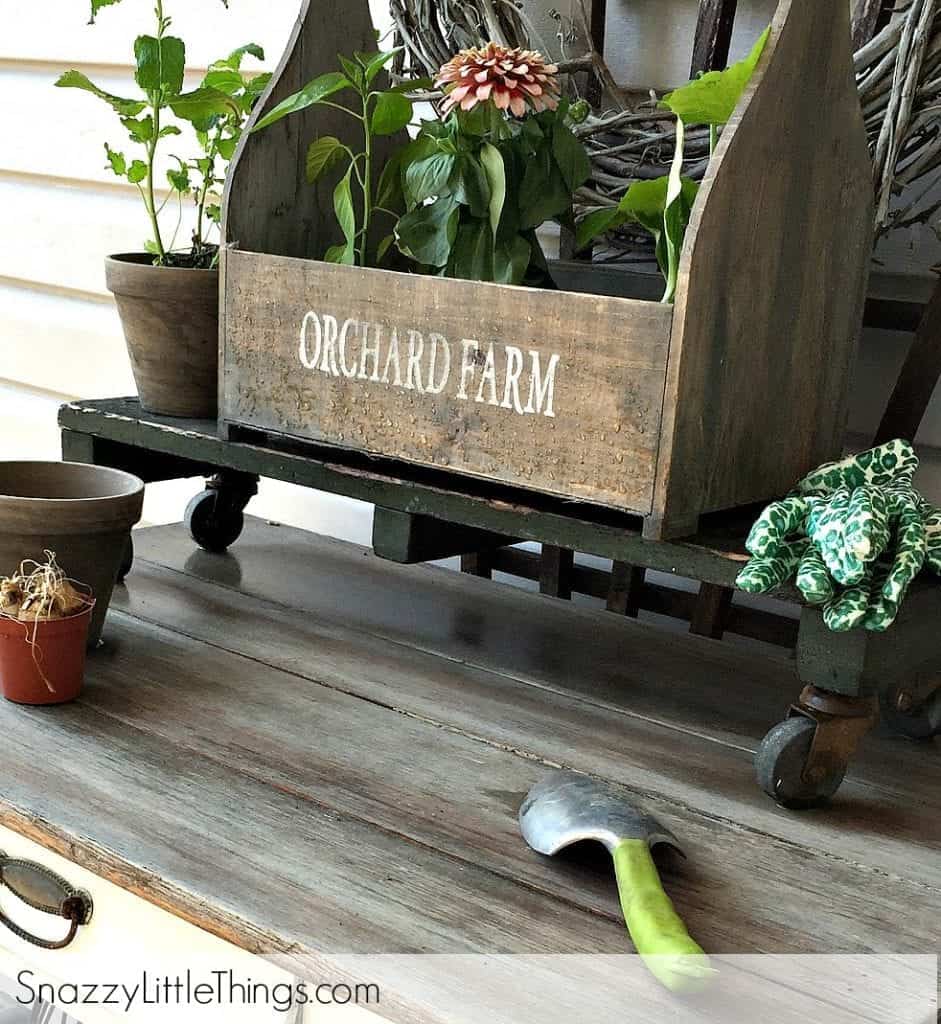
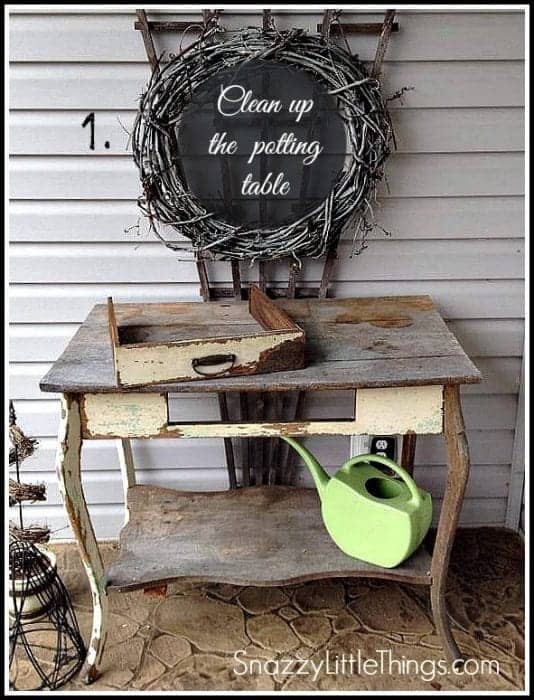
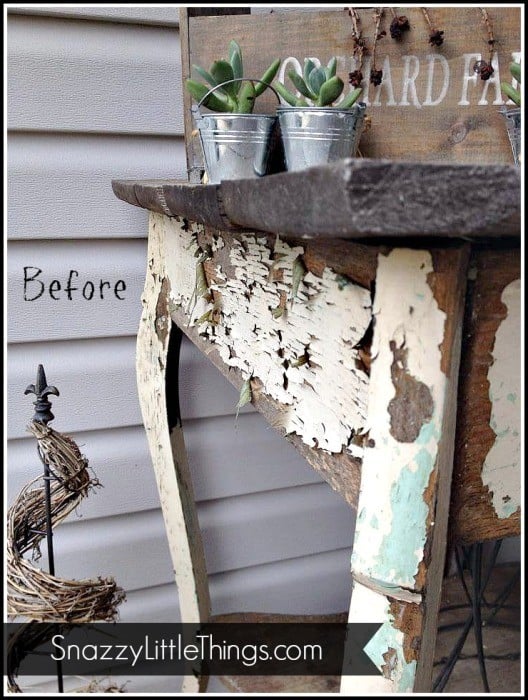
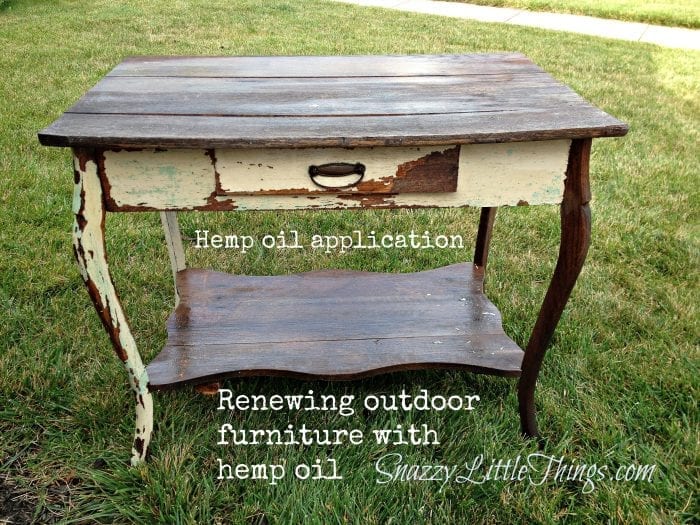
I adopted this beautiful table for $25 off of Craigslist last year. The paint had been partially scraped off and unfortunately the elements were not as kind and definitely got the best of her.
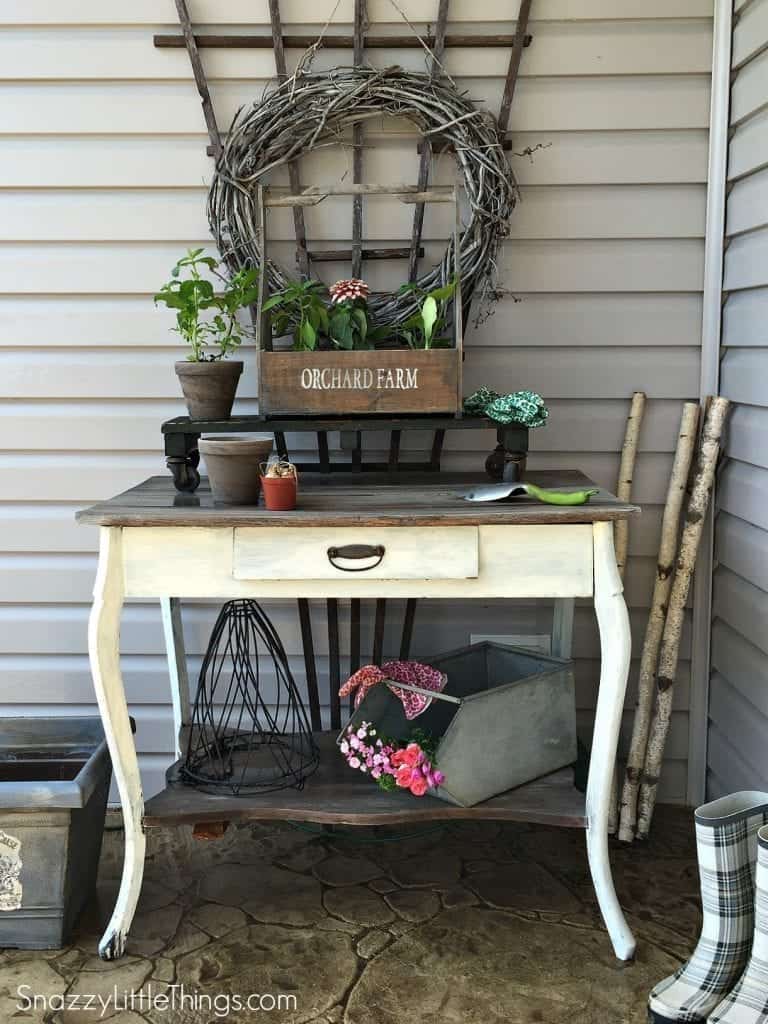
I admit I wanted this piece to come inside. But it looked so perfect just outside of our front door and filled this void perfectly.
In terms of refinishing, I made things up as I went along on this piece. I consulted my paint lady who sells Miss Mustard Seed Paint. She gave me some pointers on how to retain the “chippy” finish, but still giving this piece a second chance. She felt that’s all this piece needed, and I agreed.
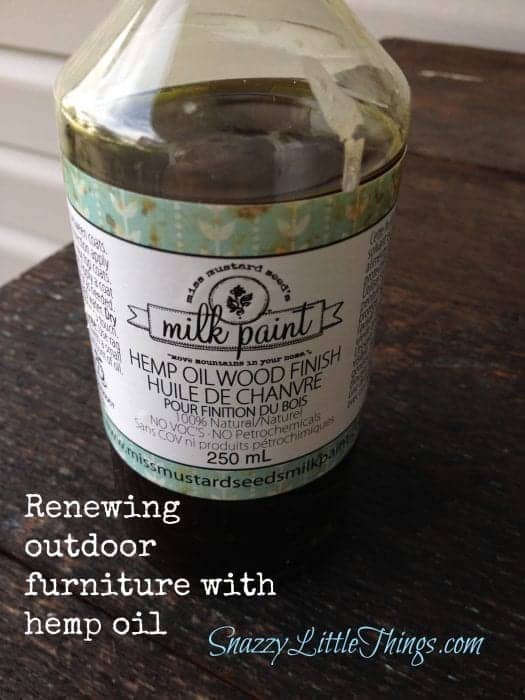
So, how does hemp oil help with “aging” furniture?
- It penetrates and renews damaged wood
- It repels water
- “Resist Technique” If you want to retain the “chippy” look, applying hemp oil before paint prevents it from bonding to the furniture, thus creating the crackle, chippy effect.
- Unlike wax which can melt or get sticky on pieces sitting in extreme heat, hemp oil adapts better when outdoors in the sun.
MORE TIPS TO ACCELERATE THE “AGING” PROCESS:
You can accelerate the crackling process (for instant aging) by doing the following
- Add HEAT. Place item in the hot sun -or- use a hairdryer (see my video I posted on Facebook below)
- Adding a crackle medium between coats
- Here is a video of what I mean. I applied hemp oil, crackle medium and heat for a fast crackle finish.
I mentioned this table is the first thing that greets guests when the arrive at my doorstep. And it was turning into a pile of paint chips, literally before my eyes. Plus it was very dirty. So I started out by hosing it down with a hose in the front yard and letting it dry. I don’t typically spray wood furniture with water but there wasn’t a good way to give it a deep clean. There was so much dust and dirt on this, I didn’t have much choice.
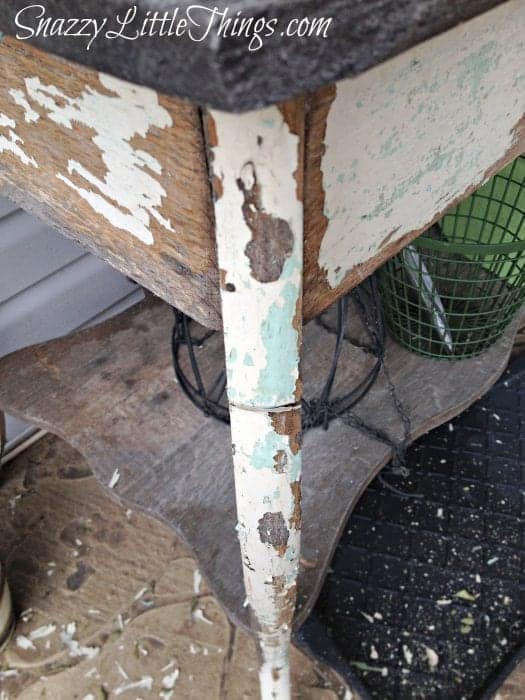
This table was in bad shape. So a light treatment was definitely needed.
A light scraping and the paint literally fell off.
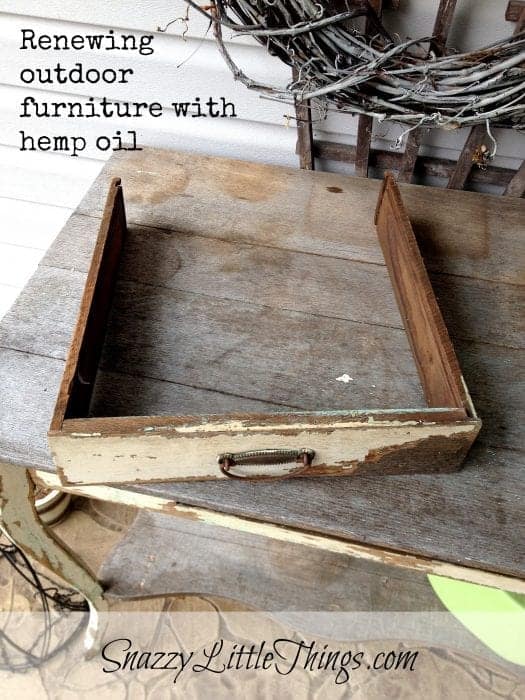
We replaced the missing bottom on the drawer with a piece of plywood. Easy.
“Resist Technique” — I applied a coat of hemp oil everywhere. Doing so makes it difficult for the new paint to adhere to the old paint and allows more chipping. Thus, it “resists” paint, enabling a chippy finish over time.
In this case, I hoped that by applying a generous coat of hemp oil would do, because I really want this to chip again.
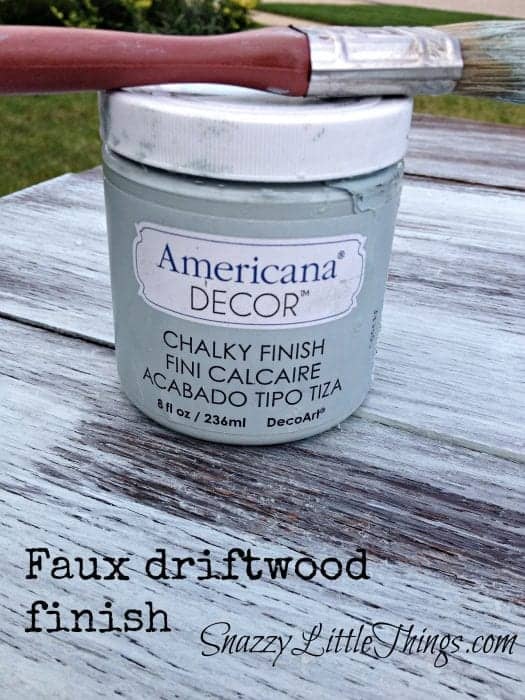
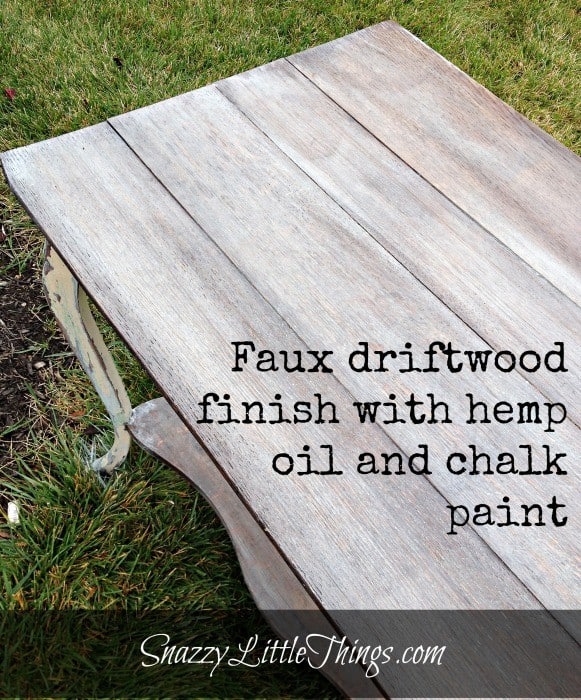
I decided to retain the plain wood on top but to enhance it. I wanted a grey “driftwood” patina. So, over the top of the hemp oil, I applied a layer of Chalky Paint from DecoArt’s Americana line (you can buy this from JoAnn Stores). Ironically, it matched the older blue paint layers that were revealing themselves in the chipping.
…and with a damp cloth, I wiped off, and rubbed in the paint until I achieved the desired “driftwood” effect that I wanted. I was careful to make sure that color into the wood would show through, but it was enhanced with DecoArt Chalky Paint.
My battery had died on my phone, but I will recreate my final steps as best as I can.
The final step was applying two shades (the Americana Paint and another layer of Annie Sloan Chalk Paint in “Old White”) mixed on the body of the table. This is where time is your best friend. Over time this will crackle and age, and if not I will sand it to accelerate the aged look. But first, I’m allowing the elements to do what it does naturally to this beauty.
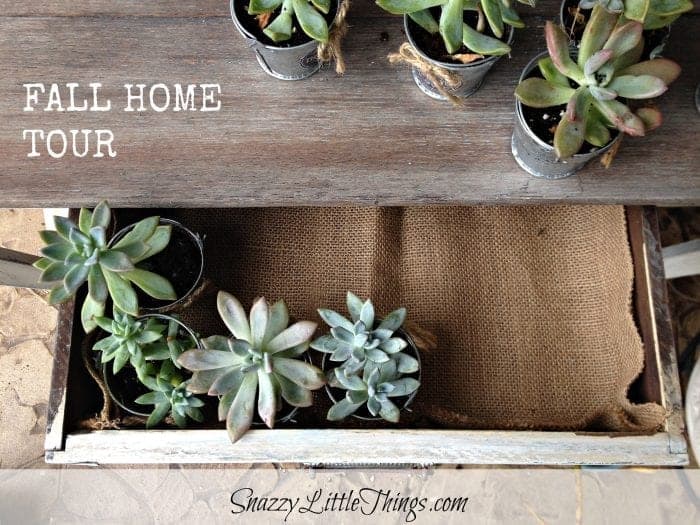
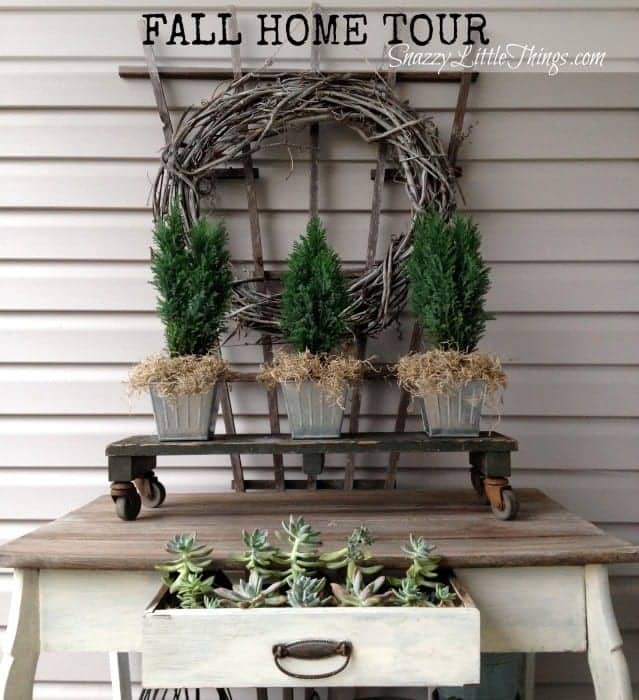
We lined the drawer with burlap, and added succulents for a display until the weather turns.
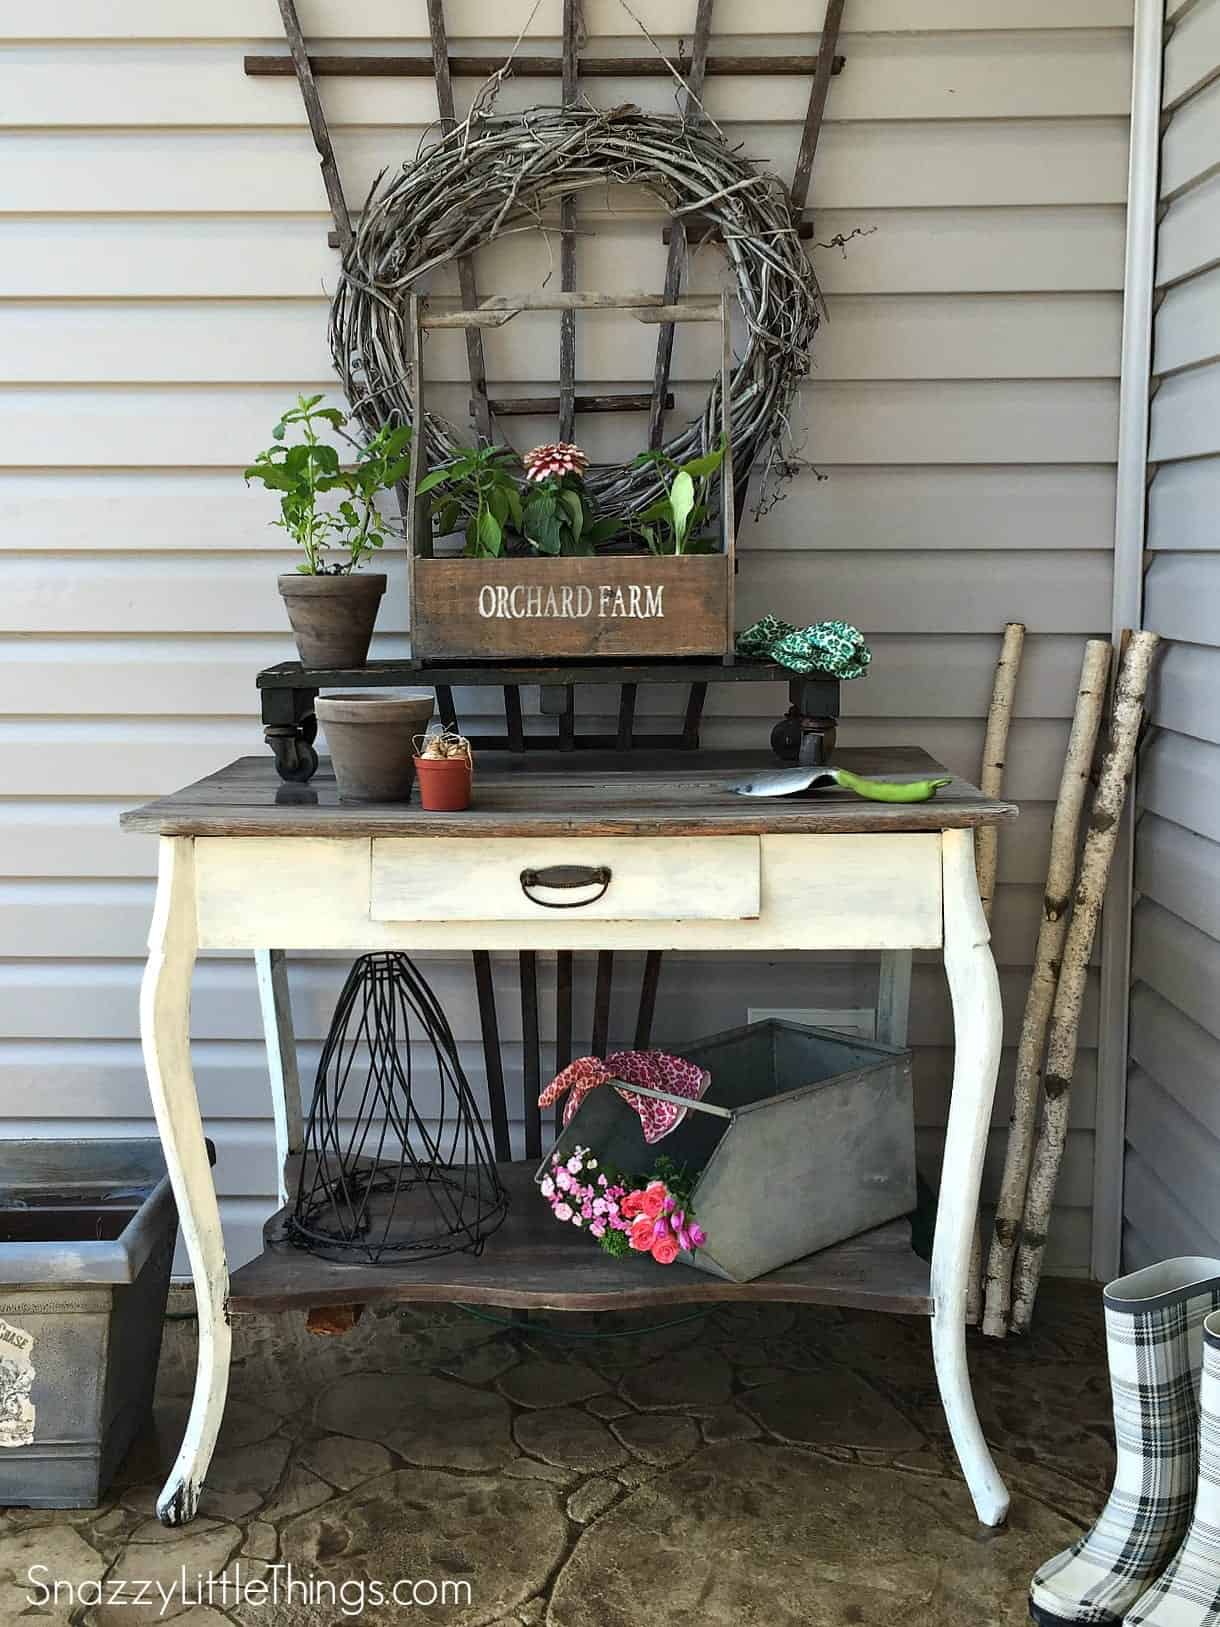
And here is the final result…she’s all dressed up for fall. Feel free to continue the home tour here, I will be moving inside this weekend to finish a few more projects.


Hey Jeanette, I love how the potting table turned out. Love the driftwood look on top. Letting go and not trying to get things “perfect” is hard for me to sometimes. I need to practice that.
I love it! It turned out great!
It looks great! I love the weathered look! I am trying to get that look on a few items at the moment :) Isn’t it so satisfying to transform something and make it your own.
Thanks Christina (and everyone!)