Winter Wedding Decor with Cricut Explore Air
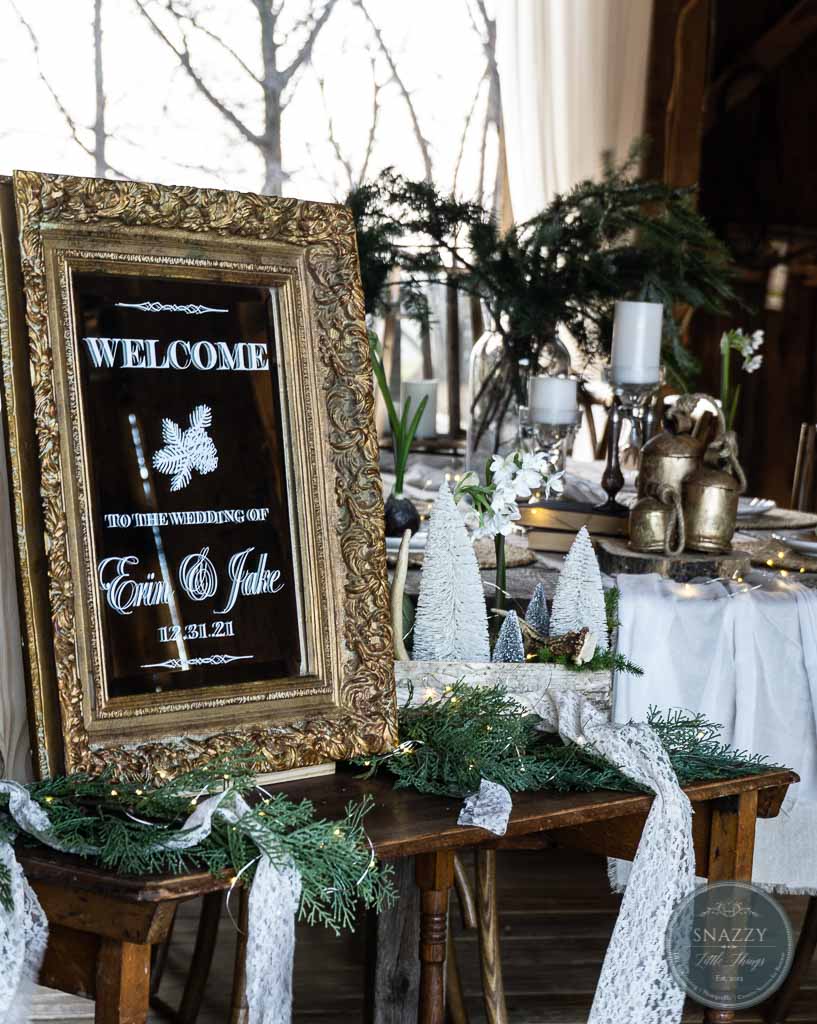
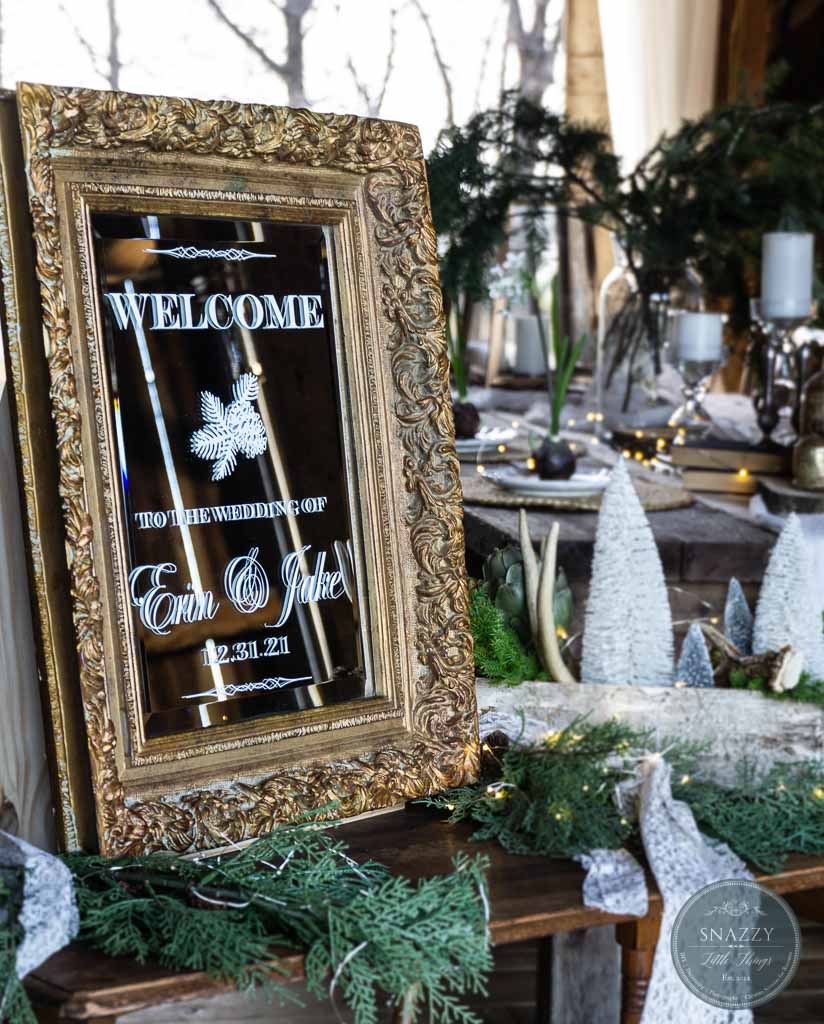
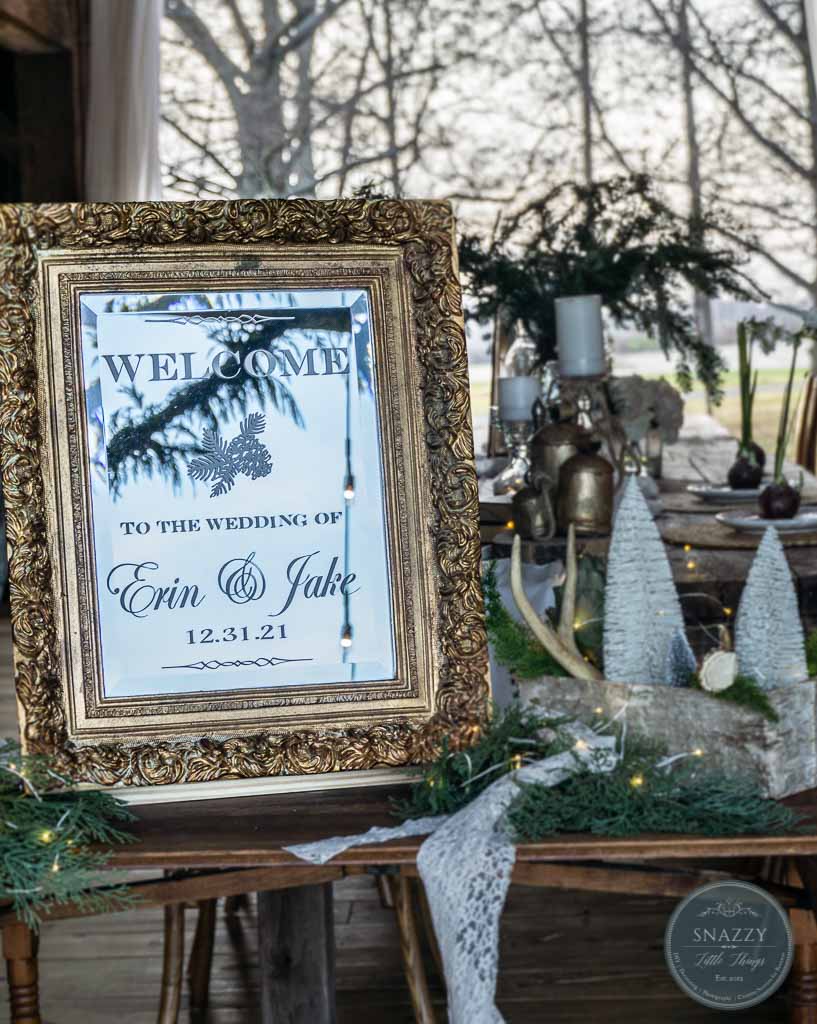
Winter wedding decor is easy to make when you use a Cricut Explore Air 2. Make this elegant welcome sign to set the tone for your event using white removable vinyl + a thrifted, gilded gold mirror from Facebook Marketplace.
I’ve been blogging about home decor since 2012. I left my corporate day job and officially became a Cincinnati based portrait and wedding photographer in June 2021. This, after a friend of mine (also the owner of a 100+ year of a beautiful barn wedding venue) convinced me that photography might be my true calling. Sometimes it takes another person to see your talents more clearly than we can see them ourselves. Kelly has become such a great friend. She and I are kindred spirits and LOVE crafting, decorating, staging…and party planning! Photography has been an amazing way for me to marry all of my passions including decorating, photography and staging beautiful spaces. (And I get to hang out with her in this gorgeous space!)
DIY Mirrored Sign to Greet Your Wedding Guests
Staging events is a big part of my job. Each time I host a photoshoot or event, Cricut has been an essential player in creating simple, yet gorgeous party accents. Seasonal projects, weddings, and holiday events are easy when you have the right tool for the job.
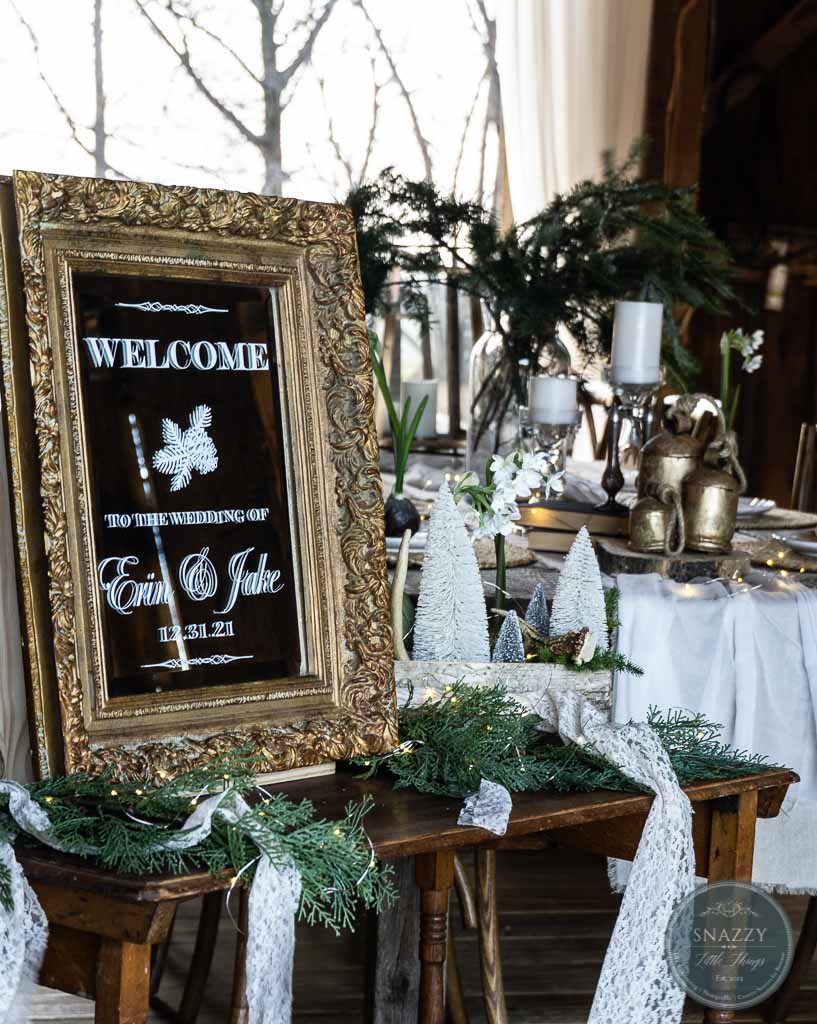
Mirrored “Welcome” Sign with Cricut Explore Air 2
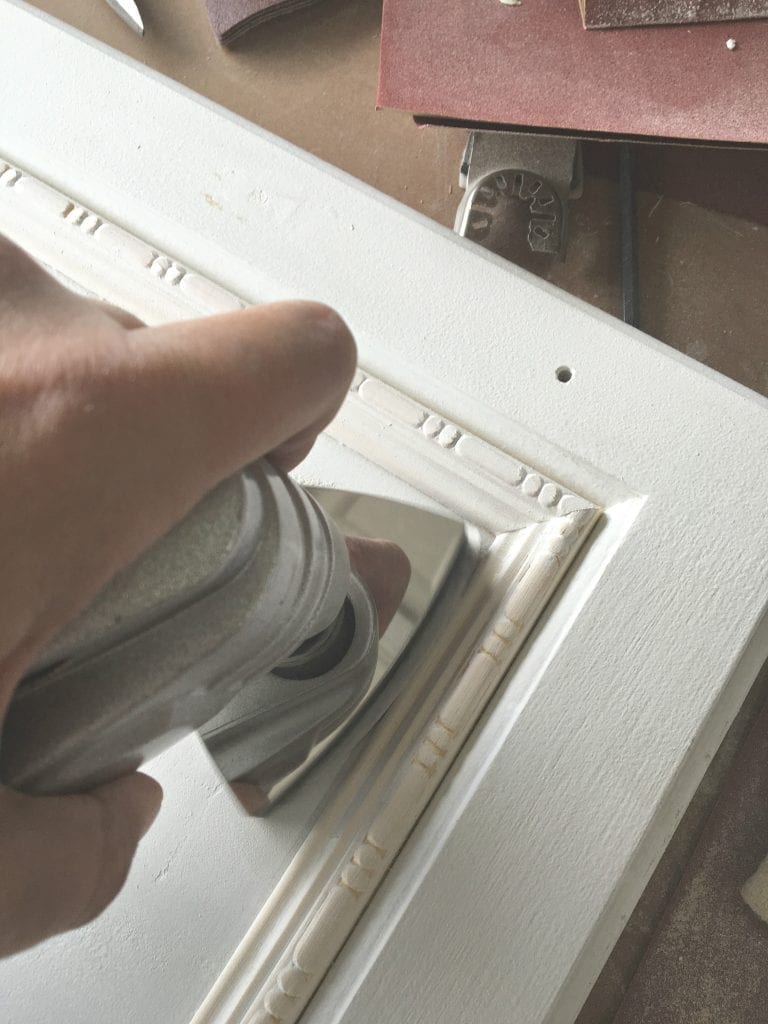
Using a thrifted mirror I had at home, I created this simple winter wedding “welcome” sign which would be perfect for most any winter event!
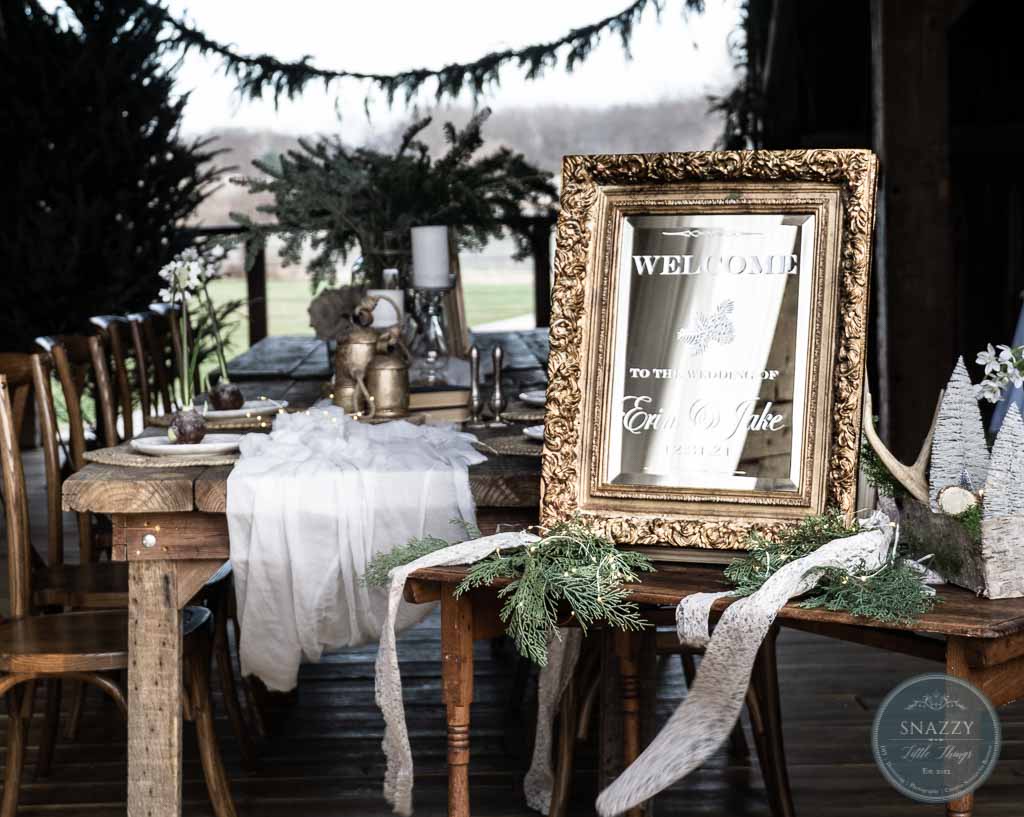
Materials To Make a Mirrored Sign
- A Cricut Explore Air (2) or newer.
- White glossy vinyl
- 12″ x 12″ Standard Grip Machine mat
- Cricut Transfer Tape
- Cricut Weeding supplies
- Cricut burnishing tool
- A vintage mirror of your choice
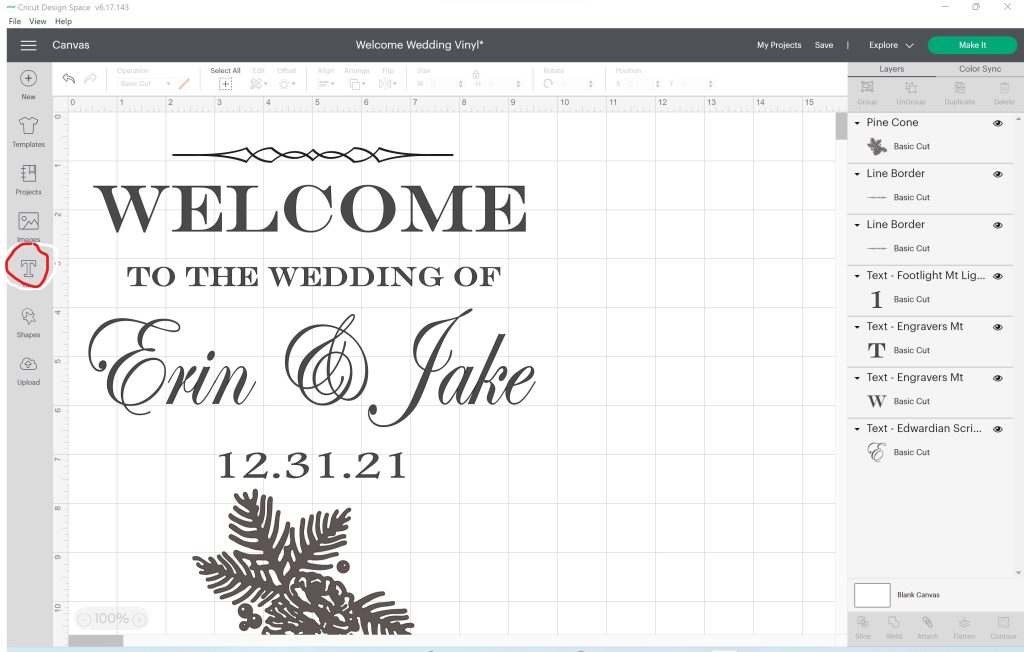
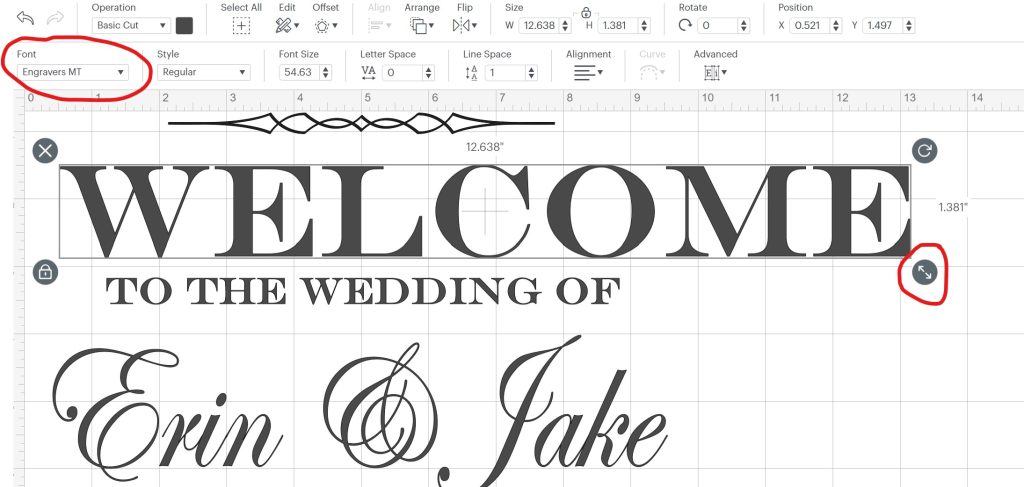
How to Design: You will need access to Cricut Design Space. The fonts I used (script) Edwardian Script. Engravers MT (serif font).
How-To Design in Cricut Design Space:
- Collect some gorgeous, vintage mirrors. This mirror is a former member of my kitchen gallery mirror collection.
- Open Cricut Deisgn Space. Click “New Project” in the upper right corner.
- Add your lettering. Start Designing by Clicking the Text icon on the right. Start laying in your text. I chose Engravers MT for all of the serif fonts. And Edwardian Script for the names. Add a decorative accent such as the pine cone that I used for my design (there are thousands ofS options to choose from!)
- Once everything is palced, click “Make It”
- Set dial to “Vinyl” on the Cricut. Place a the vinyl face up on the cut mat
- YOU WANT the sticky side of the letters to stick to the mirror. So apply transfer tape on TOP of the vinyl letters, on the non-sticky side.
Check out my TikTok video to see the process:
Visit my new page, Linen & Elm Photography on Facebook and Instagram. Since June I have styled 5 photoshoots hosting vendors, shot 5 weddings and over 40 families. I would say the business is doing well (for those of you wondering where I’ve been!) I love styling, photographing…all of it!
See all of my other Cricut projects (including Explore Air 2, EasyPress and Cricut Joy)
Industrial Style Cricut Craft Space
An industrial chic craft area and multipurpose family game room located in the corner of a basement. A perfect spot…

5 Things I LOVE About My Cricut Explore Air 2
This is a sponsored conversation written by me on behalf of Cricut. The opinions and text are all mine. Have…
Writing with Cricut Explore Air 2
This is a sponsored conversation written by me on behalf of Cricut. The opinions and text are all mine. If…
Antler Pillow Covers with Cricut Easypress
This is a sponsored conversation written by me on behalf of Cricut. The opinions and text are all mine. This…

Cricut 101: Basics for Beginners!
This is a sponsored conversation written by me on behalf of Cricut. The opinions and text are all mine. See…

How to make “His + Hers” Arrow Pillow Covers
If you aren’t that into decorating your home with red hearts and pink this Valentine’s Day, I’m right there with…
