How to Eliminate Wood Grain on Your Cabinets
Porous, grainy oak cabinets can be one of the most difficult types of wood to paint. Trust me — we learned this hard way! This is attempt #2 for us, the first time we used a paint kit and had many regrets. In this post, I’ll share the importance of prepping your cabinets, how to prevent tannins from bleeding through….and the steps we took to virtually eliminate the wood grain on our builders-grade, orangey oak cabinets.
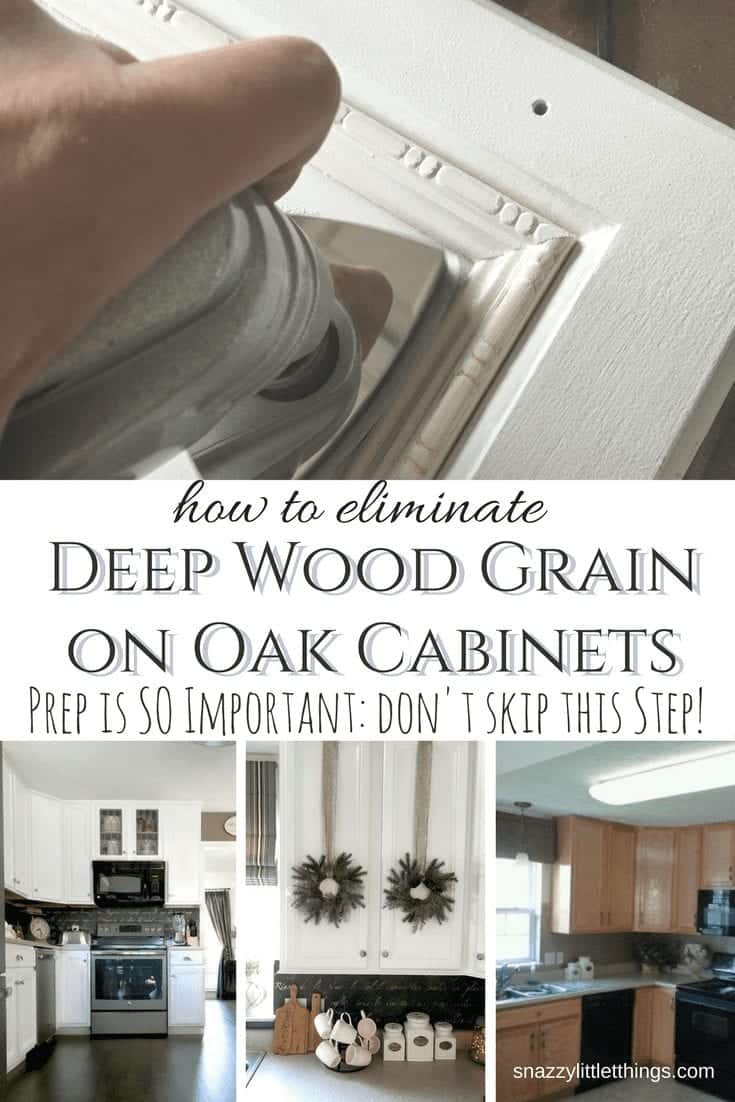
By sharing I this post, I sure hope to save you from making the same mistakes we made the first time around. We DIY bloggers make mistakes (so that you don’t have to!)
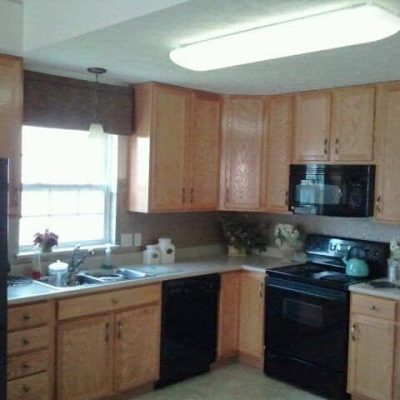
{Below: Kitchen painting, “Round II” had begun. I’m sanding and patching here}
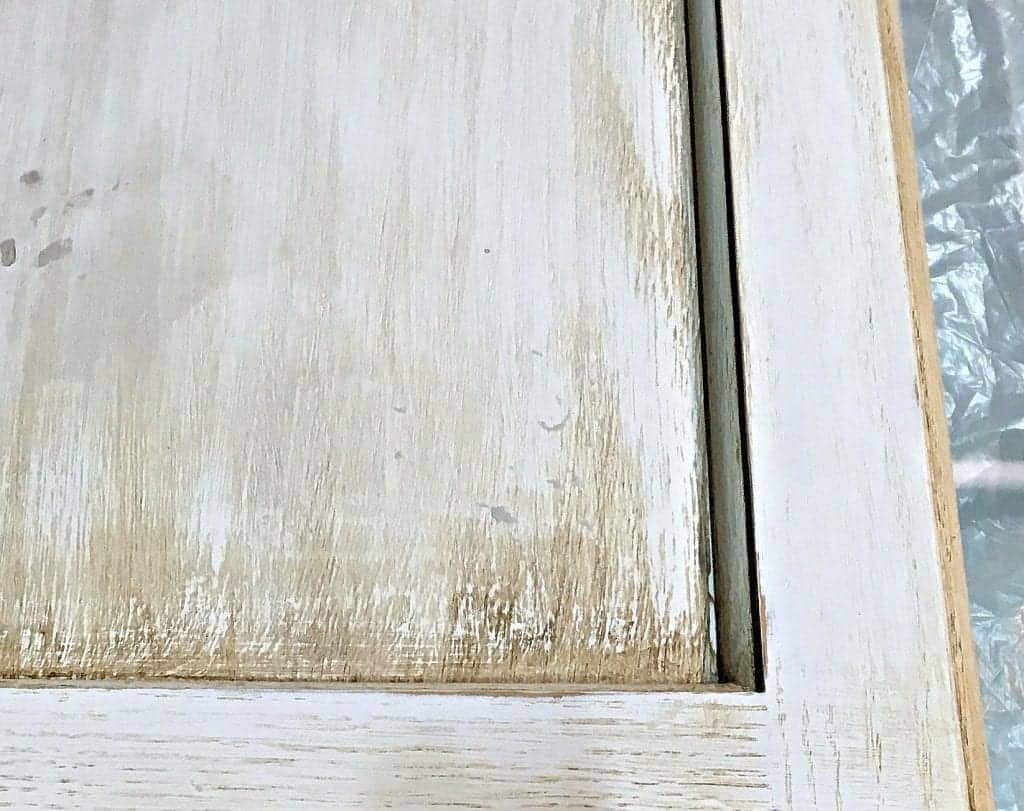
Yuck, right? See the deep wood grain? The more I studied other painted kitchens the more I regretted my earlier decision to use a “paint kit” the first time. The antique glaze that came with the kit also looked terrible. If I had it to do over again, I would have never used a deglosser and would have sanded and primed. And I definitely wanted a cleaner, smoother finish (with no antiquing). I chalk it up to being an inexperienced DIYer back then.
We arrived at the conclusion that we would have to go the extra mile to prep our cabinets in order to get the clean, smooth finish that we both wanted. This would undoubtedly extend our project timeframe — but the results were worth it!
Prep Your Cabinets: Clean + Eliminate Wood Grain
Step 1: Clean cabinets with TSP + water solution (use rubber gloves). I simply had a small bucket and wet cloth to wipe them down, front and back. Let dry.
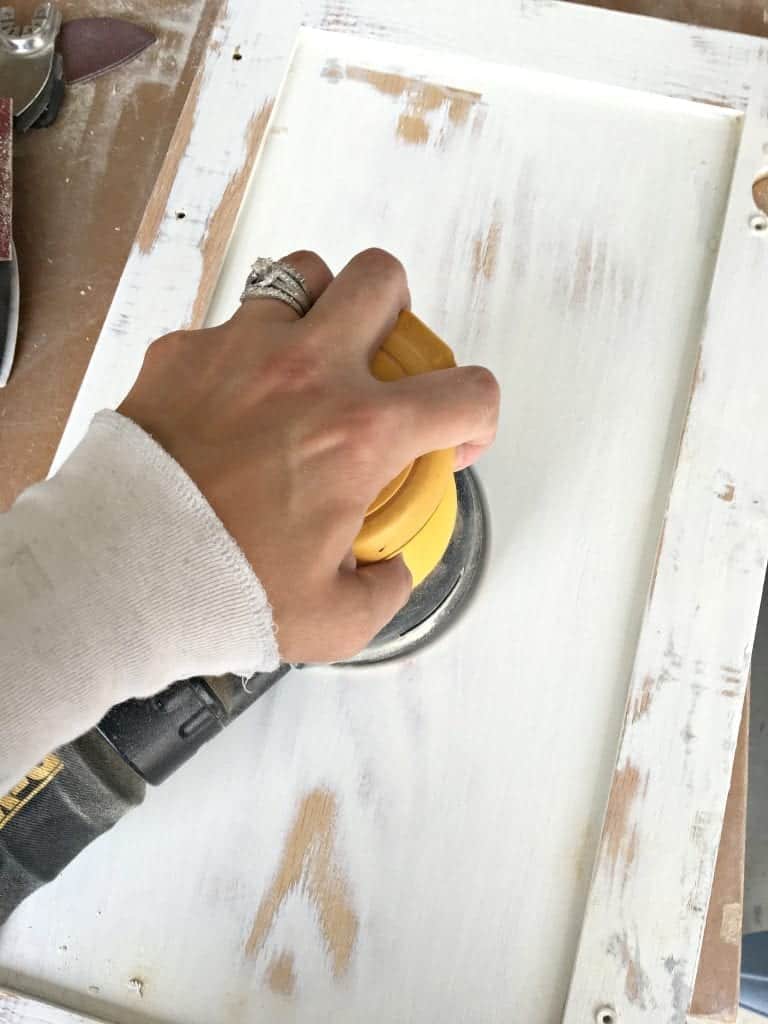
Step 2: Initial sanding, use an 80-100 grit sandpaper. We used a hand sander. I didn’t go too deep into the wood since our panels were veneer – but for some reason, the wood grain was SO visible that we had to keep going over them lightly and carefully until they diminished.
Step 3: Remove all dust from the cabinet. I used a damp cloth to wipe it down.
Step 4: Find a dust-free area to avoid having air born particles land in your paint. Roll on a stain blocking primer with a foam roller made for cabinets. This fills the grainier portions of the wood right away. Let dry.
Step 5: Sand each cabinet between coats. I applied two coats of primer with a light sanding between.
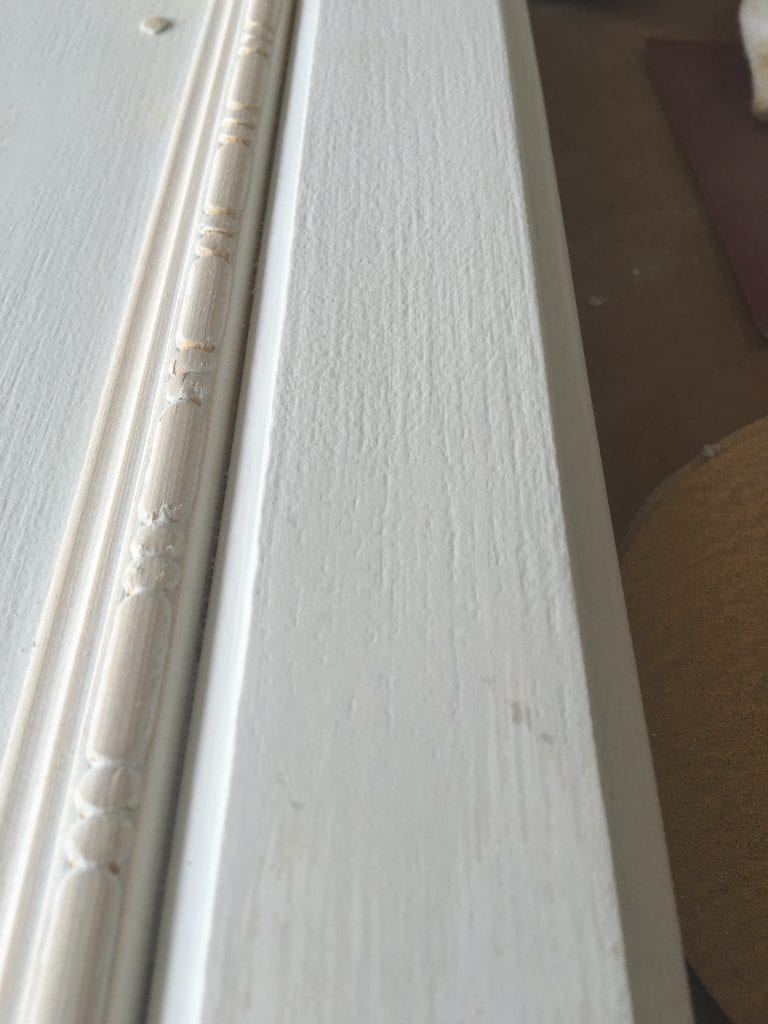
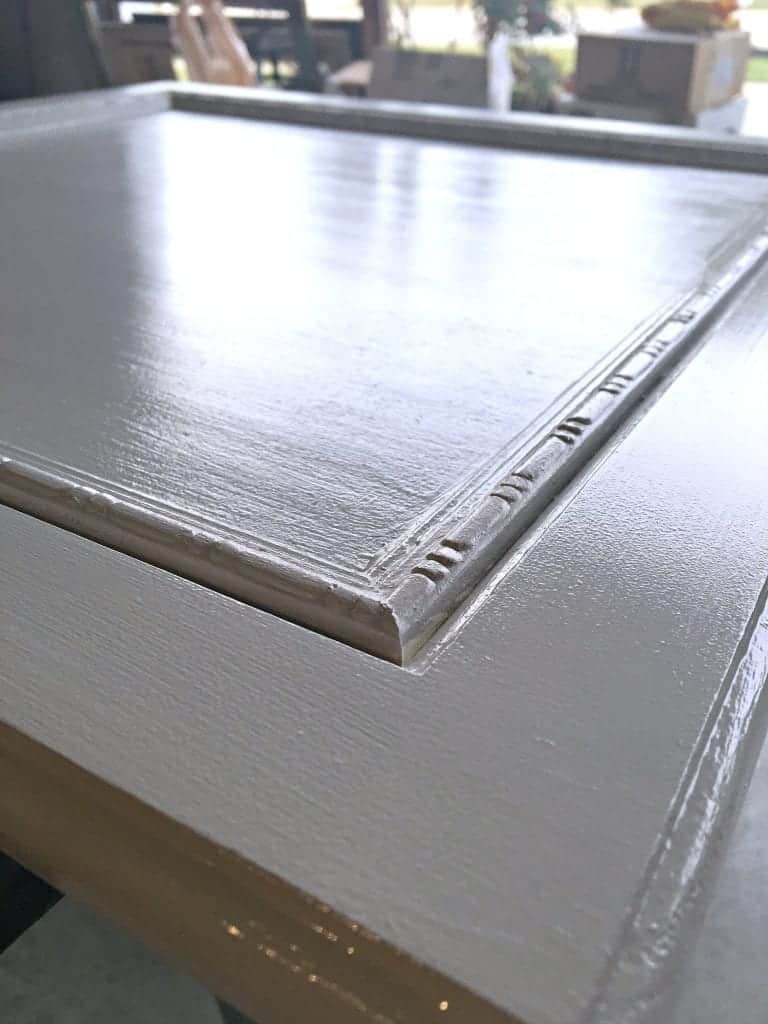
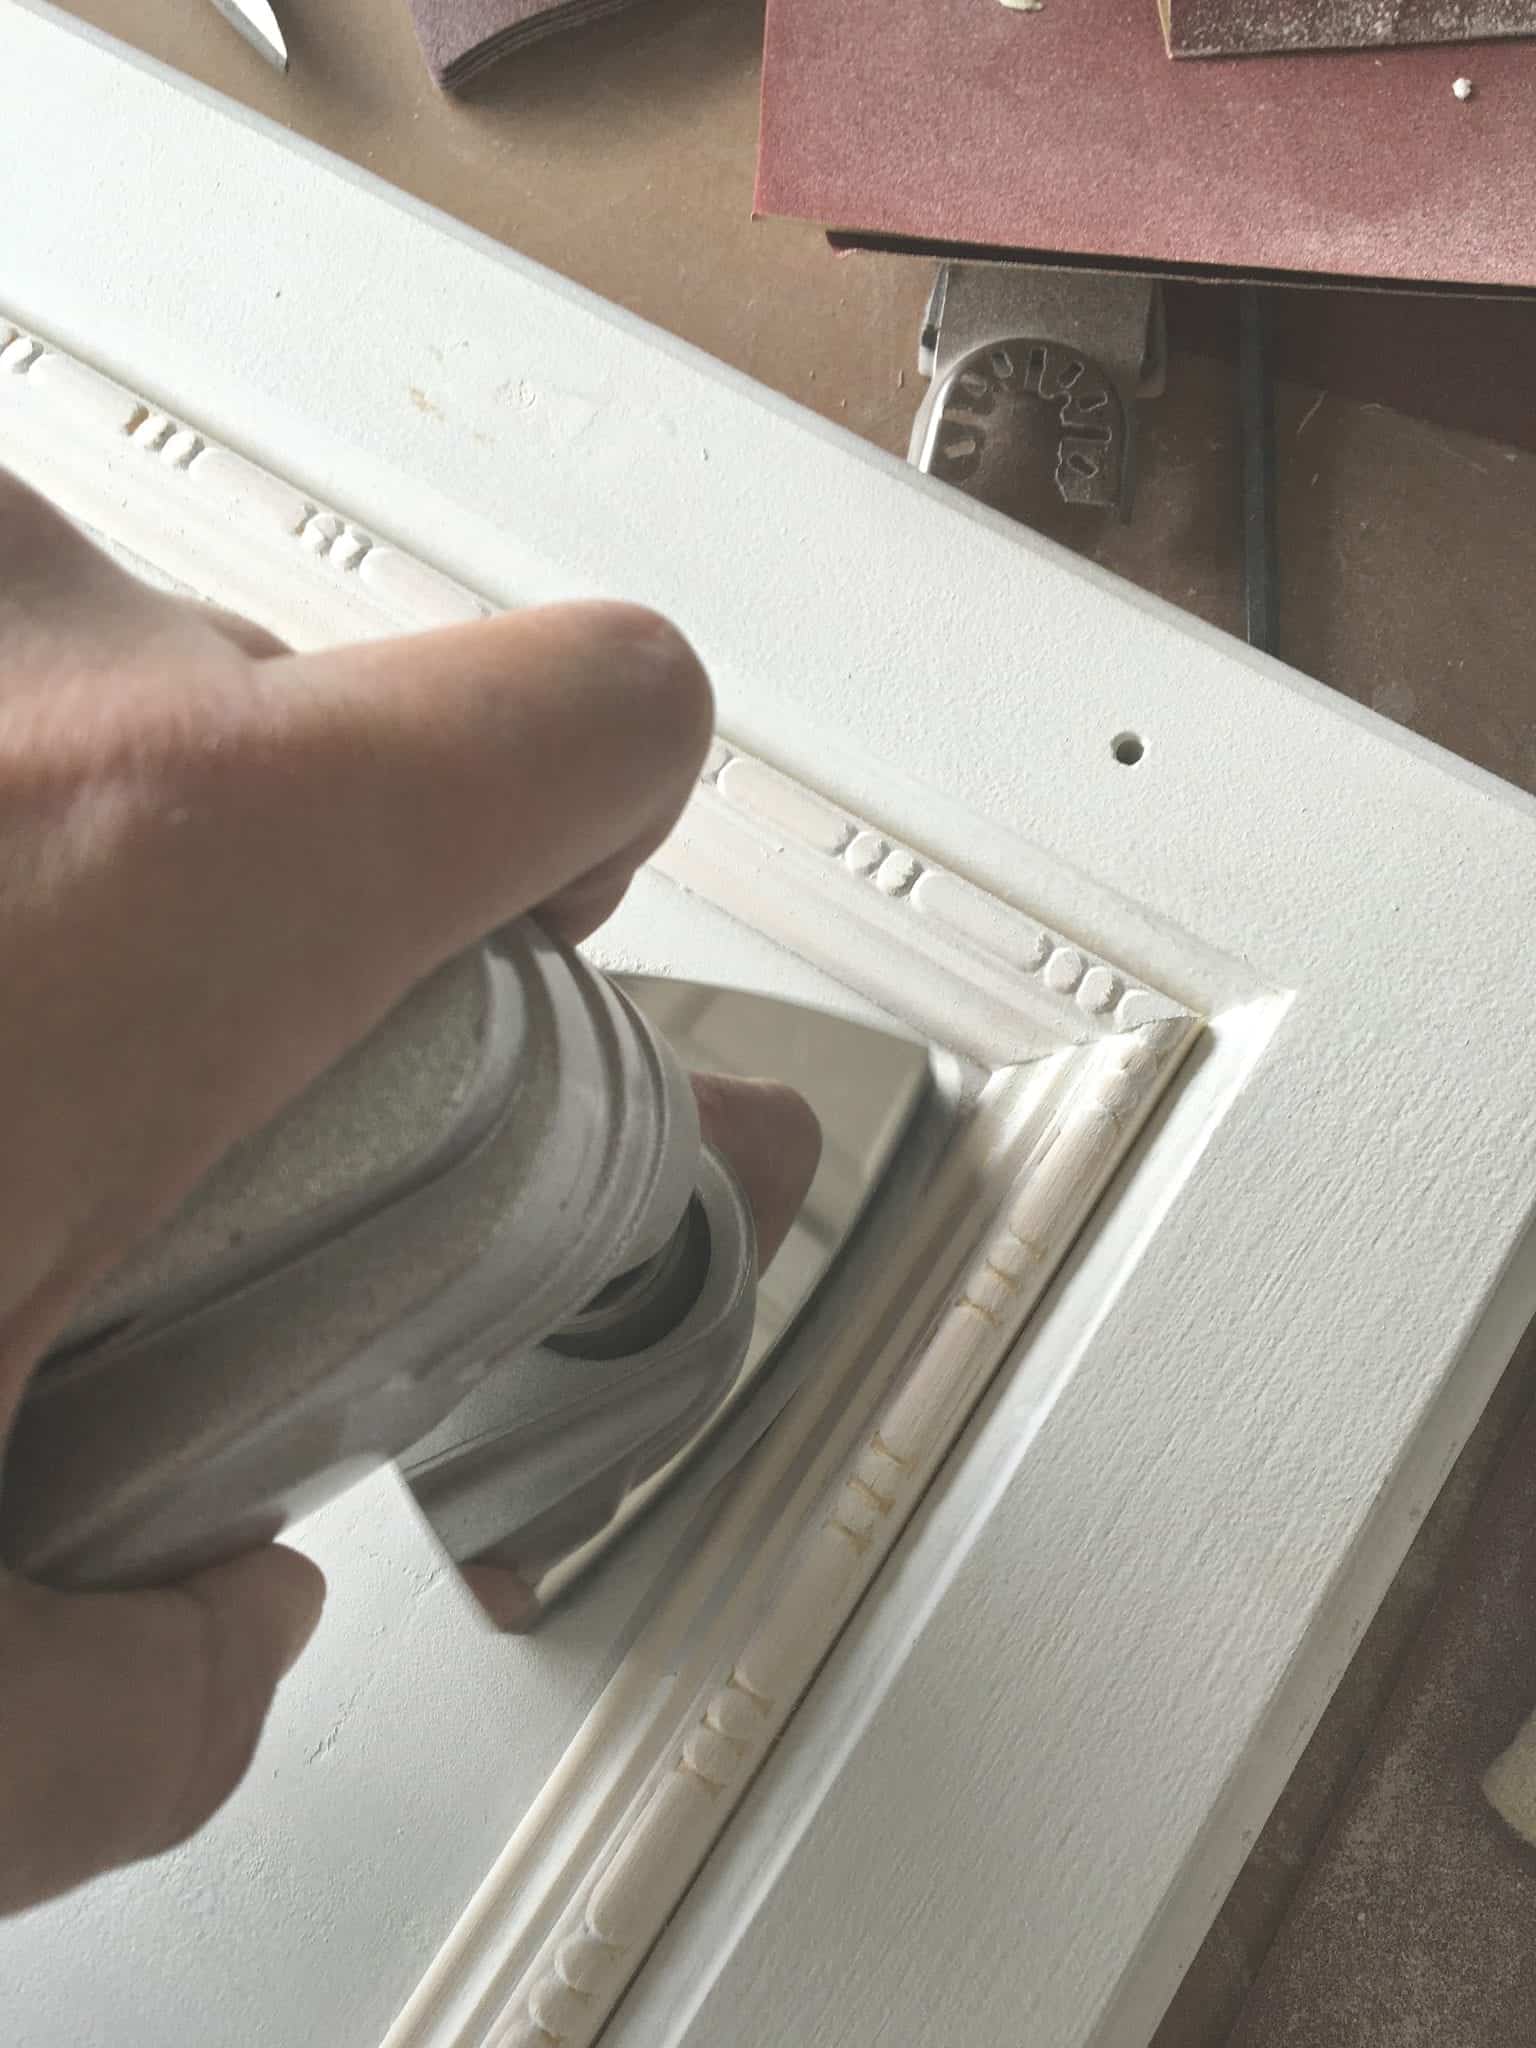
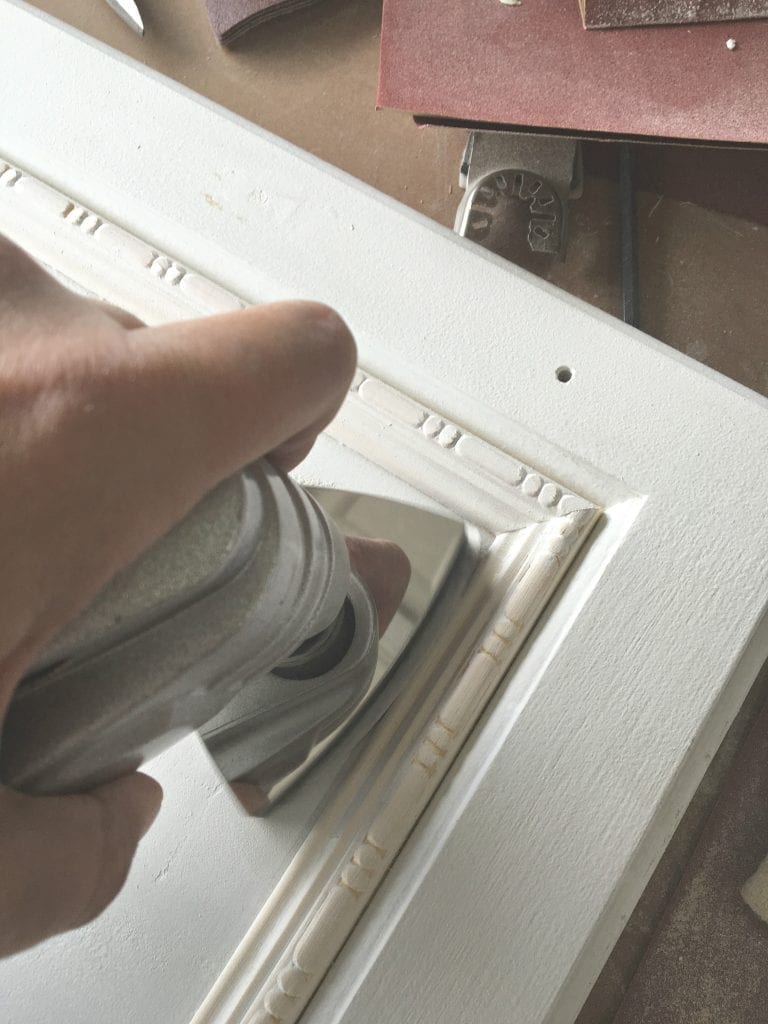
Note! Priming may reveal even more flaws, grain and bumps. So don’t be shy…sand again at this phase. Below is what happens when you sand between coats. See the sanded vs. unsanded portions?
Ready to Paint?
Click the image below for the next step!
You can read more about the kitchen project here:





Thank you for the painting ideas. I am about to begin the task of painting my kitchen cabinets and you gave me so many wonderful ideas to help the job be easier, quicker, nicer looking, and it seems to be a little more enjoyable to do. May God Bless you .Keep up the great blogging you do.
Hi Judy, my advice also would be to work in sections. That way you have a completed portion of the kitchen (even if it’s not finished fully) and you’ll feel more accomplished. :)
My cabinets are stained, do I need to sand before I prime and if yes how do you know when you’ve sanded enough to begin priming? Also how does this paint you chose compare to chalk paint and is it glazable because I really like the antique look over white cabinets.
My cabinets were also covered with a polyurethane. A light sanding is all that was needed, if you sand too much you’ll remove the veneer. Just sand enough to reduce the deep wood grain, but you don’t want a totally smooth finish. While you can glaze over this, it isn’t a chalky finish. It has more of a satin finish and by glazing you’ll add several more layers and steps if you choose to add a top coat over the glaze. I personally only wanted a one step finish which is why I opted for the paint that I chose. I hope this helps!