How to Paint Stair Railings
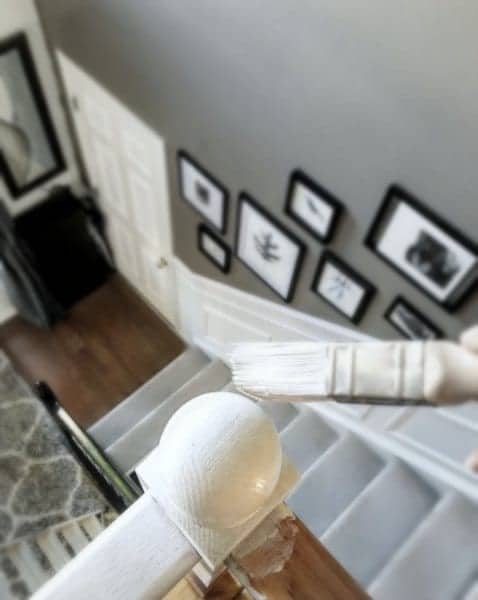
Painted stair railings instantly upgrades your home’s aesthetic and adds significant value. I have painted stair railings in two of my houses and the difference was dramatic. Here are the steps needed to make this job less tedious and you’ll finish the job faster than you think!
If your house has builders-grade oak everywhere and you are looking for an inexpensive, high-impact home upgrade, painting stair rails makes a dramatic impact. This project can be tricky and tedious so I’m sharing a few shortcuts that make the process much easier.
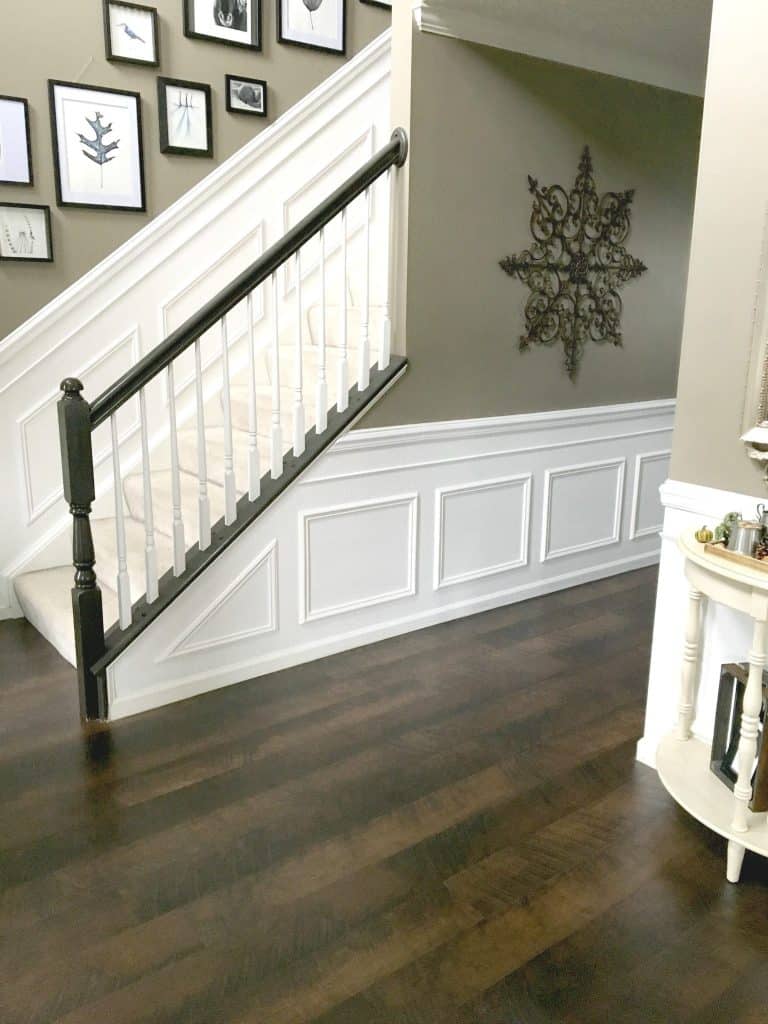
My last two houses had builder’s grade orangey oak–everywhere! After making several mistakes in my first house, I learned some valuable lessons to make my second house painted railing project look even better.
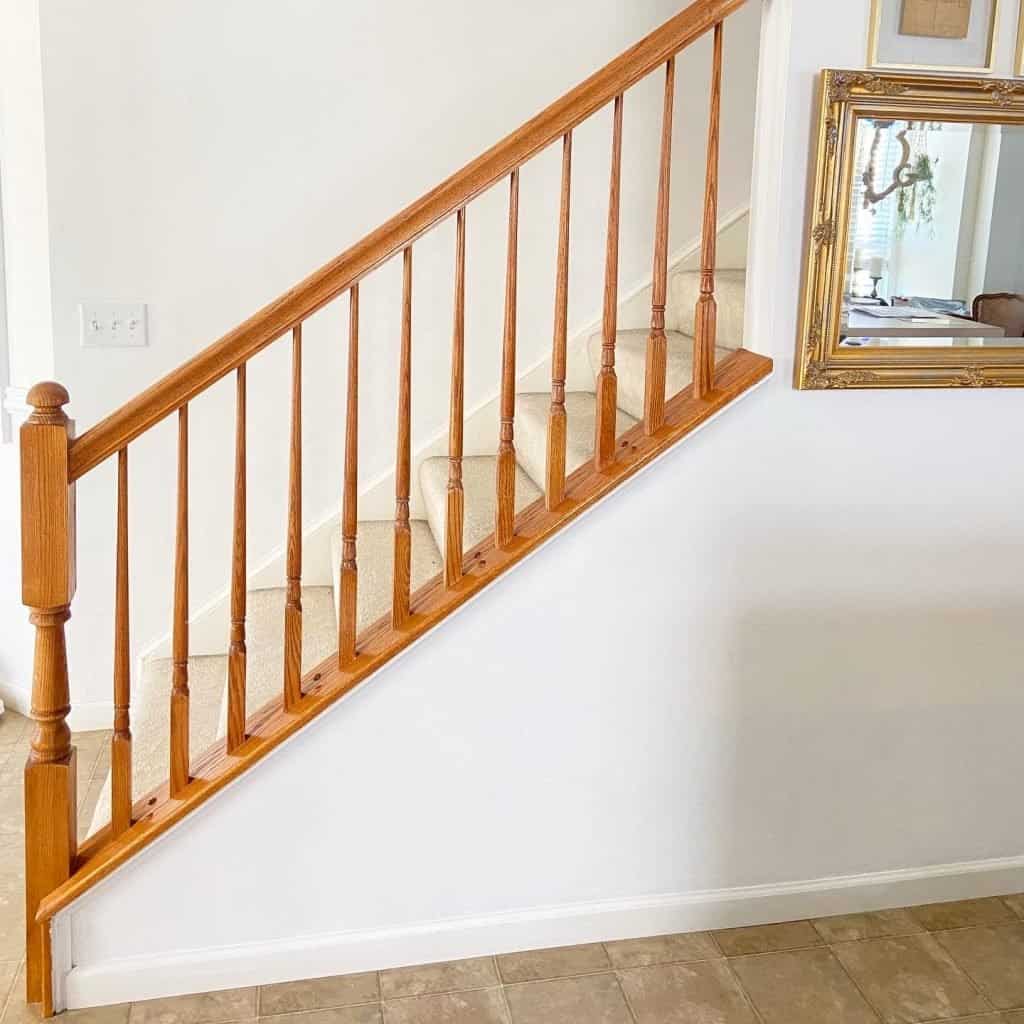
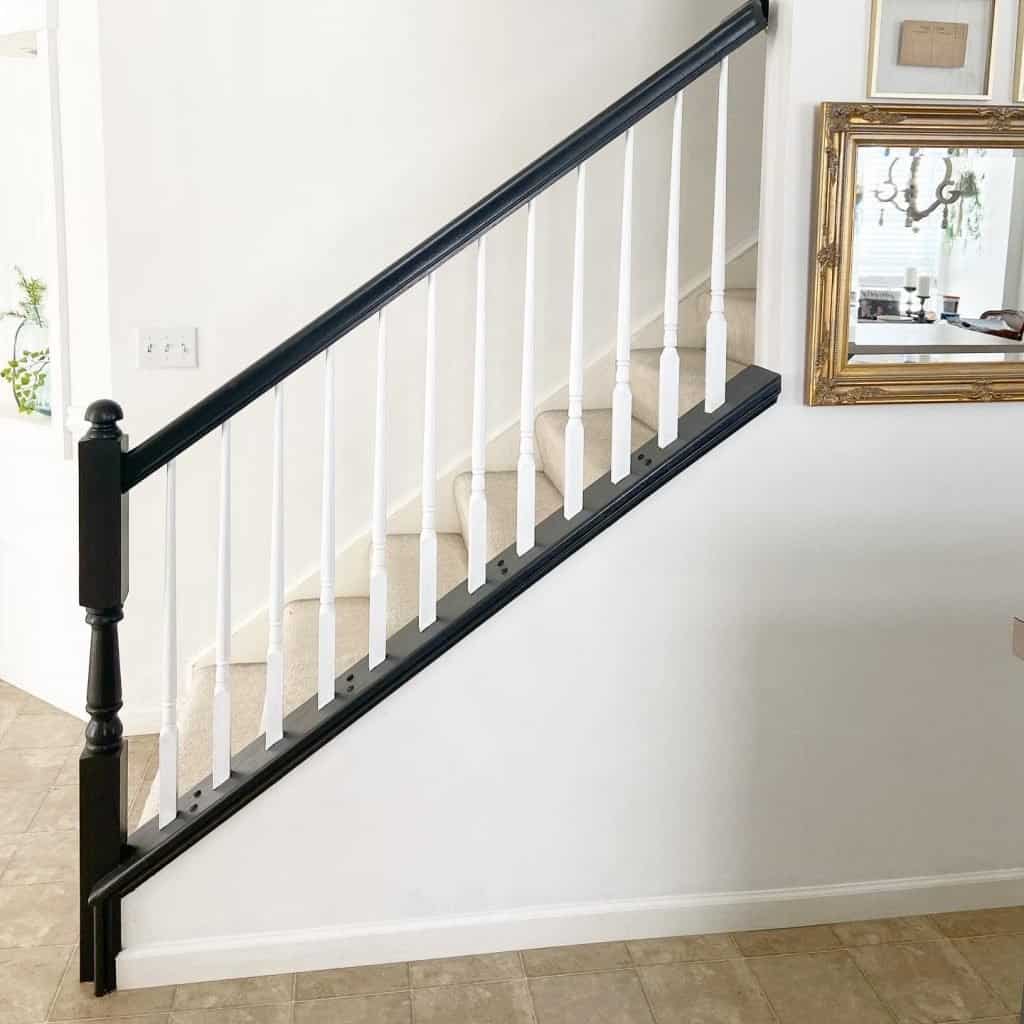
Paint and Supply List:
- Kilz Primer
- Soft cloths for wiping down.
- Sanding blocks
- Nylon artist brushes, nylon angled craft brushes, foam brushes
- Nylon brushes give you a much smoother finish!
- A painter’s drop cloth
- Valspar Semi-Gloss Paint “Fired Earth”
- White Interior Trim Paint (avoid oil based, which yellows over time)
- Water Based Clear Coat (choose your sheen)
How to Paint Stair Railings
Per every 5′ of wood railing.
Total Time: 3 hours
Work in Sections
Completing smaller sections make a stair railing project more rewarding and less overwhelming. Start in a less conspicuous section of railing to perfect your technique.
Lightly sand and clean
Sanding and cleaning should take 20 minutes for a 6 foot section of railing. Think of sanding as a deglossing step. Then remove all the crumbs and sanded remnants with a wet cloth and allow to dry.
Prime all railing components
This includes the newel post, handrail, balusters and base rail. Applying primer gives the paint some “tooth” to adhere to. This step does not need to look perfect, nor does it require perfection or multiple layers. Just enough for the paint to adhere nicely. Use the primer to also fill open grain. Use a fine grit sandpaper to smooth away bumps, drips or rough spots and wipe clean.
Apply paint and finish balusters first
I learned that by completing the balusters before moving on to the base and hand rail allow you to skip taping off everything. I used Magnolia Home True White Cabinet and Trim Paint on each baluster using a foam brush. Doing things in this order I found minimized the complexities around cutting in your darker paint in the next step.
Use artist brushes to cut in dark paint
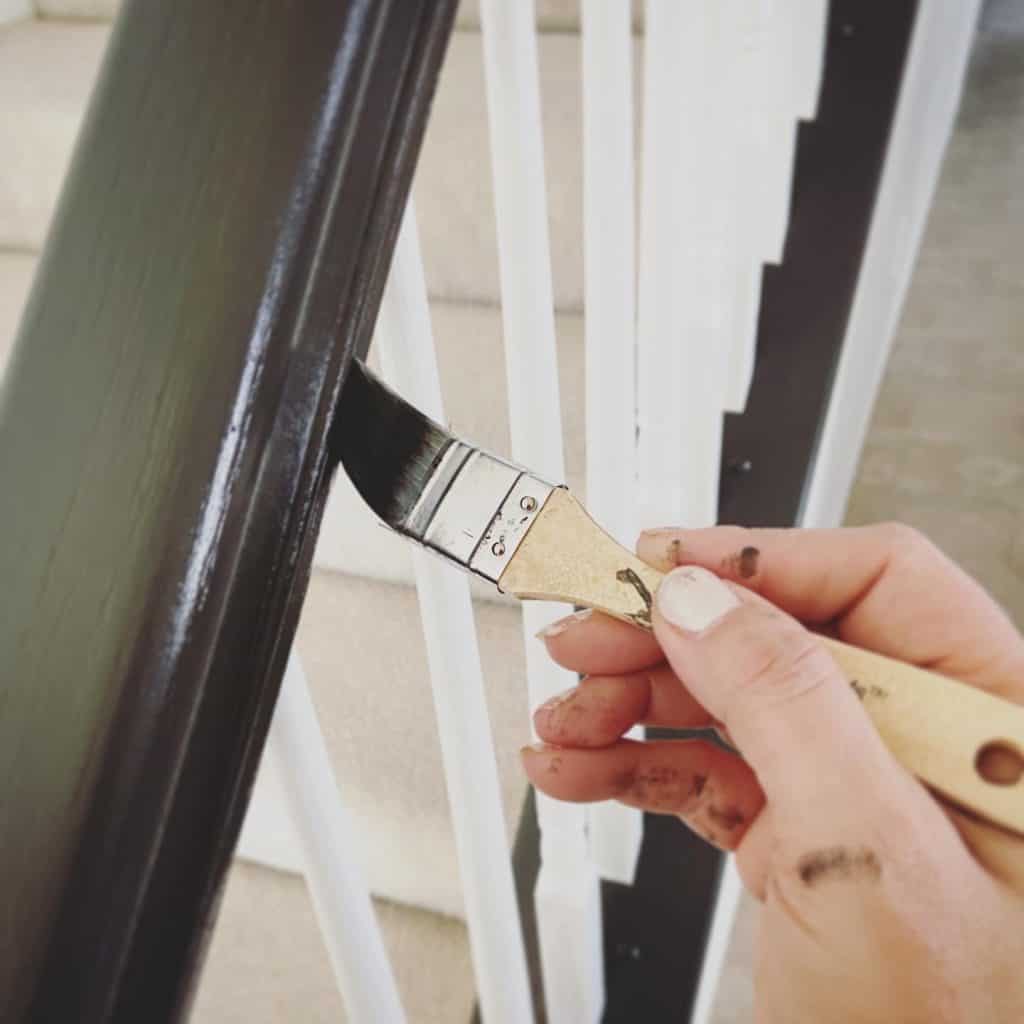
Use an artist brush to quickly apply dark paint on the underside of the handrail and where the balusters meet the base rail. Artist brushes give you so much more control allowing you to paint around awkward corners.
Protect railing with a top coat
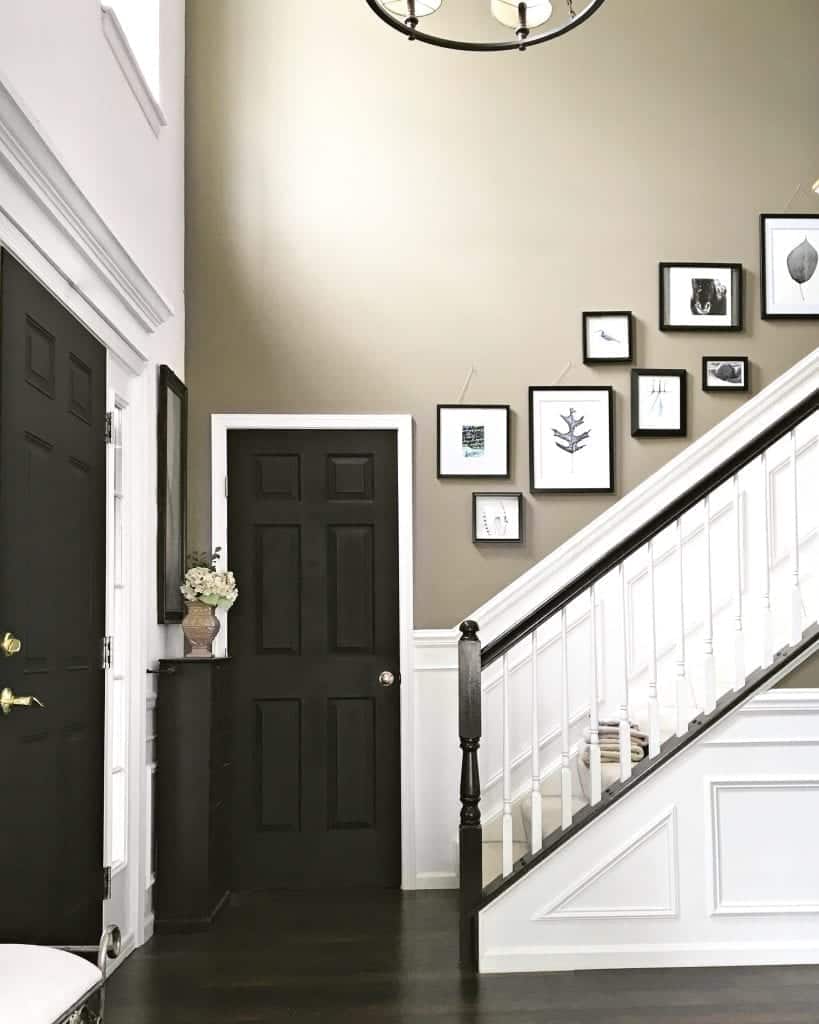
Here is how the foyer in our previous house looked when it was finished!
Open concept tricks & additional tips:
Open concept tips // When you use an extension ladder, you can typically hold on to the banister near the bottom then paint 1/2 way up the baluster, then finish the rest by working from the 2nd floor landing. I sat on the top of the ladder in our family room and dipped my brushes through the railings. And if I needed to stand I held on to the railing at all times.
Work from left to right (if right handed) // or do the opposite if you’re left handed. Moving in this direction saves mess on your hands since you’ll be working at odd angles around the wet balusters.
Save time by skipping the tape // I saved so much time by using an artist brush to cut in on at the top / bottom of the balusters. Artist brushes give you so much more control and allowed me more flexibility when painting on the underside of the hand rail. I used painters tape on the balusters in our last house and it took forever to remove them.
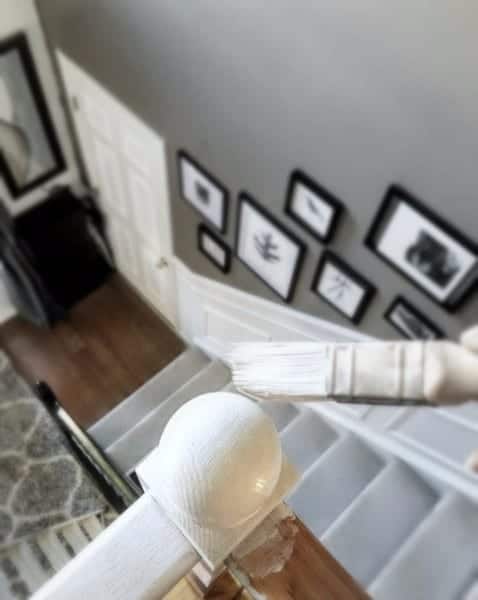
Hopefully this tutorial helps you and you avoid some of the same mistakes I made with this project. But now that they’re finished, we love the outcome (and so did our realtor who sold our house above asking price!)
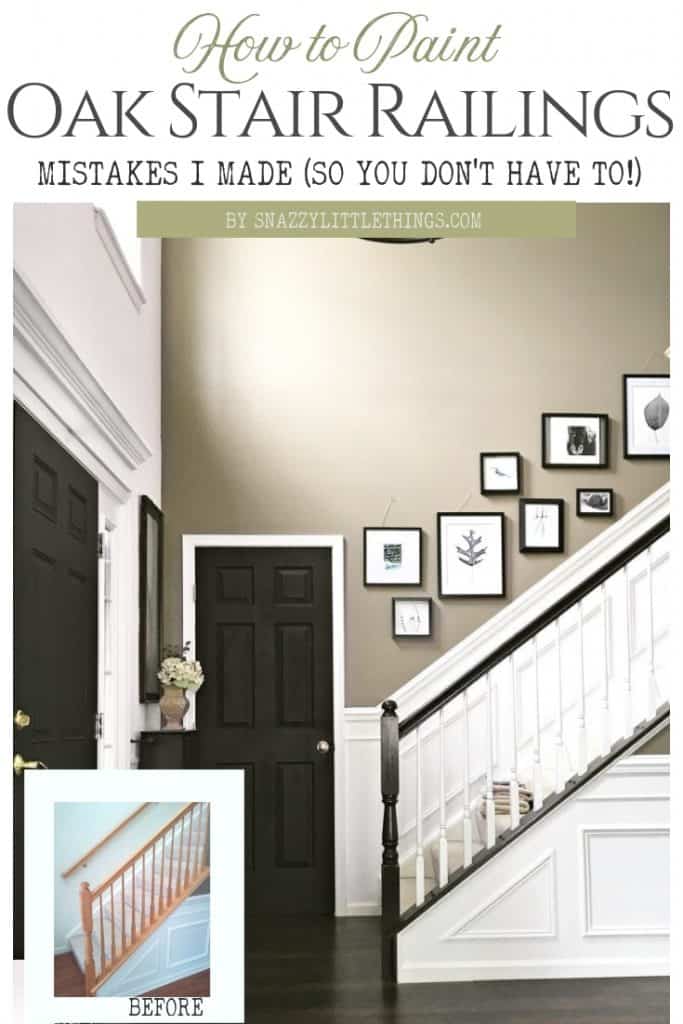



Oh I love the final look! I have the white in my house, but think I may need to add some contrast now.
Thanks Shannon! I liked the all white too, and I mentioned I almost stopped the project at that point because I was so frustrated. My vision wasn’t fully formed, but alas, I am not a decorator by trade. Live and learn! :)
Fantastic post! I *JUST* had a discussion with my hubby today on how to fix up our stair railing- he told me it couldn’t be done and we’d have to replace it all. Really?! In my opinion, where there’s a will there’s a way! (I happened upon this post while reading another one of your posts on stenciling a kitchen backsplash…. I think it was meant to be!) Thanks for sharing this!
Shannon…..see? this is why we blog. :) We help SETTLE those arguments right out of the gate. :) I’ll be even more of an instigator….I tend to start those ‘impossible’ projects when my better half is at work ;-)…yes this project can be done!! Good luck and check in often!
Can you tell me what the paint colors are on your handrail? Love love love it..doing mine tomorrow & would love to do mine the same way..Thank you!
Julie
So I have the oak finished railing as well and will be going white…. So u don’t need to sand?
If you prime it you won’t need to sand. If they are very glossy you may need to use a deglosser as a first step. I hope that helps!
What color paint did you choose to use? It is so hard to choose a dark espresso color!!! Thanks! Turned out great!
Jessica, I will get back to you with paint colors. I’ve been gone a few weeks from the blog but I promise to email it to you. Thanks for stopping by :)
Jessica I will email you also to be sure you receive this. Here is what was on the paint can: The dark brown paint color is called “Fired Earth” Valspar Interior/exterior High Gloss Enamel Gloss Base 4 222151, 101-8??, 109-40.5, 113-1Y13, 214-1Y32. (wow, paint is complicated!!). It goes on very dark…nearly black so if that makes you nervous maybe try a sample of a couple of dark browns before you commit.
Thank you! Great info!
it sounds like I am not the only one but I love the color on the stair rail can you please tell me what brand and color of paint you used
HI Karen! I will also send you an email to be sure you get this: The dark brown paint color is called “Fired Earth” Valspar Interior/exterior High Gloss Enamel Gloss Base 4 222151, 101-8??, 109-40.5, 113-1Y13, 214-1Y32. (wow, paint is complicated!!). It goes on very dark…nearly black so if that makes you nervous maybe try a sample of a couple of dark browns before you commit.
Did you not have to sand down the wood at all? We are looking to paint our banister a darker color, but aren’t sure if we need to strip off the coating and sand it down first or if we can just paint straight over top of the existing finish? How has this held up over time. Thanks!!!
What color did you start with? Dark or the light?
The right way to do it is to prime it all white. Then paint the dark brown on the railing. I hope this helps! Don’t make the same mistakes I did! :)
Thank you for these step by step instructions! You make it so easy. Love the color, too. Thank you for sharing
It’s definitely a big project. If you have a loft area and lots of railings with an open concept, give yourself a month of on-again off-again DIY :)
Hello I recently sanded them painted my banister rails white without primer first. For some reason they feel rough to tough after one coat. Do you know if I should sand again or if when I am done a gloss finish over my semi gloss would fix it?
Hi Robin,
I do like to sand in between coats on most projects. I would warn that any sanding now means you may need to touch it up. But that said I would try using something like a fine brillo pad or even a paper bag to remove the high points / bumps that you’re feeling. Check to see if you’ve sanded away any of the paint before applying the next coats of paint and the final gloss coat. I hope this helps!
Hi there. I love your staircase transformation! Aside from the paint changes, I’m curious how the rest of your staircase looks, especially the handrail on the closed portion of the steps. I’ve got a very similar situation where the bottom half of my staircase is open and the top have closed. Could you share a picture from the top of your staircase?
Jeanette,
For the past two years, I have been wanting to change the orange oak stair railing (luckily I painted the balusters white). I was wondering if you had ever considered staining dark? I like to see the wood grain, and I have done A LOT of research just in case. I’ve been looking into General Finishes since they make an oil-based and a water-based stain. Have you ever worked with either? Thank you for your inspiration! Welcome to Southern Ohio!
Hi Michelle! Because stair railings are so intricate I never was tempted to strip and re-stain, but I do understand the desire to have wood grain show through. Our plan is to replace these railings at some point. I have heard great things about General Finishes – I would probably strip beforehand to ensure you’re not layering the new stain onto orangey oak but it could be a pain! :) Once it’s on it looks amazing. I may try GF on a dresser that needs a good stain for the top. I can report back once I try it.
Thank you! We are in Lebanon and love it, touring colleges now with my daughter there are so many options down here.
Hi
I sanded the paint off my stair railing down to the bare wood because the previous paint was all gummy and a mess. I painted it with white exterior primer/paint that was used recently for my exterior house bricks. I assumed it would be a durable, smooth finish, but it was low-lustre not semi gloss. (oops, I read the can wrong)
But it’s not at all shiny or smooth. It’s kind of chalky like a primer would feel. Should I give it a second coat ? And with what paint? to make it smooth to the touch?
Thanks,
MJ
One more tip: paint every other baluster first. Then starting back at the beginning, do the the in-between ones. Repeat for each coat. This makes it much easier to not smear your work and get wet paint all over the back of your hand from the tight space between balusters as you go along the rail.