DIY Faux Leaded Glass
DIY Faux Leaded Glass Cabinets
I loved the look of old painted cabinets, and pony walls (half walls) with pass-through built-in leaded glass cabinets. For this project, I was inspired by my old brownstone apartments that I lived in during my 20’s. It’s hard to beat the form and function of old architecture. So with this inspiration in mind, my “vintage” kitchen project evolved organically. I would finish one item, then live with it for awhile…and wait for inspiration to strike before I’d tackle my next DIY.
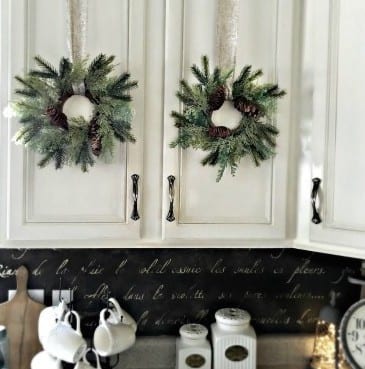
Another way to describe our open concept home is that we are missing an entire wall (it’s open to the living room), so I had to get creative in order to give the kitchen additional vintage “flair”. I finally figured it out — faux leaded glass cabinets! My crosshairs settled on repurposing the two doors above my stove, then the two above my refrigerator — my next victims of my DIY learning curve.
We’ve decided this is the last time we paint these cabinets — so we’re being painfully thorough. We’re nearing the point where a) we’ll either sell the house or b) we’ll replace the cabinets altogether if we grow tired of the painted look. So our goal is to at least improve upon our last kitchen painting adventure and make them picture-perfect for potential buyers.
- A plunge router (to remove the wood on existing cabinet)
- 1/2″ straight-cut router bit
- Make a guide out of scrap wood to create a straight edge for the router
- Pre-cut glass to perfectly float in the insert.
- 3/4″ finishing nails
- 3/4″ outside corner molding (to hold glass in place)
- Nail gun
- Scissors
- Vitrail Faux Leaded Glass Kit
Step 1: Removing the wood
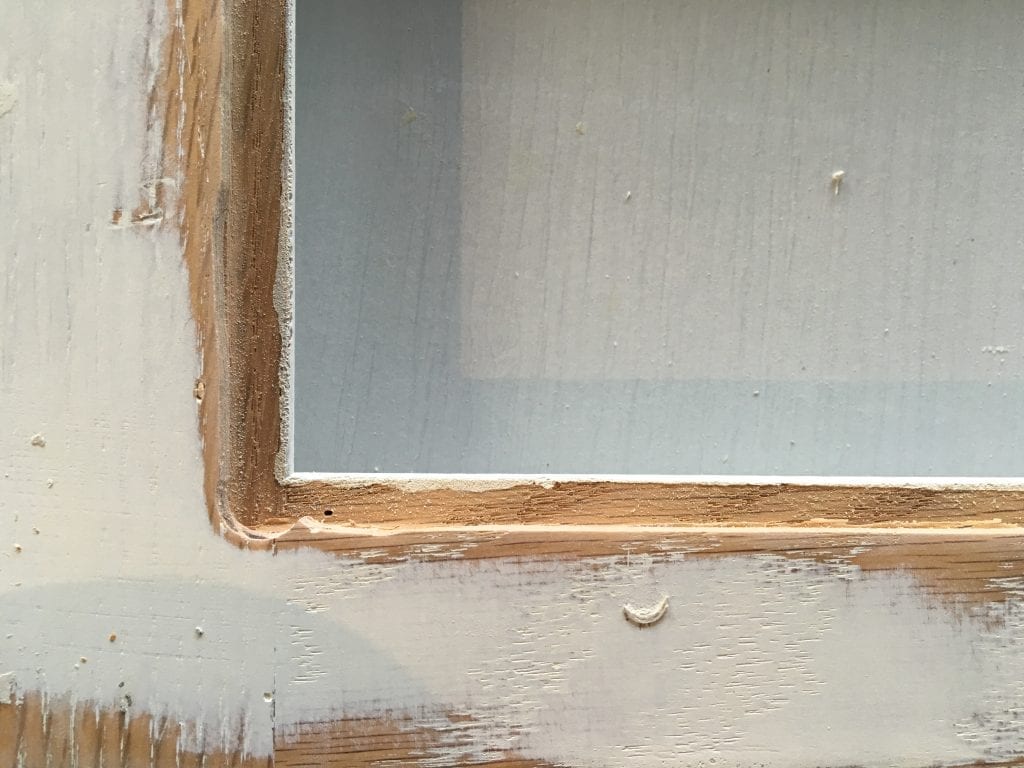
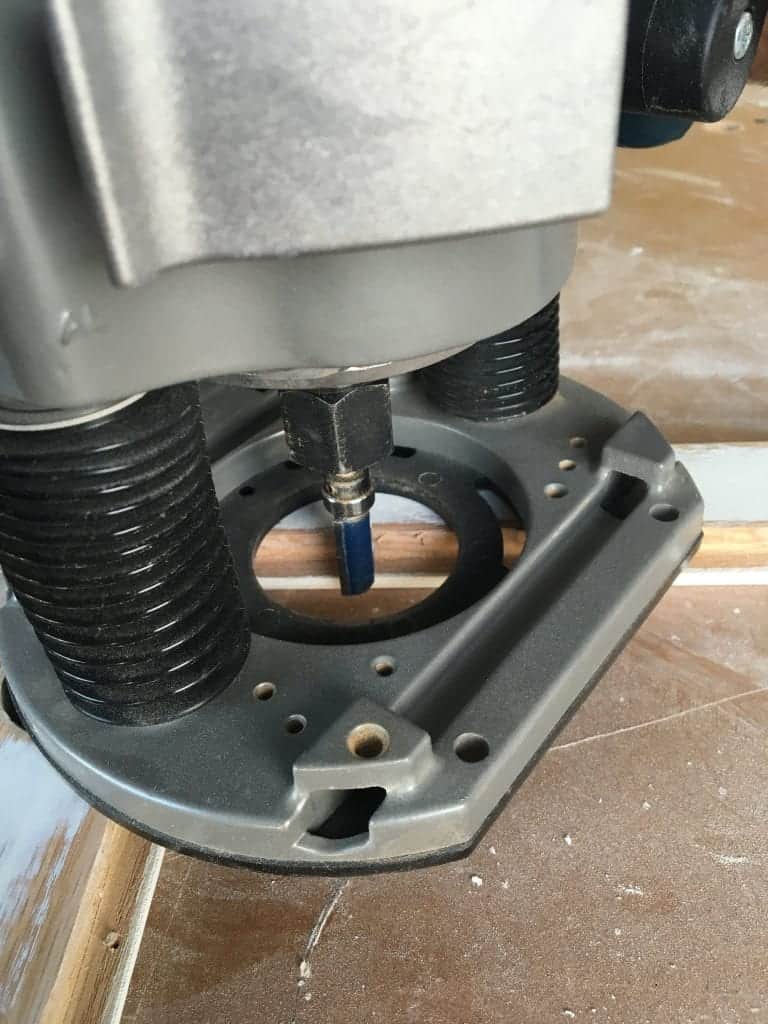
First, inspect your own cabinets. With most raised panel cabinet doors, the wood panel sits inside a groove. By using our router, had to open the groove and cut the backside of the groove off. Then we removed the wood panel from the back. We “plunged” the bit and then set the depth (it only goes to a certain depth) so it wouldn’t go through the cabinet. We made a wood guide out of scrap wood (A MUST) so your router doesn’t go all over the place. There was no “pretty” way to do this.
Here is our cabinet with the back removed (remember we are repainting and trimming these out to make them pretty again).
Make sense? See where the wood used to be? This is the backside of the cabinet, and this part is a little rough — but you can cover this up later with a nice trim piece.
Up close of the router and how it does its thang. (We recreated this shot using a finished piece):
We lost a bunch of photos of this project, so Mr. Snazzy recreated this DIY – but it actually gives you a better idea how the project came together. Just email us if you have questions.
Step 2: Insert + secure the glass with trim
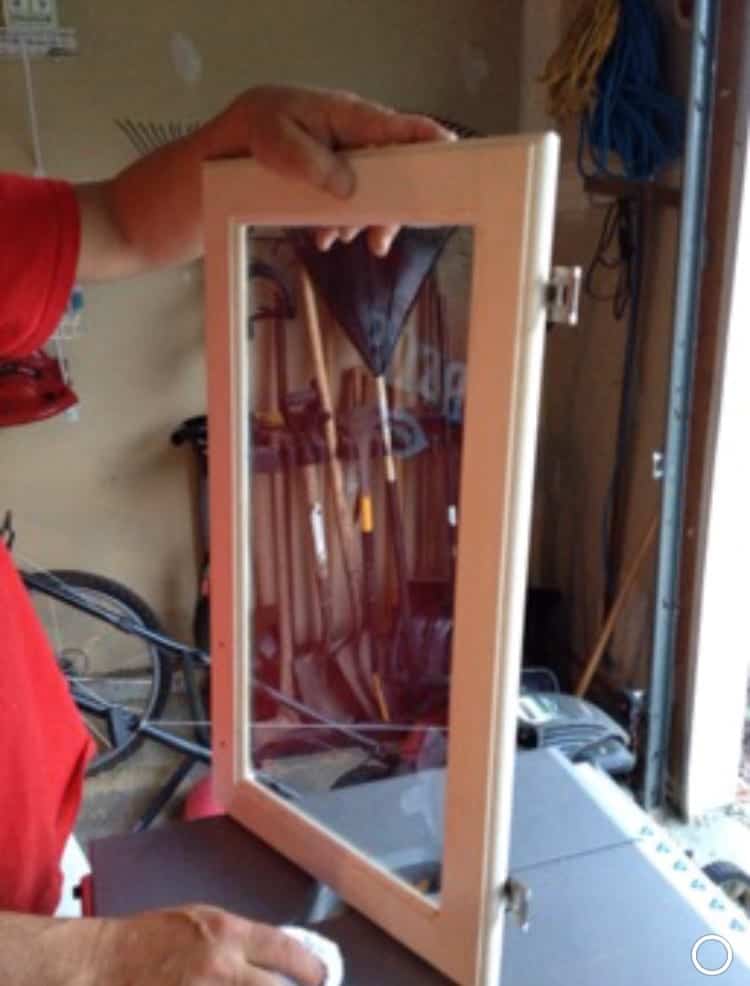
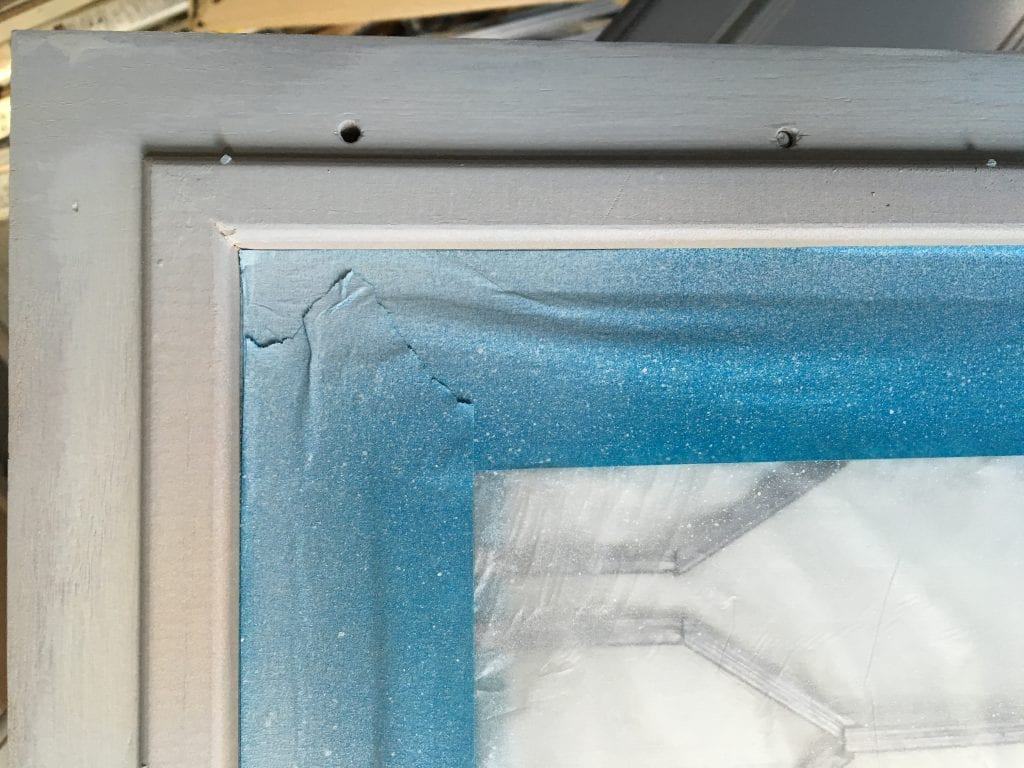
That rough, ugly edge will now be covered up by a trim piece and is essential to holding the glass in place. Insert your glass, and lay the cabinet face down. Using a nail gun, we used 3/4″ finishing nails to secure the trim on the backside of the cabinet. Caulk and trim it out to make it look pretty.
Sorry for the blurry picture – this was one picture we salvaged from our lost collection.
A view of the trim we used on the inside of the cabinet to secure the glass. Fill the holes, then of course repaint or finish in a similar color. (This view is the current backside of our cabinets as we fill nail holes and repaint them all).
Step 3: Create a Template for the Pattern You Want + Tape to the Back
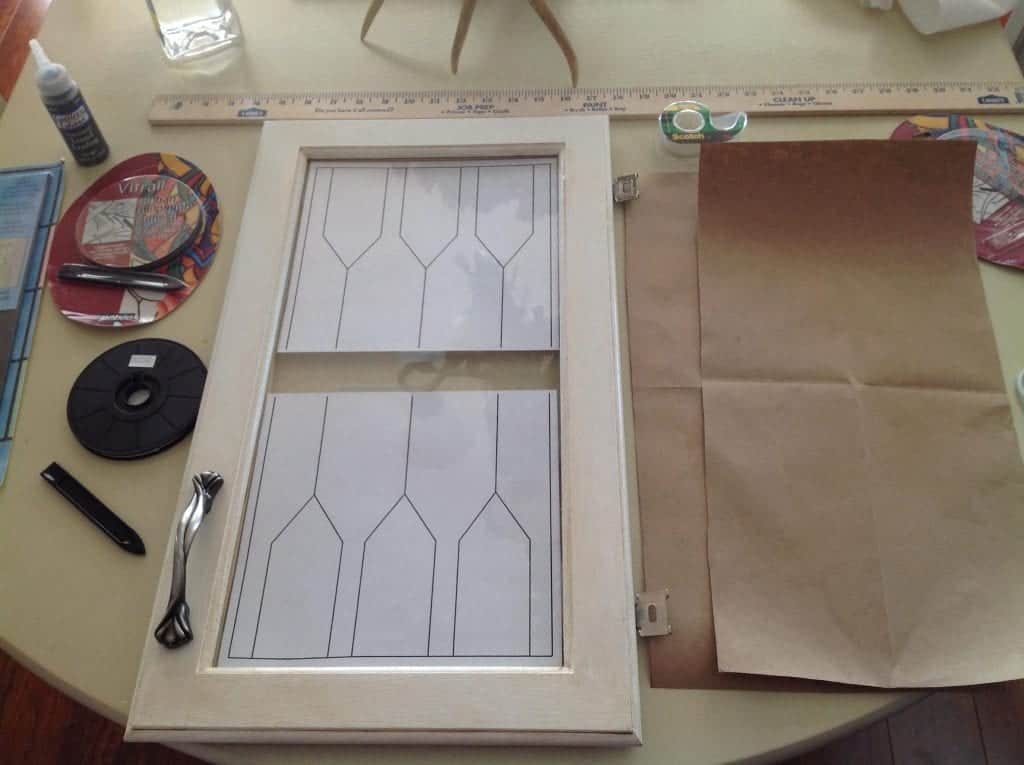
Find a pattern you like, then tape it to the back of your glass. There are LOTS of ideas for patterns that you might want to recreate, just search Pinterest for inspiration. This part is entirely up to you. I would recreate a pattern in Photoshop, or if you can, do it in MS Word or Publisher, then scale it on a PDF (I show you how to tile print often on our blog, so that’s what you’ll do here).
Be sure to tape it to the underside of your cabinet, facing up. This is your pattern to apply the metal strips.
Step 4: Apply Faux Leaded Glass Strips
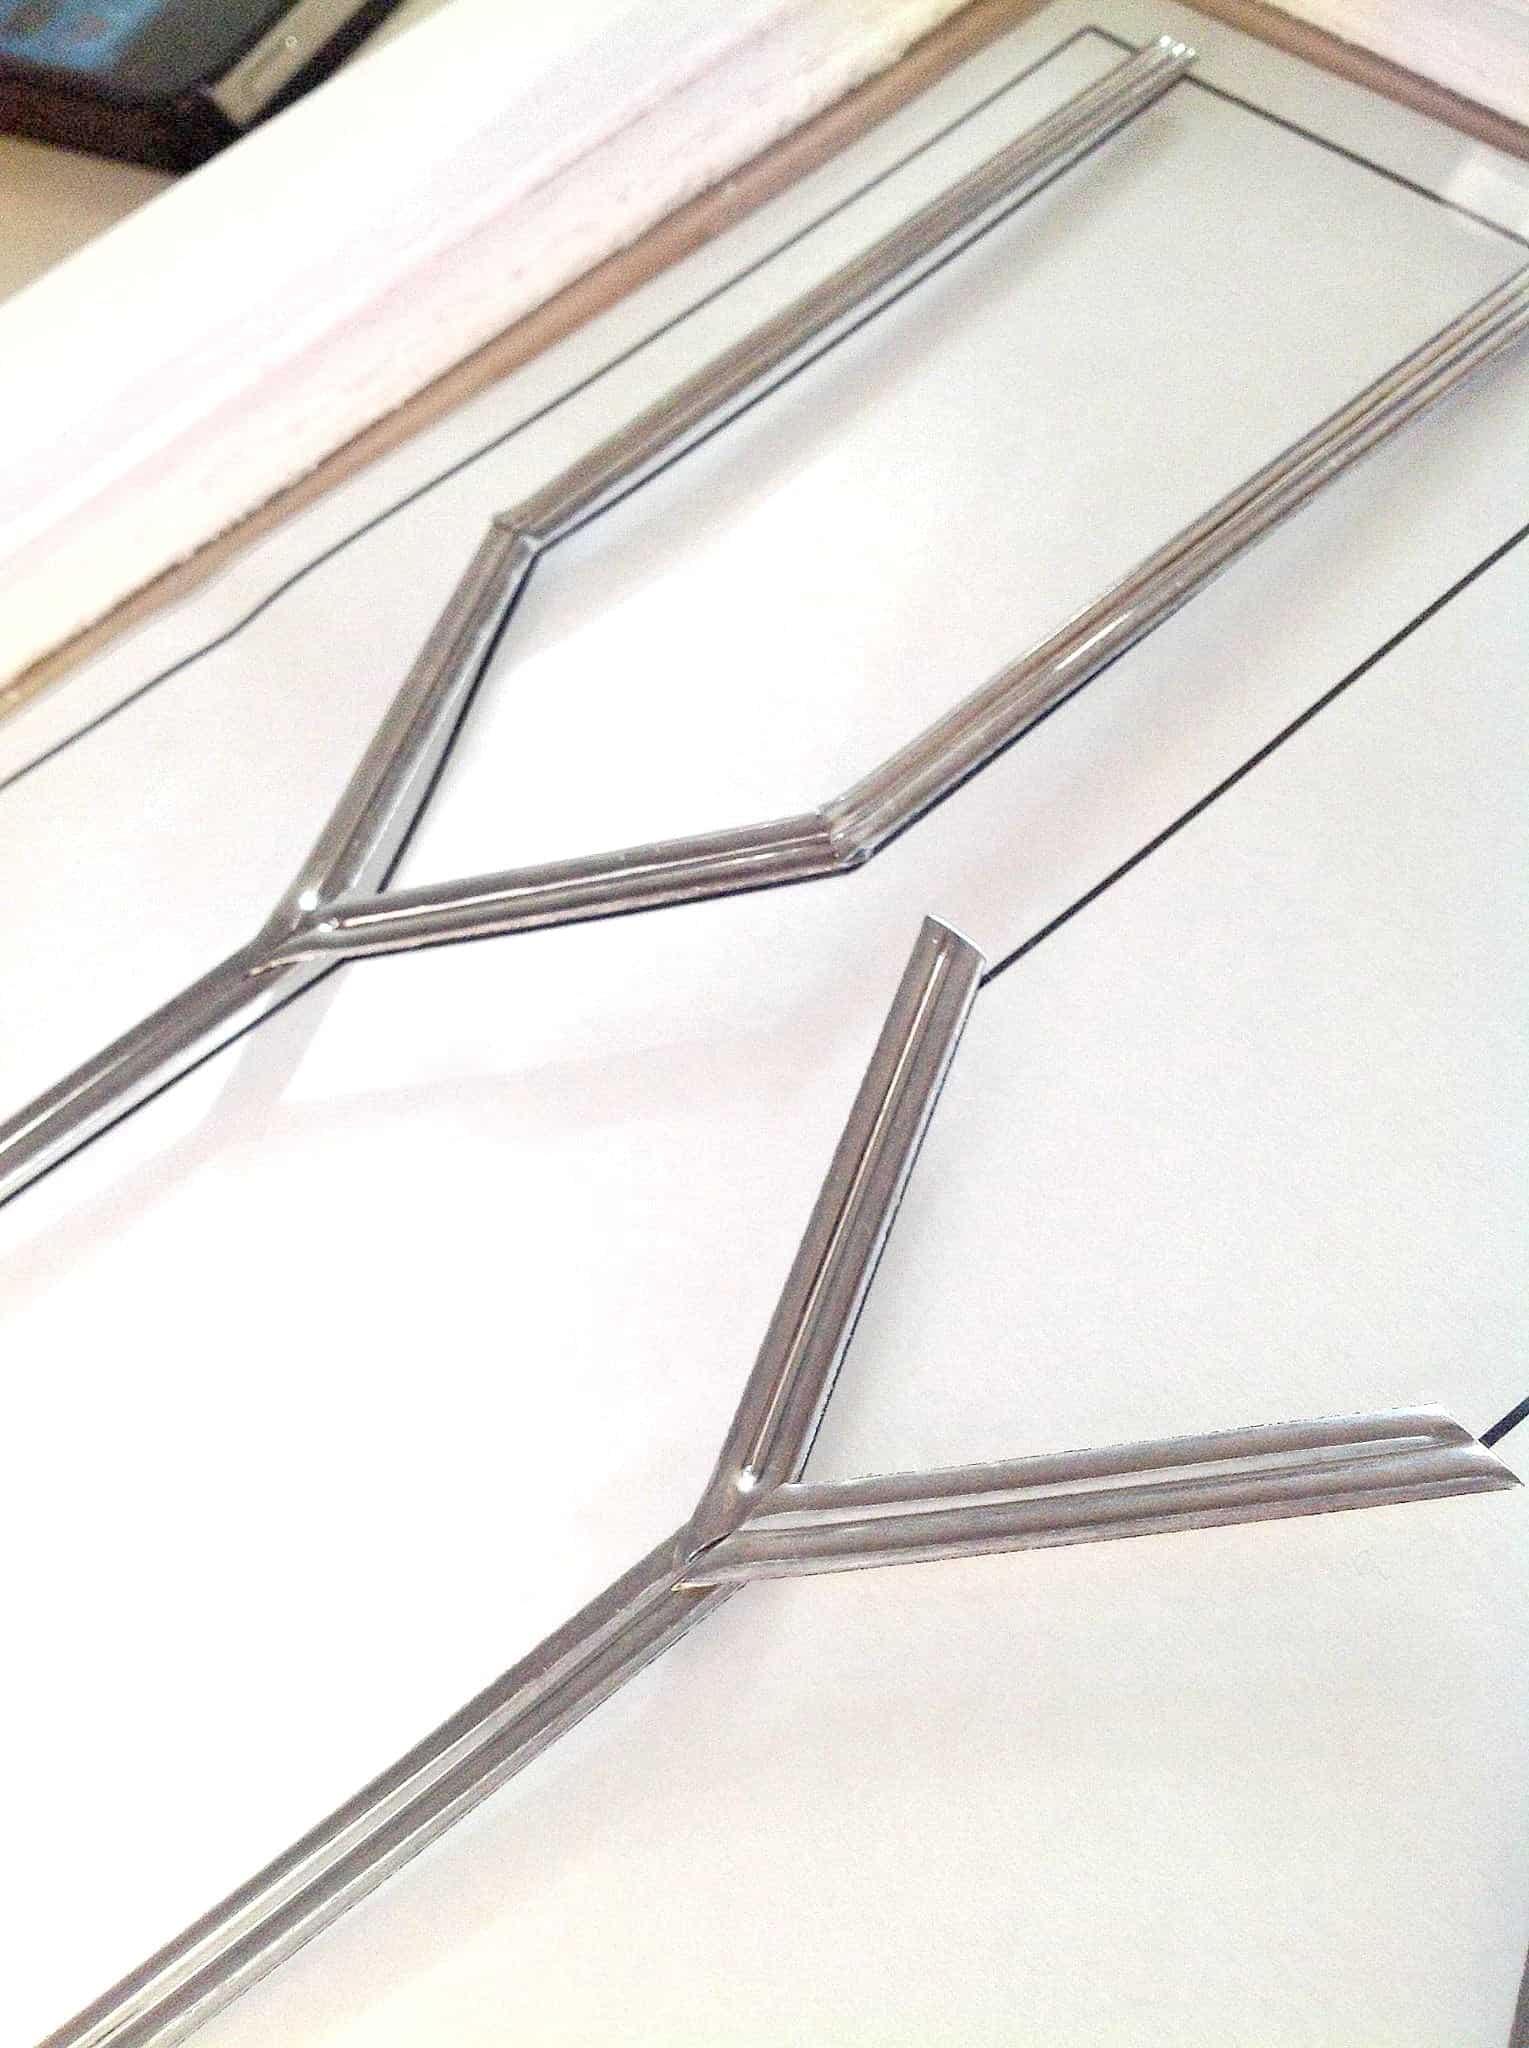
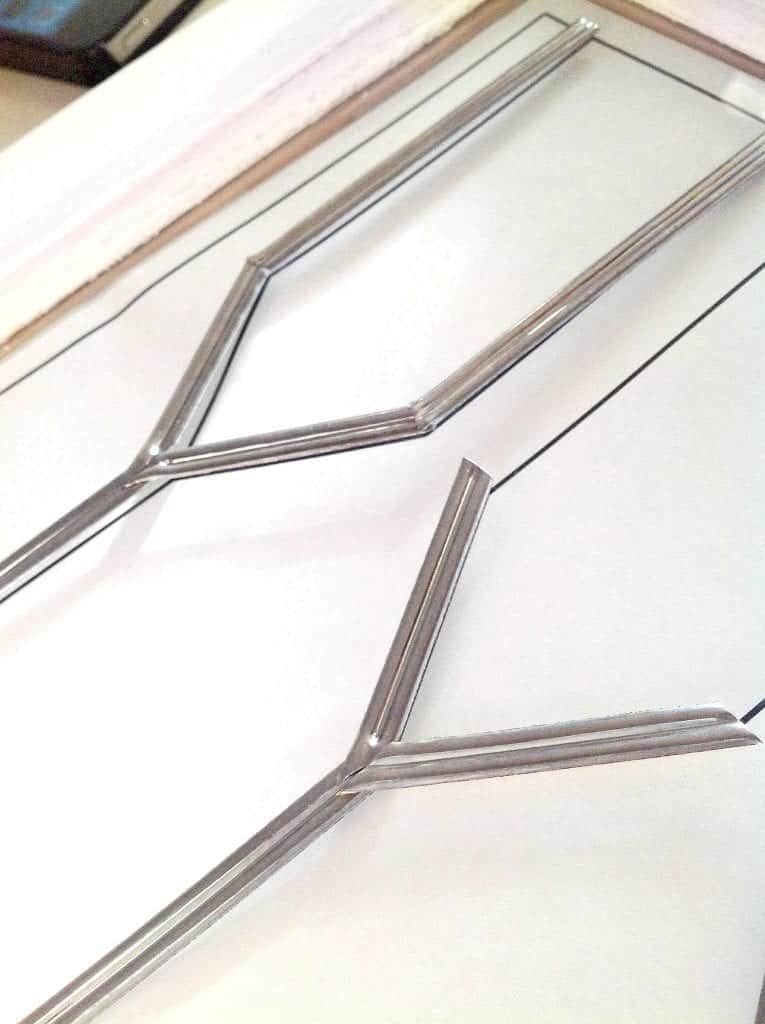
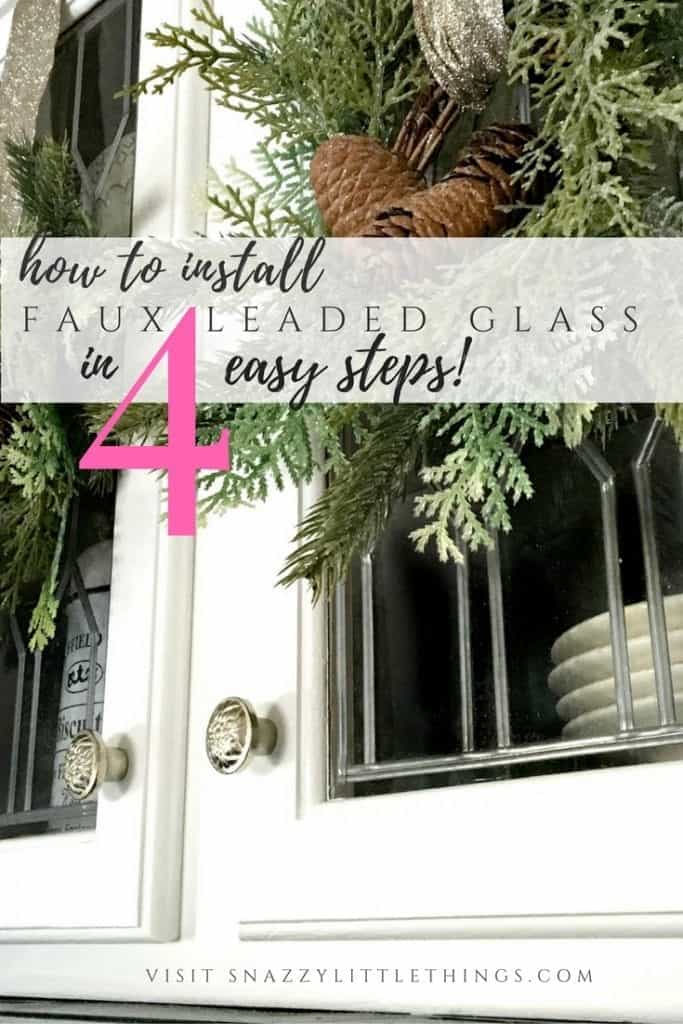
Following the pattern under your glass, apply the leaded glass strips.
Using scissors, I would try to match the angle of the cut, then mold and bend the metal strips until they “met”. This metal is pliable, and you can mold and shape it where you want it.
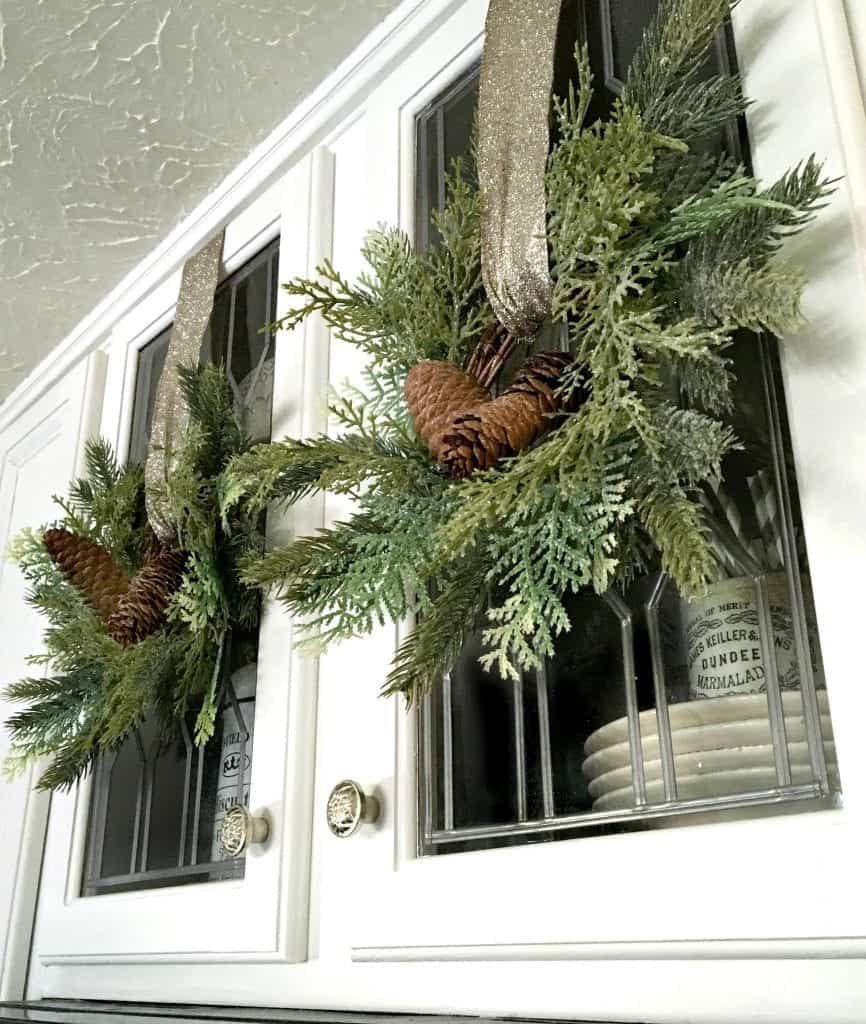
And the “after”
I will be doing this project on Facebook Live! along with Hometalk on November 10th. Be sure to join me during your lunch hour to see this project in action! Cheers!
Pin it!



Wow, Oh Wow! Good luck with BHG!!! I am grateful that you shared the “unpleasant” parts of your life, because although I can’t relate to having BHG call, I can to pooping doggies and still carrying those pesky extra pounds when my-fans-I-want-to-impress come calling. Makes me want to be brave in my own non-BHG wonderful life knowing that you too are trying your best and still not everything is perfect. P.S. I am looking forward to seeing the stained glass window reveal.
Thanks Cheri! I’m wondering if I can lose just a few of the “extra pounds” before BHG comes. Maybe I need to write a new post about this new diet I’m trying out! Thanks for the encouragement, the next two weeks will be busy prepping for this! We’re nervous AND excited!
Where did you buy the buy the faux strips
Nancy, I found those at Joann Fabrics.
How did you attach the metal to the glass? With glue?
It comes with an adhesive backing, very simple to do!