Damaged Victorian Table Gets an Update
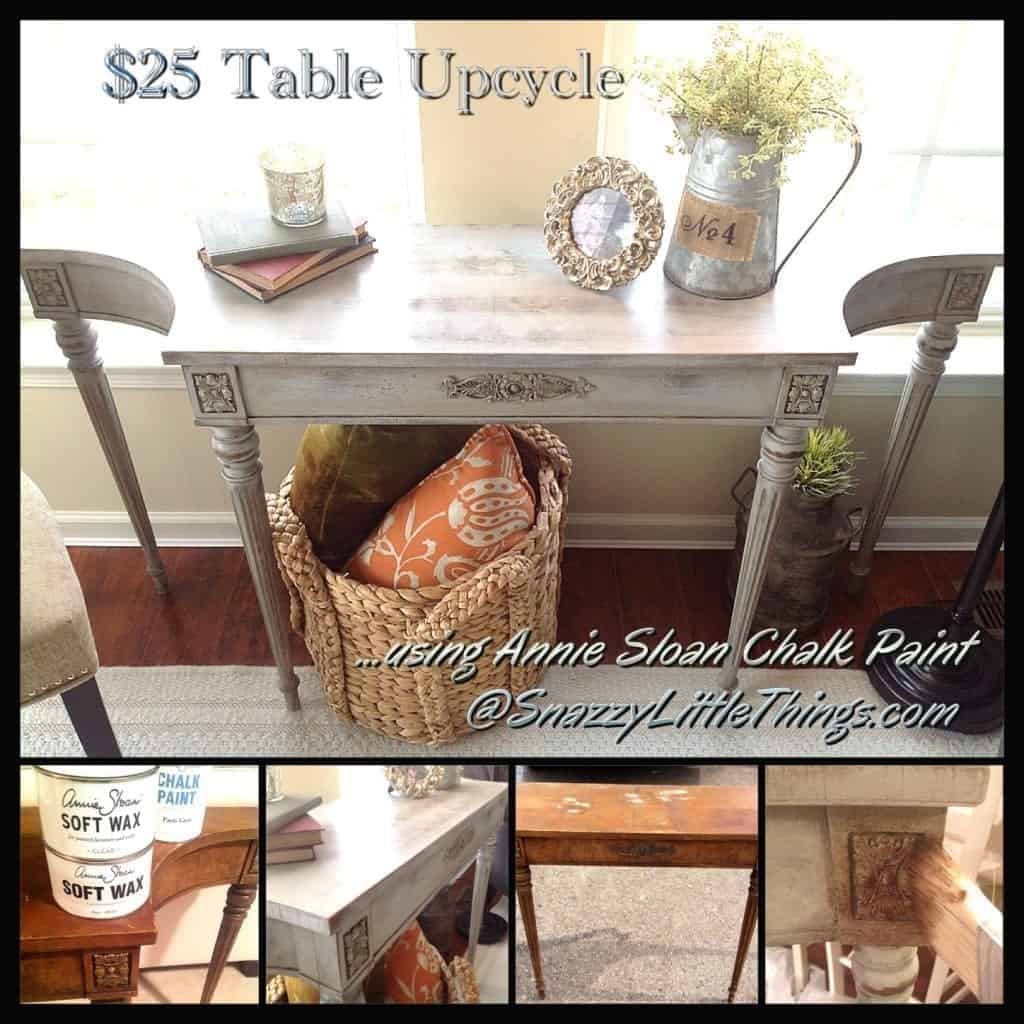
Annie Sloan Chalk Paint is a DIY’er dream. From start to finish, this piece was complete in under two hours! I used “Paris Grey” with both Clear and Dark Waxes for this project.
I’ve been faced with a number of more complicated DIY projects as of late (including building my new website), and Annie Sloan has been on my radar for some time. Thanks to my Aunt Sandy, she told me about a store in the area that I might like. She must have been reading my mind. I’m thrilled that she introduced me to a local stockist, Funky Junk Boutique that sells Annie Sloan (who’s shop is simply gorgeous). The owner also just attended the Annie Sloan workshop in New Orleans, so I’m definitely happy to be dealing with an expert — and…I can get my fix anytime I want.
If you’re new to Annie Sloan paints like I am, the consistency of the paint literally feels like a latex, but can transform to a watercolor paint (by adding a touch of…H20). This really helps when you want to thin out the paint, avoid brushstrokes or achieve a more vintage “whitewash” look.
Before discovering Annie Sloan, I still loved distressed pieces, but in order to DIY I had to improvise. I was one of those people who would mix my own paint concoctions to achieve the look. The process went something like this: first layer on a latex paint, sand it out…then apply (with a rag) a stain in various places. It was tricky to say the least….and once the stain was applied, well, there was no turning back. In order to blend, I would have to layer another latex paint over the top in light brush strokes, then alternate paint-stain-paint-stain, with a brush in each hand like an artist. Often times it look just “ok” but you could see the layers. This is not something that would naturally occur in the aging process.
So off we went to pick up our Annie Sloan order at Funky Junk Boutique, and along the way, I spotted this gorgeous table at another awesome, local store — The Rusty Bucket, and I HAD to have it. Thank you for the awesome shopping experience – we are definitely going to be “regulars” in both stores, and we will teach my daughter how to negotiate prices on your Barbie Clothes :)
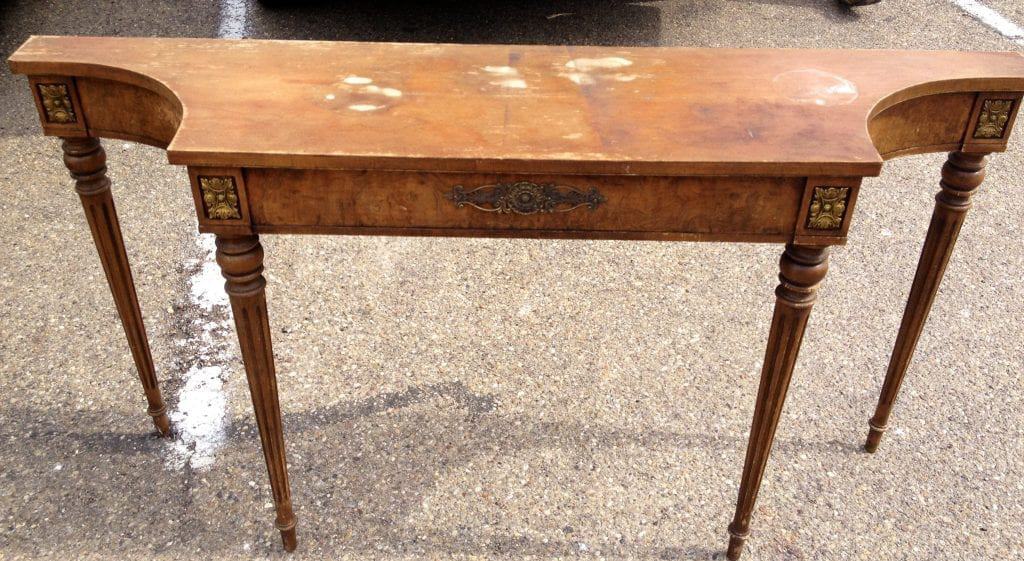
Below…table, before. I adored the shape of the tabletop, the fluted legs…I was so anxious to get started
Loved the metal embellishments…
Prepping Your Piece – Sanding Not Necessary:
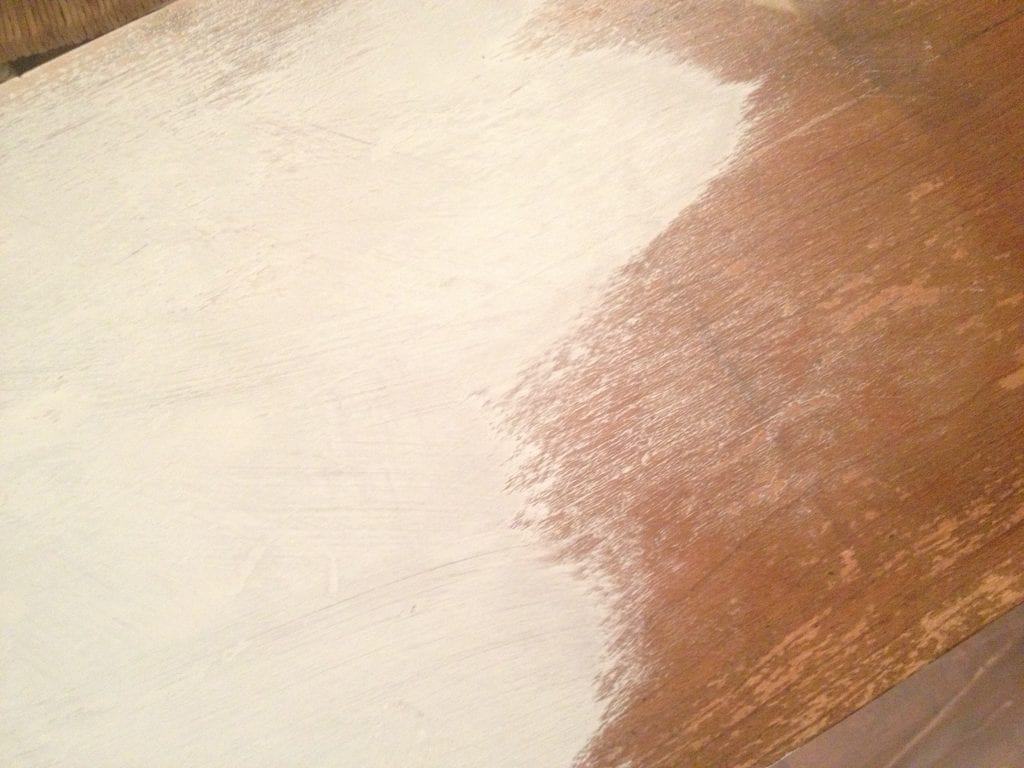
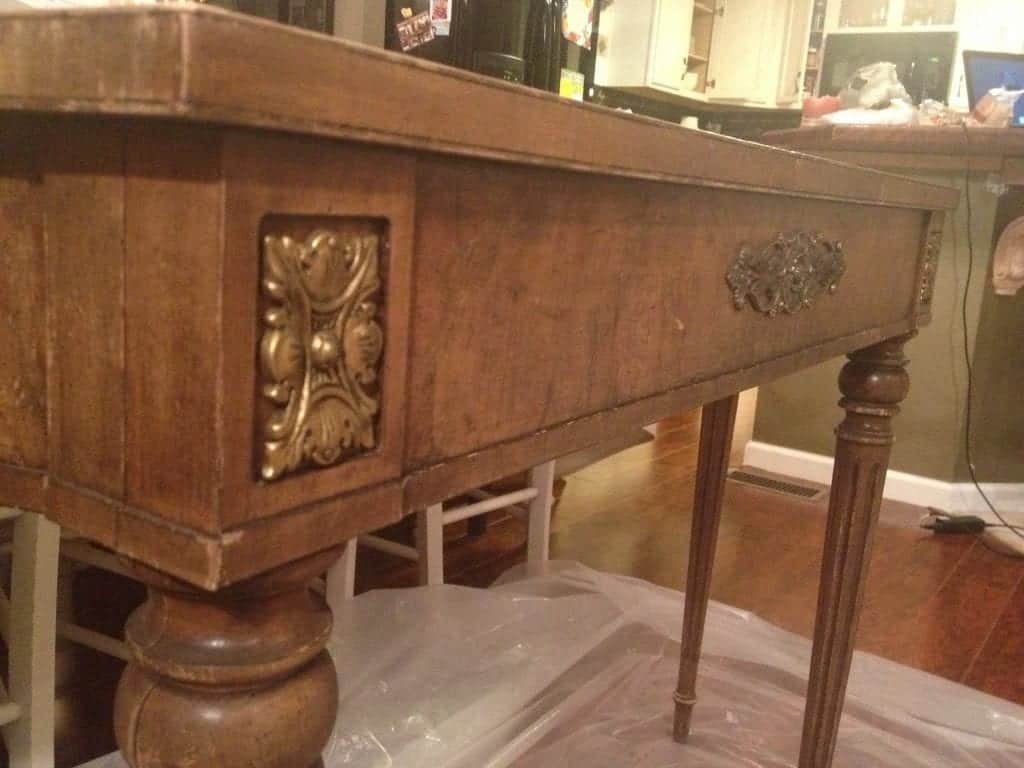
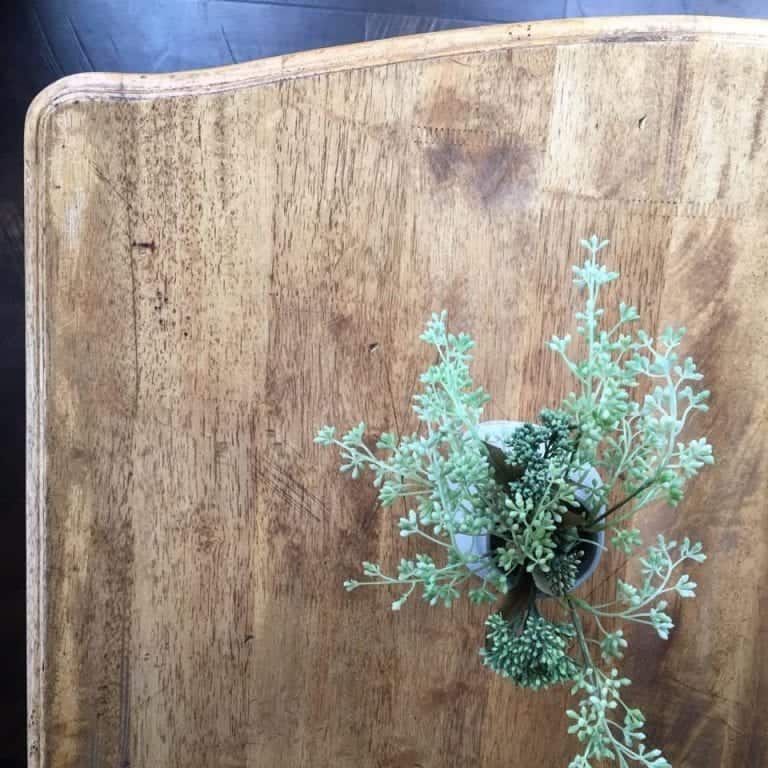
To prep a piece for Annie Sloan – DON’T sand the piece first (unless you have a piece with major damage). I was tempted at first. The veneer had little chips in the varnish (see picture on the left for a close-up) and water stains. I simply painted over that surface (once in a criss cross pattern, then another smooth layer.
Using Water to “WhiteWash” (video):
Since I was new to Annie Sloan, I wasn’t quite sure of the consistency, so I read that it’s water based. I’m glad I tried this, because adding a touch of water allowed some of the natural wood to show through and created a beautiful “whitewash” effect on the wood. When I did this, it gave it an aged look without sanding. It literally goes from a “latex feel” to working with watercolor paint. Here is a video for you to see the results. (I was a little tired in this video, so don’t laugh :)
Want More of a Distressed Finish?
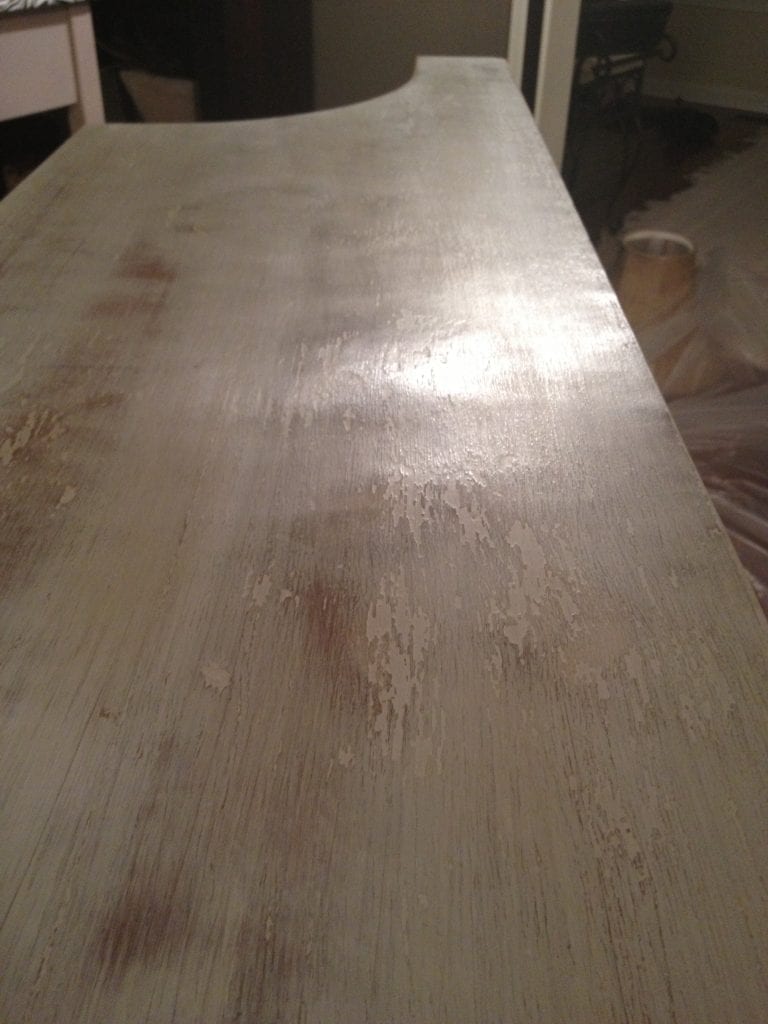
After painting, look at your piece and decide now if you want a more weathered, distressed look. If so, go over those areas using a very fine sandpaper where aging would occur naturally. This means distressing corners, edges and other raised areas on the piece. I also ran my sandpaper across the flat surface. **IMPORTANT** After sanding, wipe down with a dry cloth, you don’t want to do a finished coat with excess chalk dust.
Loved how it looked, even on the chipped veneer:
Clear Wax:
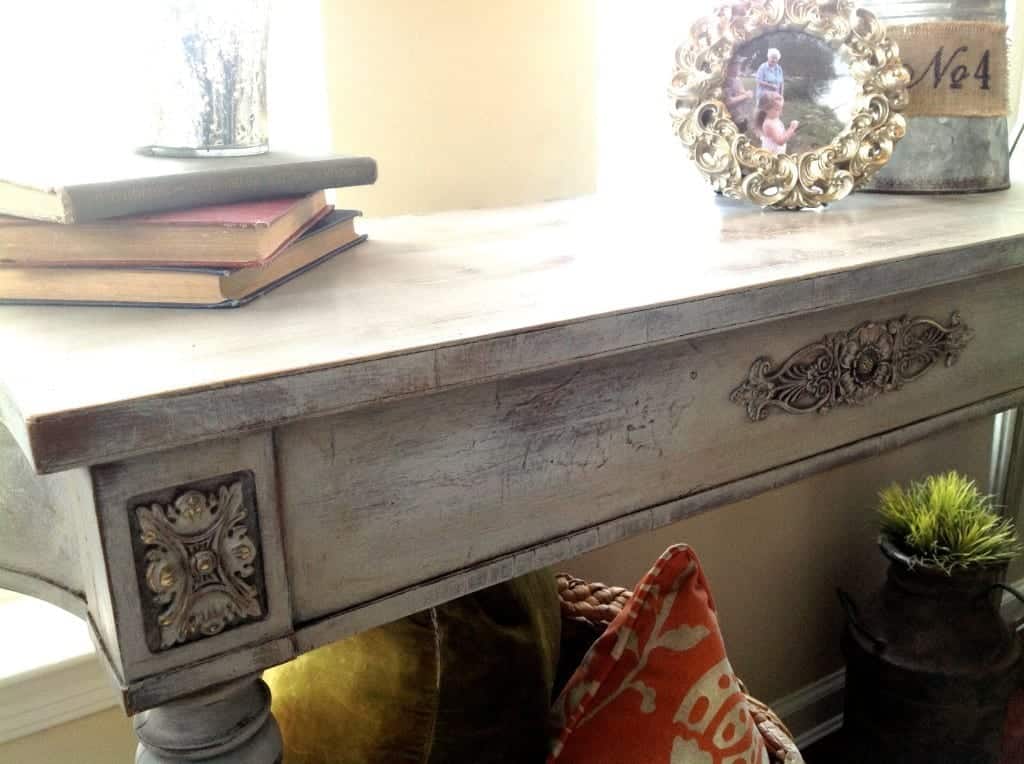
What happens when you add polyurethane over a painted surface? It richens the color and protects the piece, right? Such is the case with this step. So apply Annie Sloan Clear Wax, and brush it everywhere on the piece. After this, use a soft cloth and rub off the excess, meanwhile rubbing the wax into the wood. Another blogger once said to think of it like applying lotion to your skin, you don’t want clumps of lotion left behind, so work it into the piece. (Brilliantly stated, I will find her and give proper credit). This step also slightly darkens the cracks and exposed wood areas – giving it a lovely effect. (See picture below).
Many people could (technically) stop after this step. But with Annie Sloan – this step is the prior to adding the Dark Wax (for those of us that like more distressing). This is how my piece looked with the paint + Clear Wax applied:
Below, clear wax only:
Dark Wax = more distressing:
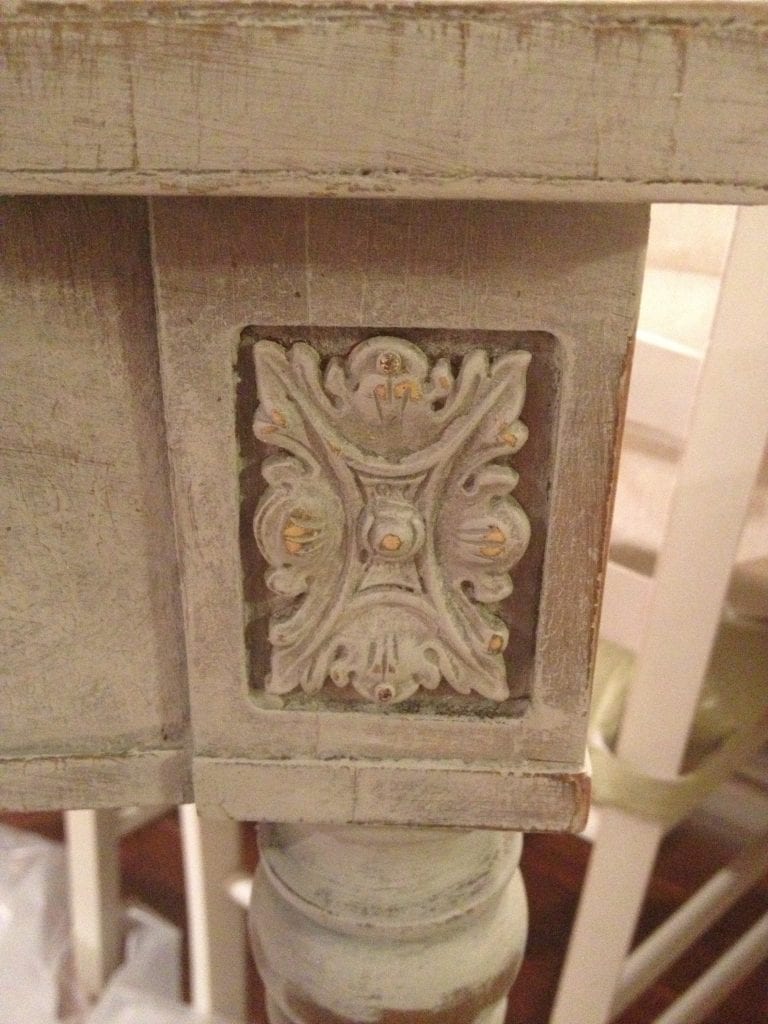
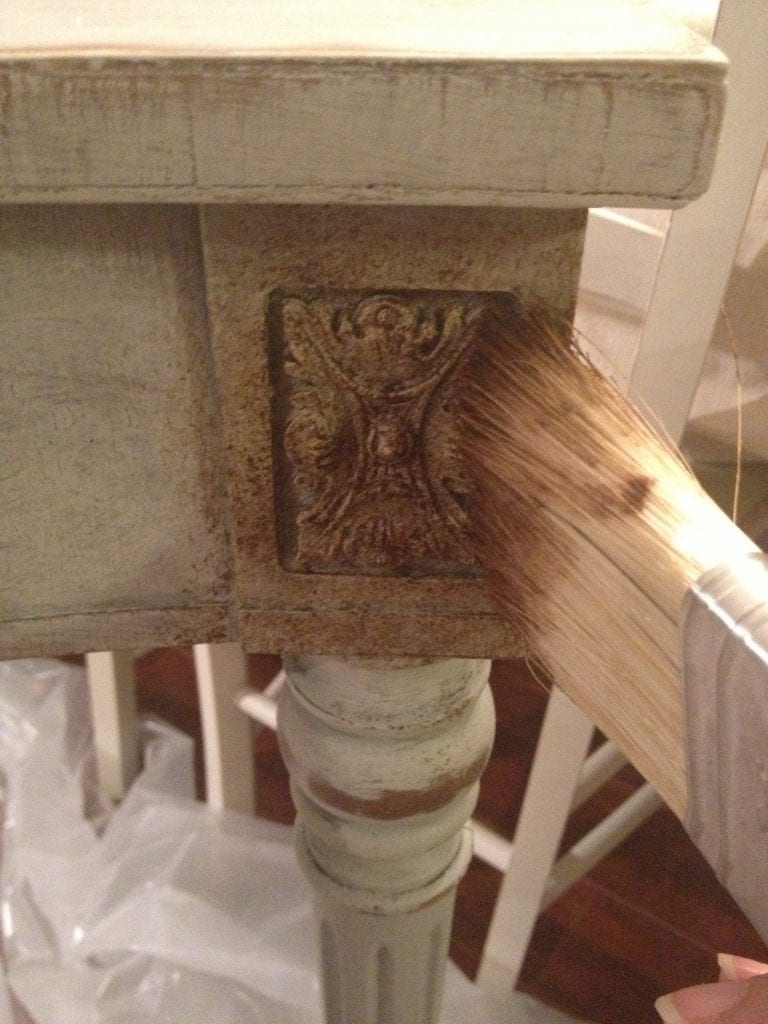
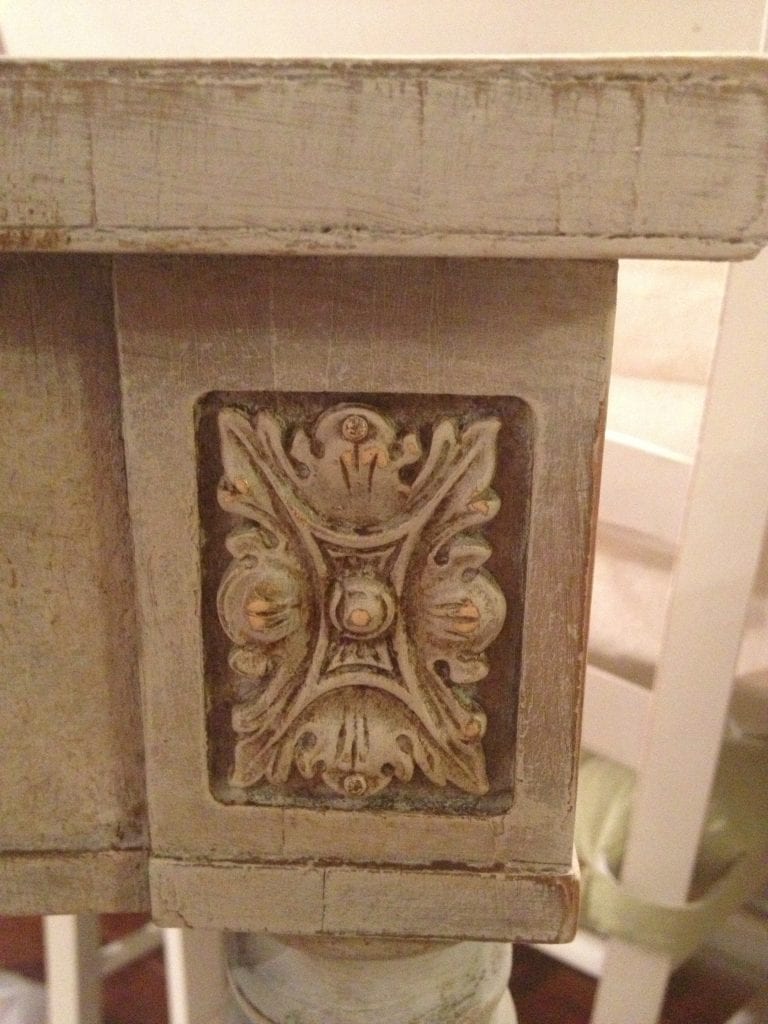
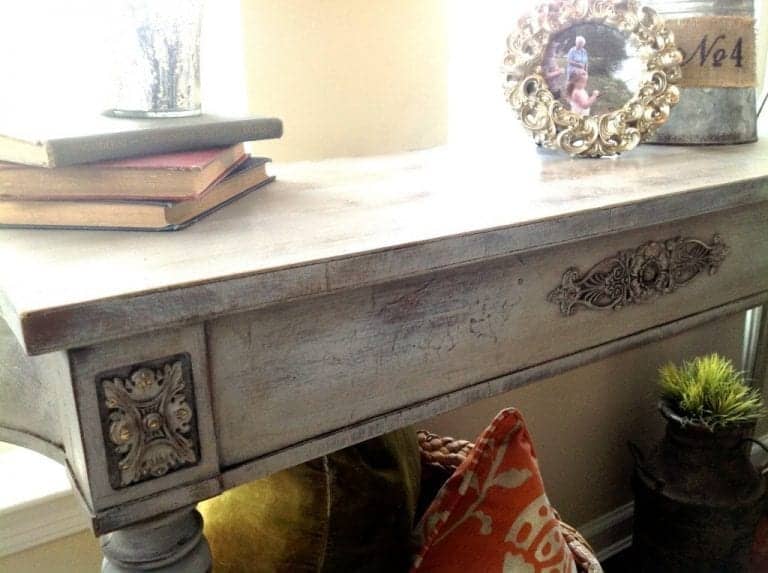
What I found is that my table already looked gorgeous after I applied the Clear Wax. So I chose to apply the Dark Wax in areas where I felt I needed it. There are lots of methods for doing this, but my main focus was to bring out the metal embellishments on this piece. So I dipped my brush in the dark wax…then wiped off.
Below: applying dark wax to bring out the metal embellishments:
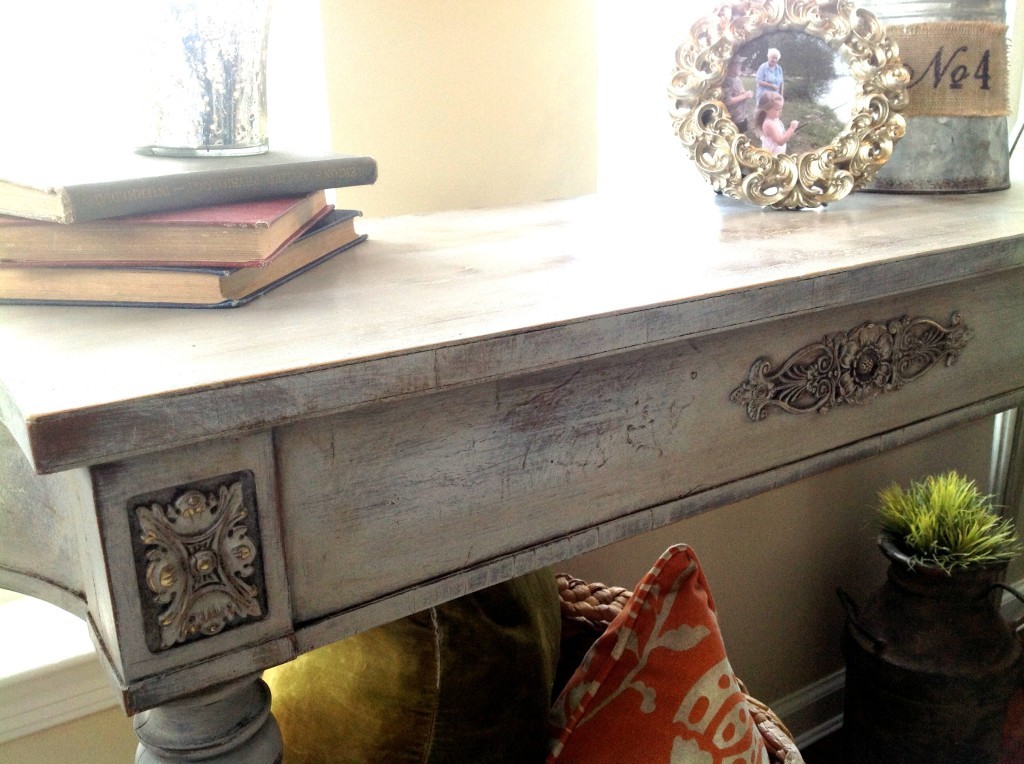
Below: results from dark wax application
I then worked the Dark Wax into the rest of the table surfaces, including the top, legs and front facing. It doesn’t dry fast, and you have time to work in the color wherever you want. It’s important to check for clumps and remove them from the cracks and crevices.
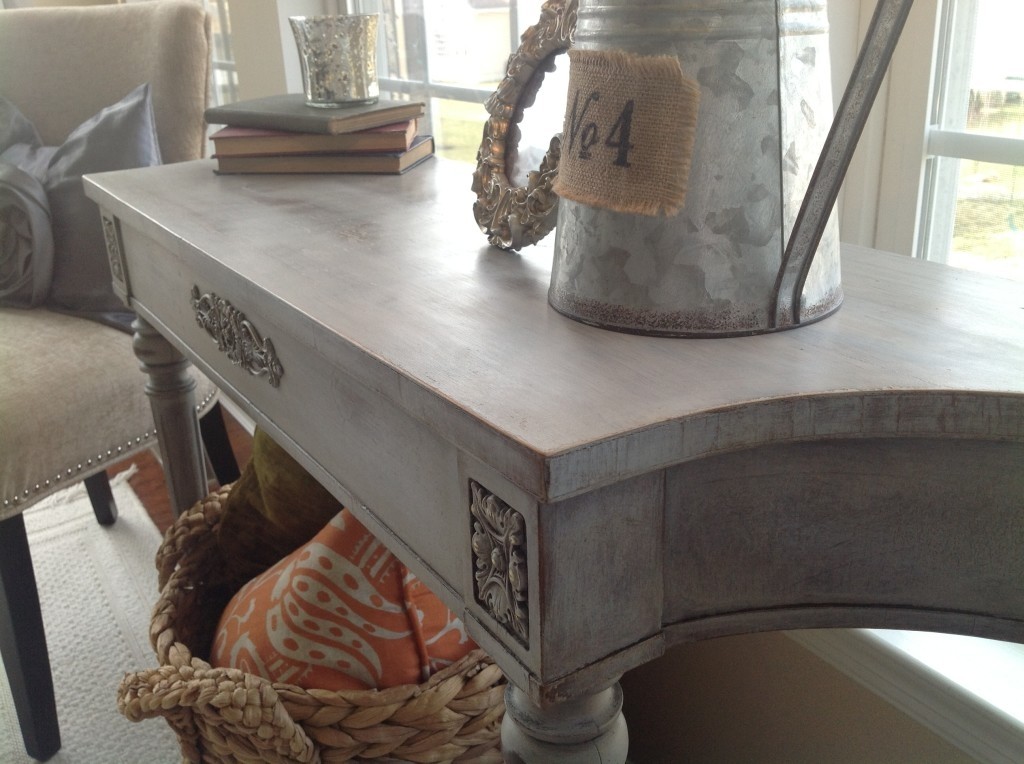
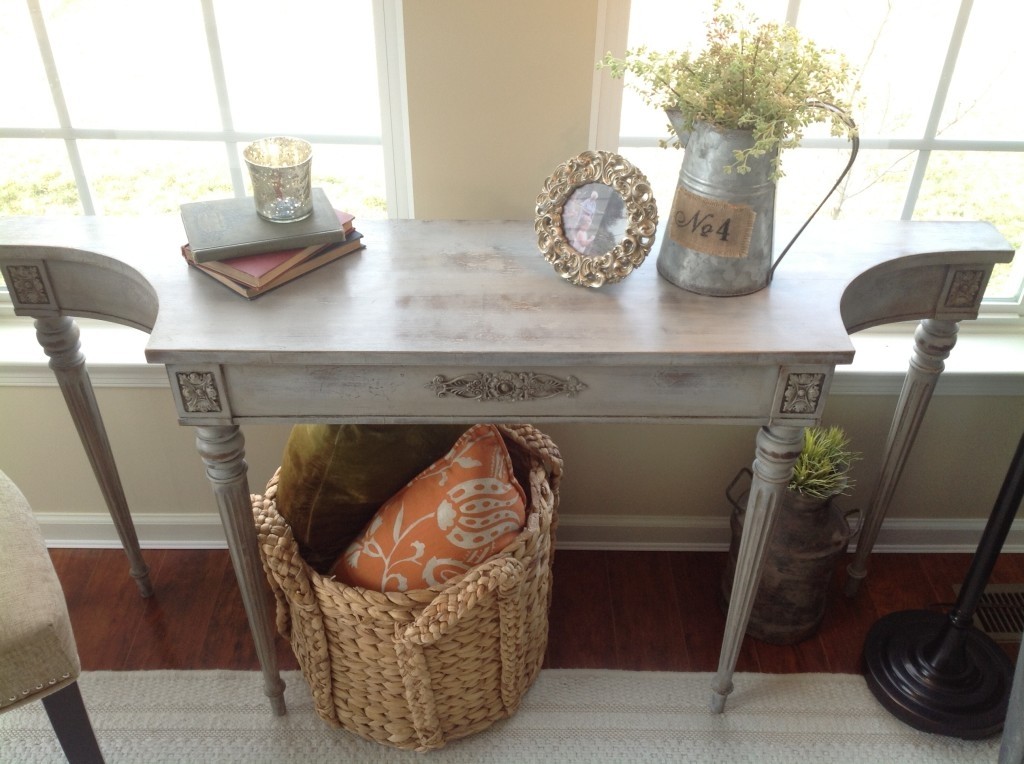
There you have it…my first Annie Sloan Chalk Paint experience.
One more look:
I’m still working out the kinks on about 50 other DIY projects around the house (including this website) so I’m extremely happy to have a FINISHED project that I can be proud of :)
This project was featured by Funky Junk Boutique & on the Annie Sloan Unfolded Pinterest Page!
You can also see it on the Annie Sloan Facebook Page.


You should be proud…it looks gorgeous! Nice Job!!! So the wax is actually a polyurethane?
Thanks Brian!…it’s just a wax, literally…but you use it as a finishing coat (instead of a polyurethane). It gives the furniture a protective layer like poly does with other paints.
OH MY GOSH! I saw that table over the weekend at Rusty Bucket! (it was outside screaming for some love!) I visited the Vintage Corner, Funky Junk and all the other Seville shops too :) I’m so glad the little table found a happy home….great job!
Thank you, Elizabeth! My Aunt loves in Lodi and told me about Funky Junk, so we went there on Saturday to pick up my paint order. That table was outside and calling my name. I love all of those stores! :) I’m a “regular” now. I am SO hooked on this Annie Sloan paint
It’s stunning. I used ASCP alot and love the results!! Found you on Hometalk!
Welcome Heather! I’m just starting to find my way around in Hometalk…happy to share more projects with each other, especially ASCP…I’m hooked!
Great table! I love it!
Just gorgeous…I would love to do this to my kitchen
When you say water is your best friend for this particular project . . . did you mix the paint with water before you put it on the table or did you dip the brush with water after ur first layer and use the wet brush on the paint that was already adhered?
thanks!
Lauren, I just have water on-hand so that I can dip my brush to keep a smooth finish. Chalk paint can be fast-drying so this is important to keep a wet edge.
Jeanette,
What a great find and beautiful restoration!
Where did you purchase your No. 4 metal pitcher? It completes your table!
Thanks Anne! This was found several years ago at JoAnn Fabrics. I appreciate you stopping by!