The “art” of tile printing
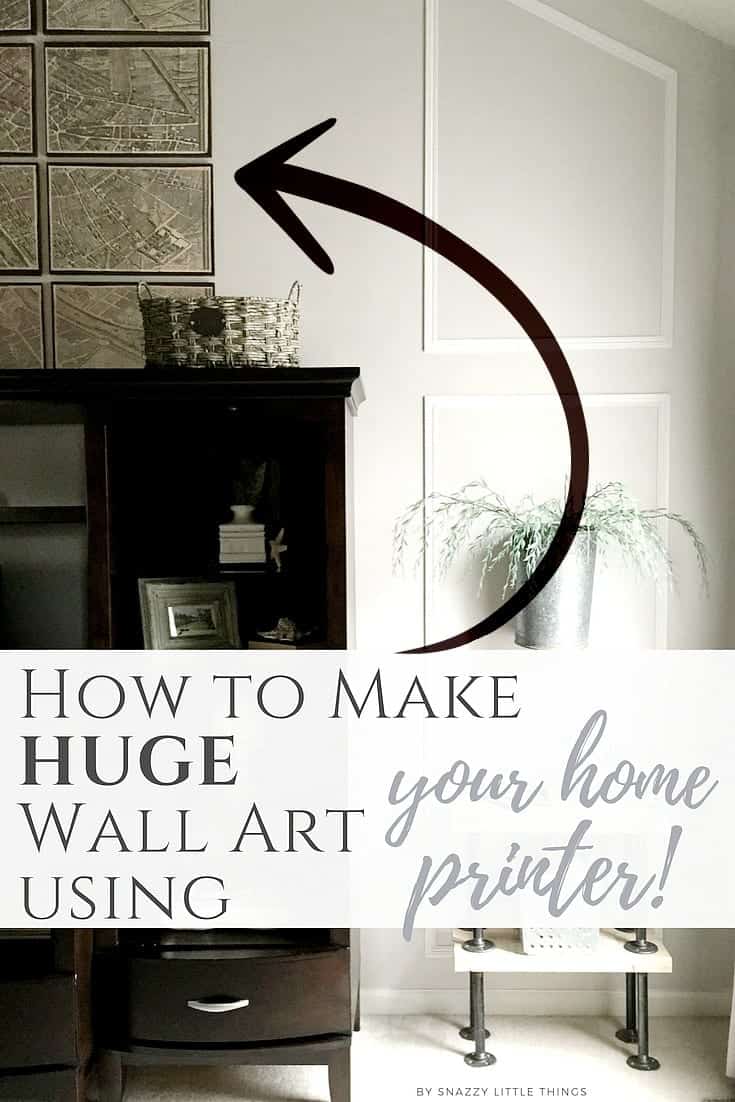
Tile printing is an essential ingredient behind many of my DIY and budget home decorating projects. You will see me reference this in my Ballard Designs Monogram Art, an image transfer on my T.J. Maxx table, my Restoration Hardware Paris map knock off, and you can also use it for the free Halloween silhouette downloads.
What are the Reasons I Would Tile Print?
- To create huge wall art
- Transferring an image to furniture
- Enlarging images for larger for decoupage projects.
- Making window silhouettes at Halloween
- It serves as a great alternative for those of us that don’t have a die cutter at home (like a Silhouette or Cricut)
- More tips can be found at this link.
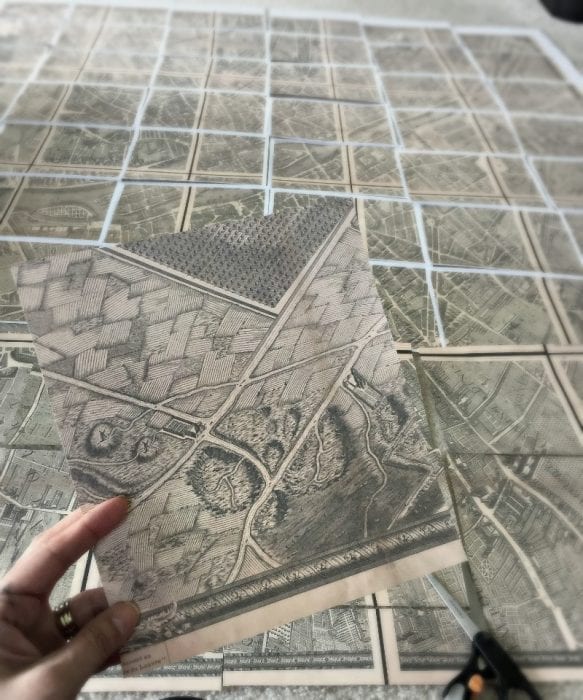
Enlarging images is still possible, even without fancy equipment. Here is a simple tutorial that explains this process. Bookmark this page, because once you know how to do this, it opens up an entirely new world as you decorate your home!
****
Step 1: Save Image to your hard drive as a .PDF
It’s important to understand the type of PDF you’re downloading. Designers have the ability to save PDFs to become HUGE art. If you’re not feeling ambitious enough to take on my map project, then I’ll start small.
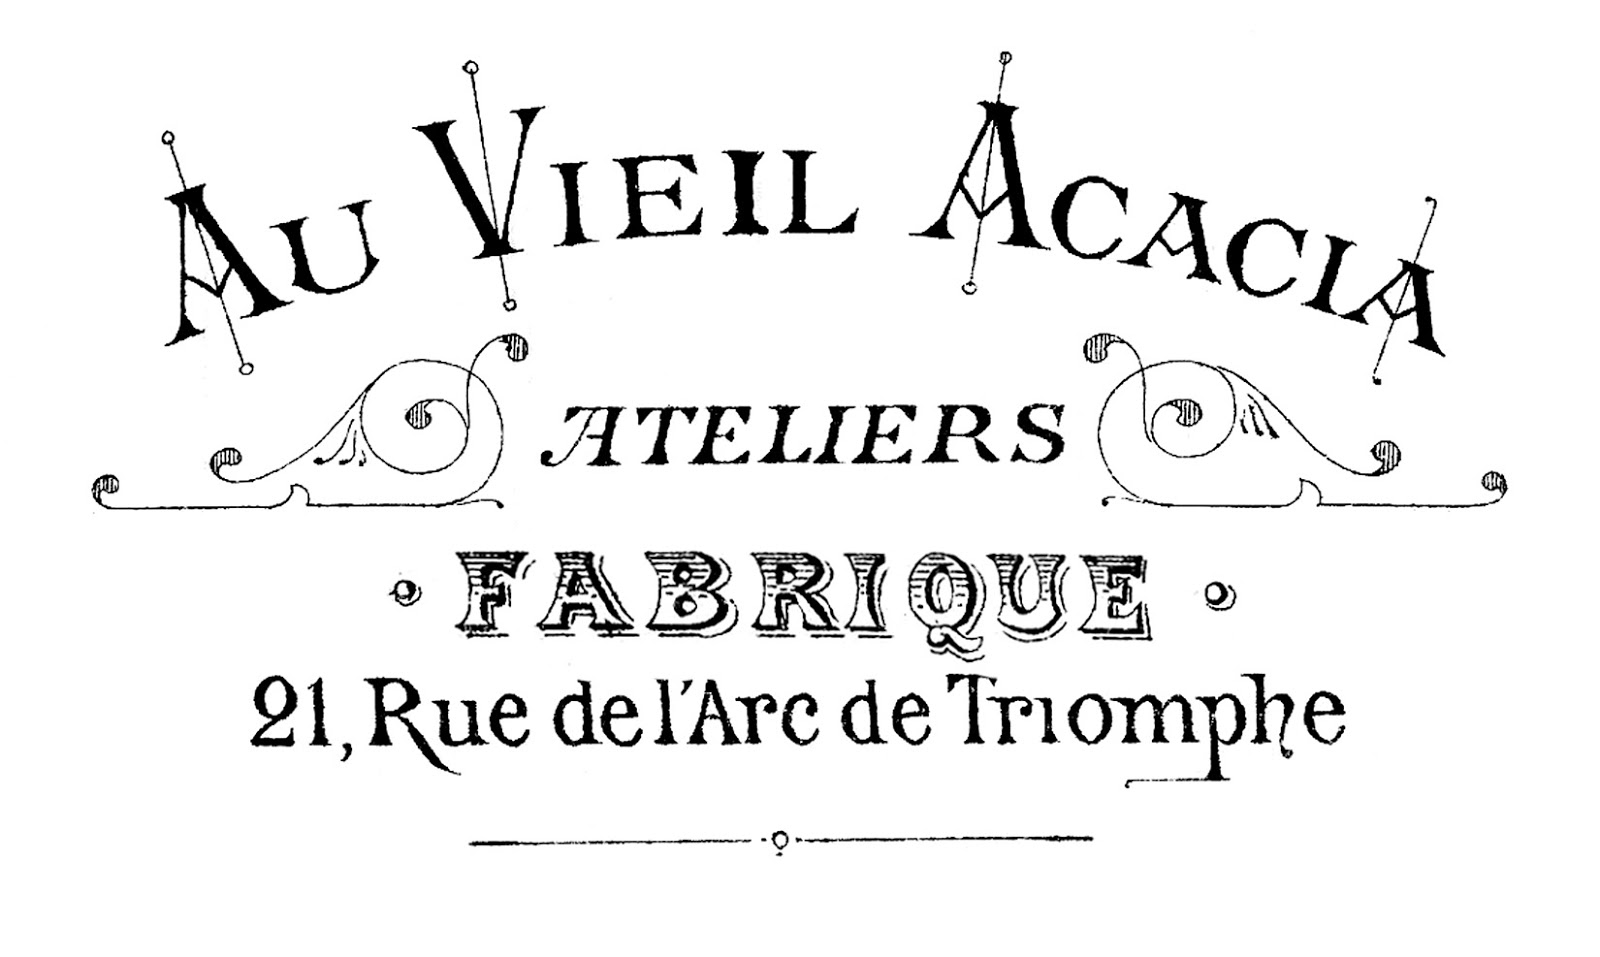
In the example image below, I hopped on my favorite site for royalty-free images, The Graphics Fairy. Let’s work with the image below as an example. I saved this image as a .PDF on my hard drive. Make sure this is a royalty free image and hi-res (for enlarging). Otherwise the image will become pixilated once enlarged.
Image above: Courtesy of The Graphics Fairy
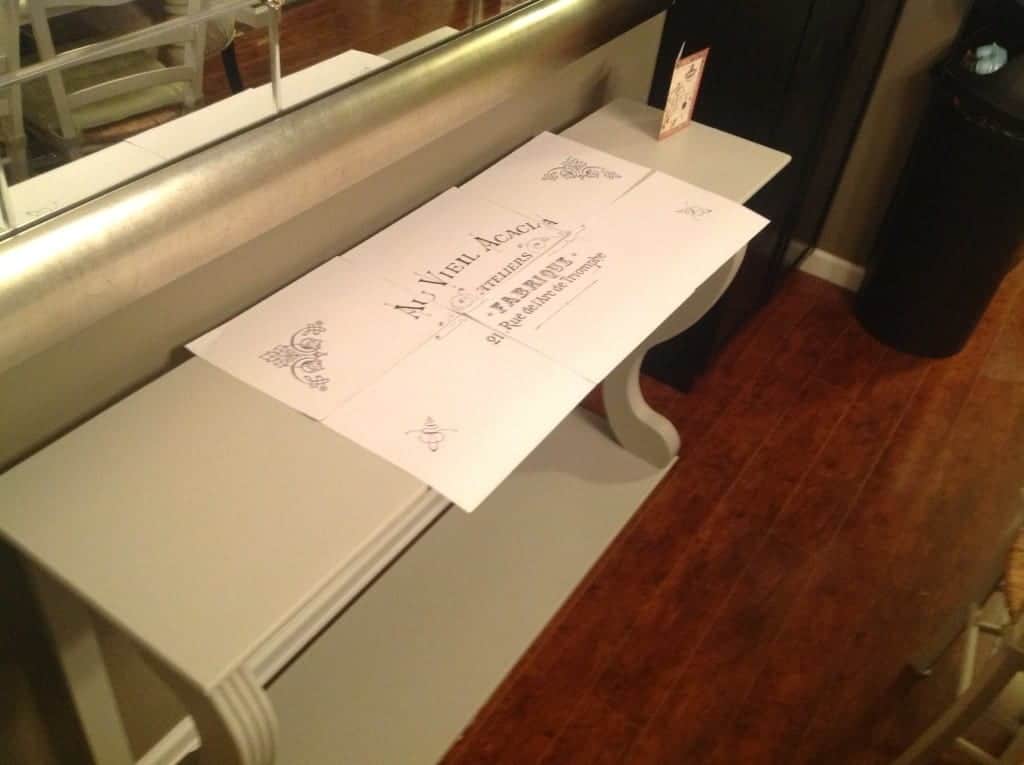
I love the look of hand-painted fonts, however, I needed to enlarge it to fit the table below. The individual sheets you see below is what is called tile printing.
Step 2: Computer Settings for Tile Printing
Decide on the dimensions that the image will need to be. Then…be sure you saved the file as a .pdf (not a .jpg)
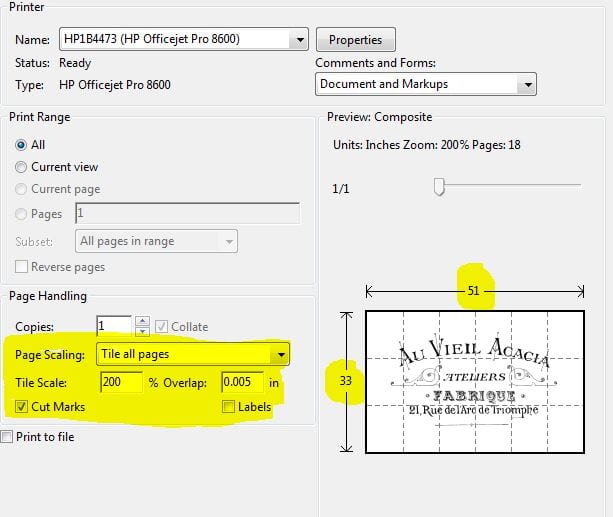
Save Image as PDF—>File—>Print—>Select “Page Scaling”, then select “Tile All Pages”—>”Tile Scale”
(Now, choose the size you need)
In the example below, I chose 200% which translates to 51″ long x 33″ high. Way too big for the table. So I adjusted the size to fit my project.
—>Click “Show Cut Marks” if you want a dotted line to show where they attach –>Then PRINT!
In this example that I just modeled…the graphic would be huge (51″ x 33″)…but it gives you the idea on how to do this for larger projects.
To explain the image transfer process I used for this project:
I taped the pieces together…then trimmed off the excess white space. Then laid it on top of the Martha Stewart transfer paper (carbon side down), and traced the entire graphic with a pencil. (Be sure to tape down the carbon paper that is attached to your own image, or it will move).
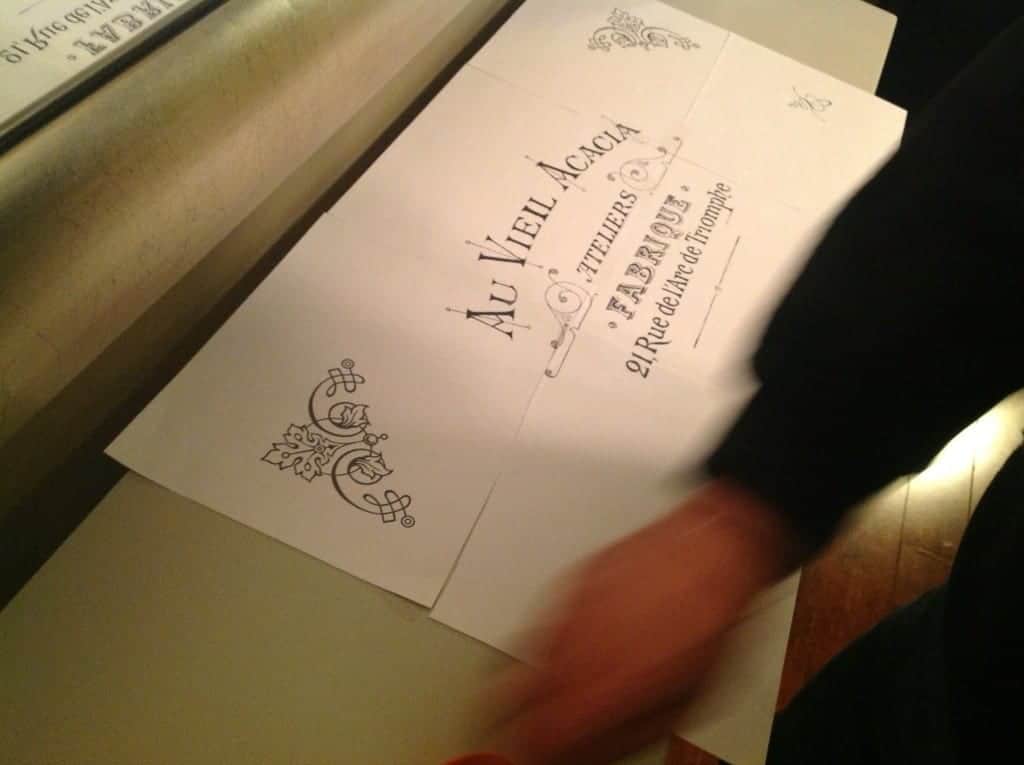
taped together with Scotch tape…
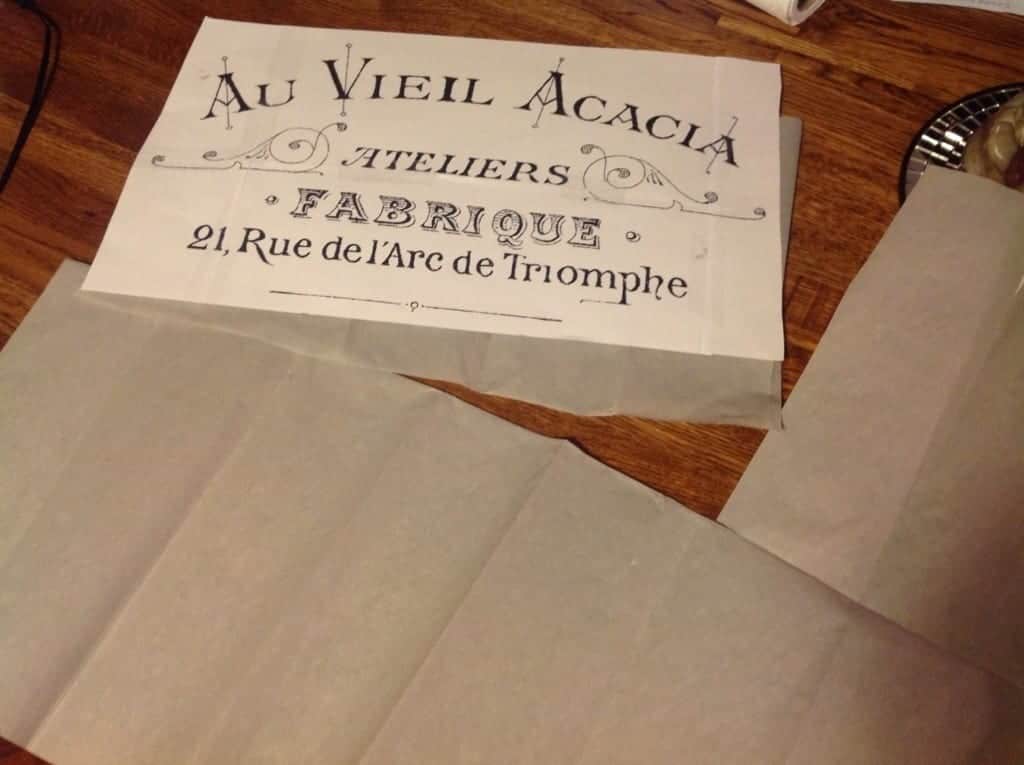
…traced the image FIRST with a pencil. See the carbon renmants below? That’s why you trace first with the pencil. Then…
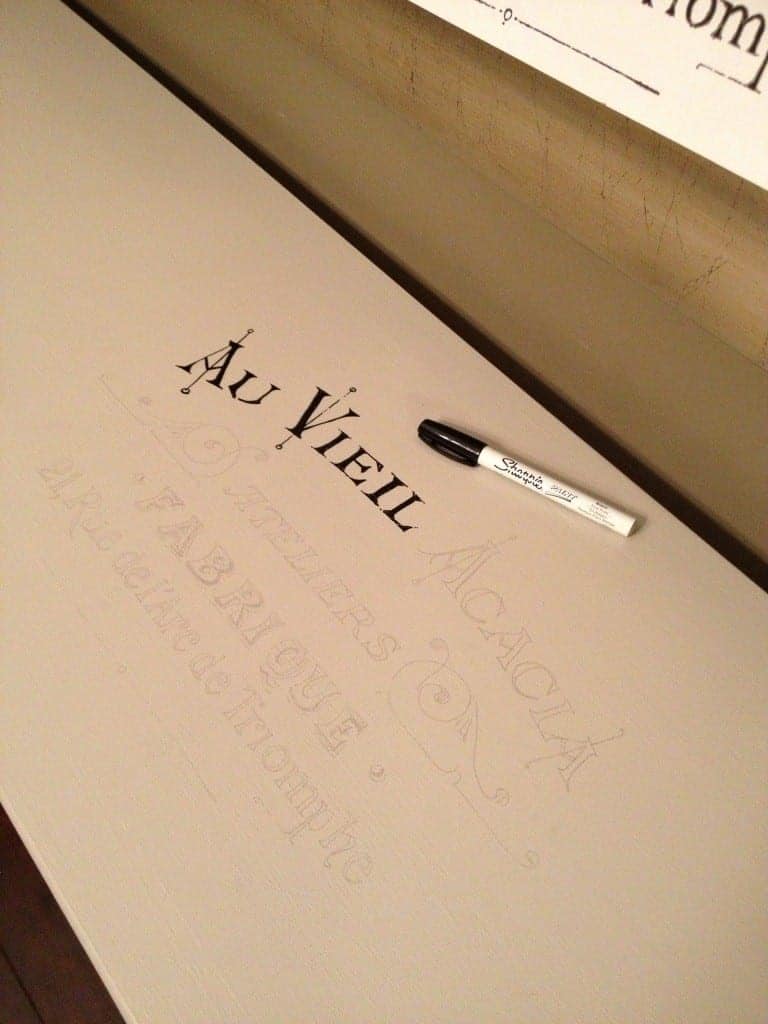
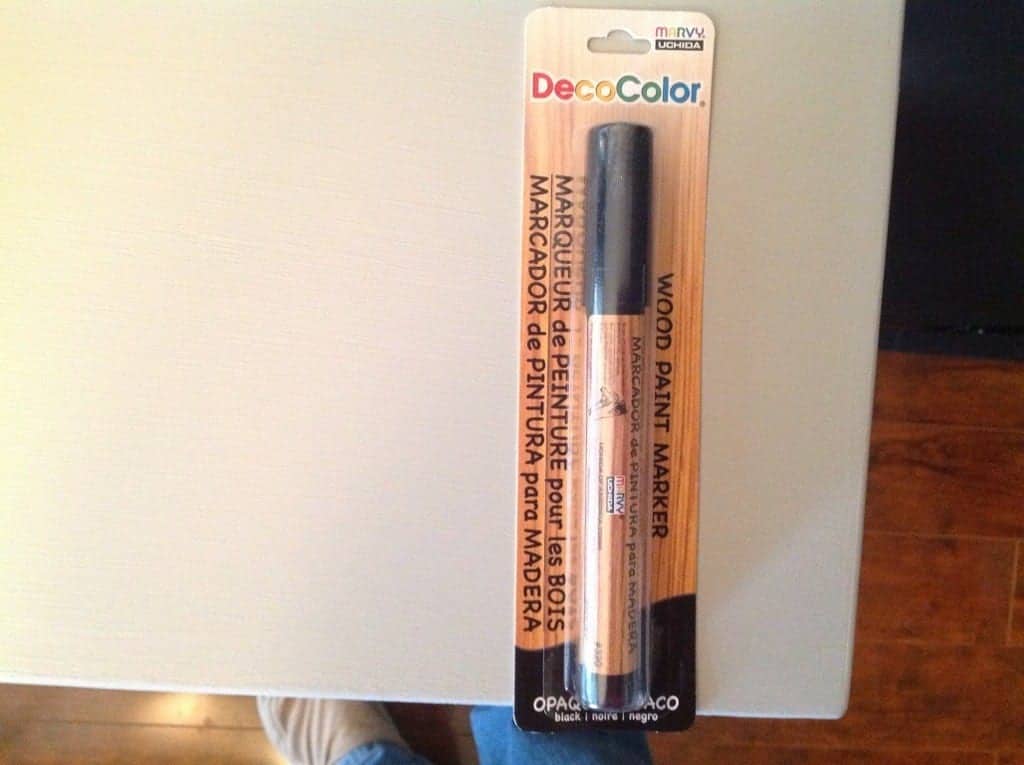
…I purchased a Paint Sharpie to fill in the carbon transfer.
To see the completed project, visit this link.
Pin IT:
Remember, if you’re struggling, you can always send the PDF up to your local print shop and have the images enlarged for a nominal fee.
Need more inspiration? I’ve rounded up over 60 blogger projects using this method for sign making, furniture upcycles and more!



Thank you for sharing this tip! Pinning!
Shannon ~ bohemianjunktion.com
THANK YOU SO MUCH FOR THIS TUTORIAL!!!! I have been using Blockposters online and it pixelates so much many are very hard to even read let alone transfer! I just found your blog and am a huge fan already! There is so many things I don’t know about what I can do on my computer, and it is tutorials like this that make me love my computer even more!!!! Thank you so much for sharing your expertise!
Sandy – you are so welcome. you just made my day! I’m so glad you found me. I hope to have more tutorials about image transfers going up very soon. ~ Jeanette
I need this! But I cant find this feature on my HP envy 4500 inkjet. Is this only on certain printers do you know? Blockposter is driving me crazy! Thanks
Awesome idea! Great way to save money and not wait for something large to be printed :)!
Thanks for this very useful tutorial. The direction are detailed enough to understand the basics of what needs to be done. One part I’m not getting though (maybe I slept through the kindergarten class that taught this technic) is the overlapping of tiles, cutting away the overlap guides, and then taping. Could you add a little more detail here . I’m definitely bookmarking this page . Thanks again for a very useful break down of transferring enlarged images to other surfaces.
THANK YOU SO MUCH FOR THE TILING TUTORIAL!!!! This was exactly what I needed on a rainy day with a project simmering in my head.