How my kitchen paint is holding up….
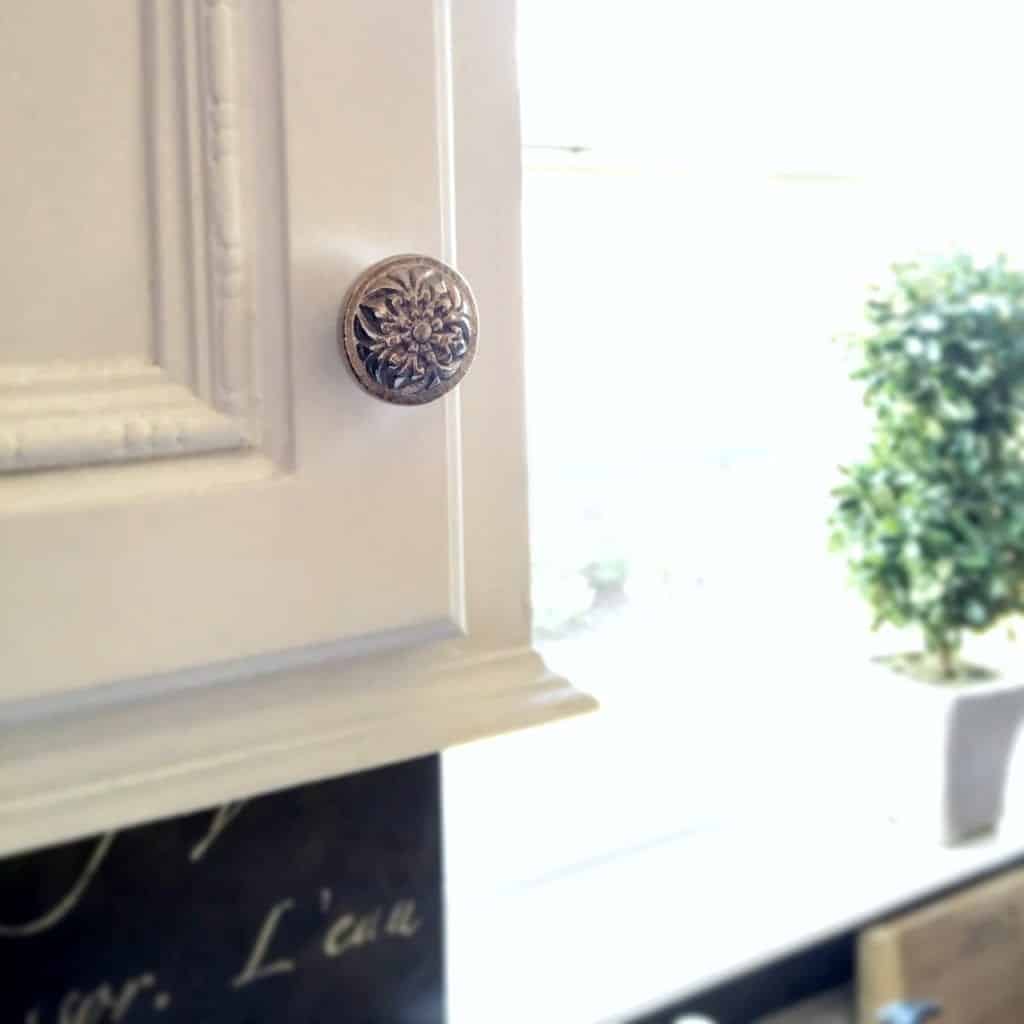
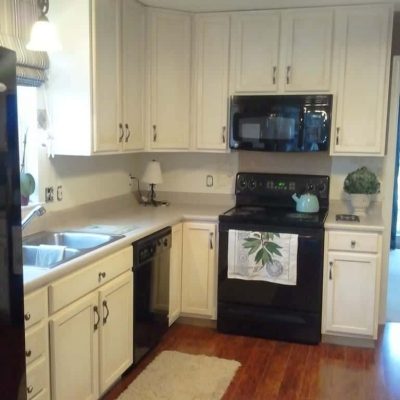
It’s been seven months since we repainted our deep-grain oak kitchen cabinets, so today I thought I’d share an update on how they’re holding up. (We since sold this house, the realtor said this project added MAJOR value. See this post about our home sale).
Let’s just say this isn’t my first rodeo when it comes to painting kitchen cabinets, (I’m pretty sure I’ve painted every square inch of this house). But in the summer of 2016, I had to repaint my entire kitchen (and island) because the original paint kit I used in 2012 (when I was brand new to DIY + blogging) wasn’t working out. The previous paint began to chip and was turning yellow.
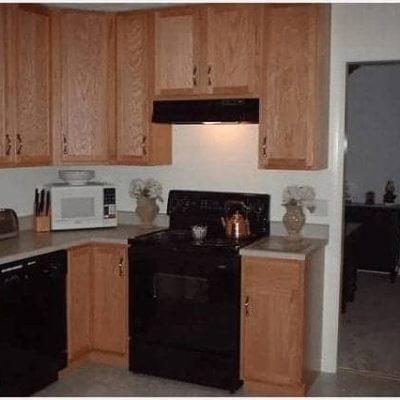
If you’re new here, here is a glimpse of the 2012 paint project:
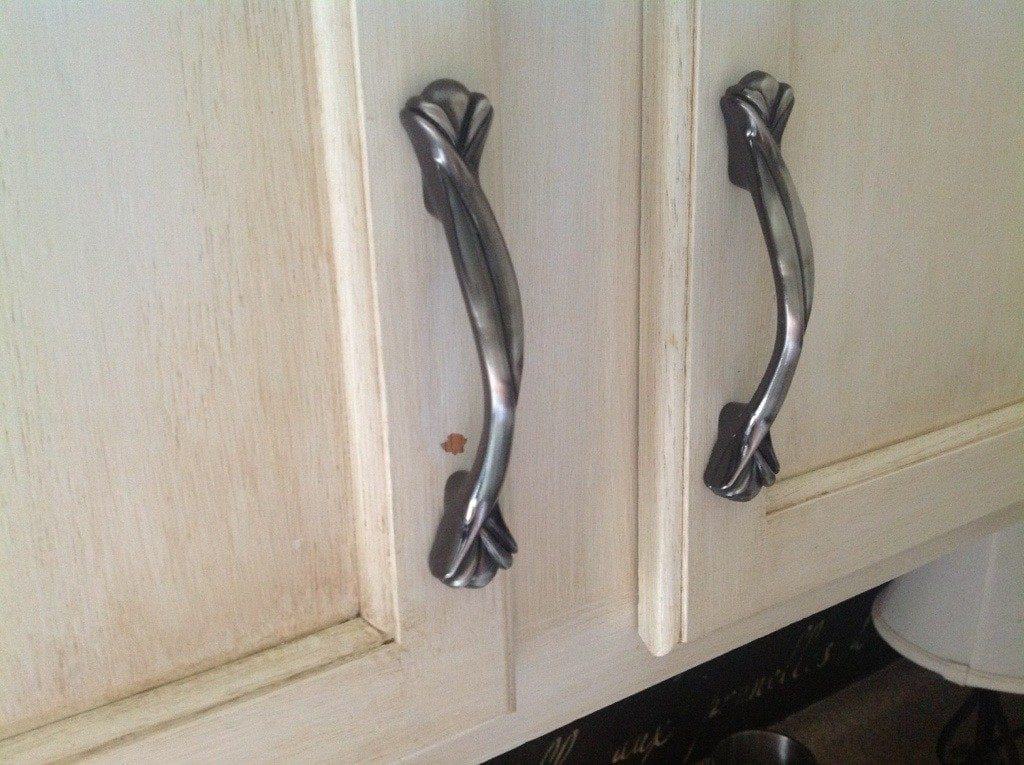
Even though I was dreading another kitchen paint project, I knew this was my moment of redemption. I could do things right this time — and I did a lot of online research. The problem was…there were now thousands of paint tutorials in favor of latex paints. And I was extremely leery of latex paints…read on.
The Decision Making Process…
My experience using latex paint on walls has been great. But on doors, furniture, cabinets, not-so-great in terms of durability – even with paint labeled “enamel” latex. So I knew I didn’t want to follow the crowd and use any latex on my cabinets — especially with some of the reviews yielding mixed results. With the odds rarely in my favor on the latex paint front — I decided I needed to try something different. I planned to take all the necessary precautions to do this project right this time. I also wanted to avoid the extra step of adding a top coat.
To be honest, it felt like my criteria was simple:
- I needed a durable paint that doesn’t chip.
- I needed a white paint that would not yellow over time.
- One that required NO top coat. Why take that extra step if you don’t have to?
- Americana Decor Satin Enamels is what I settled on
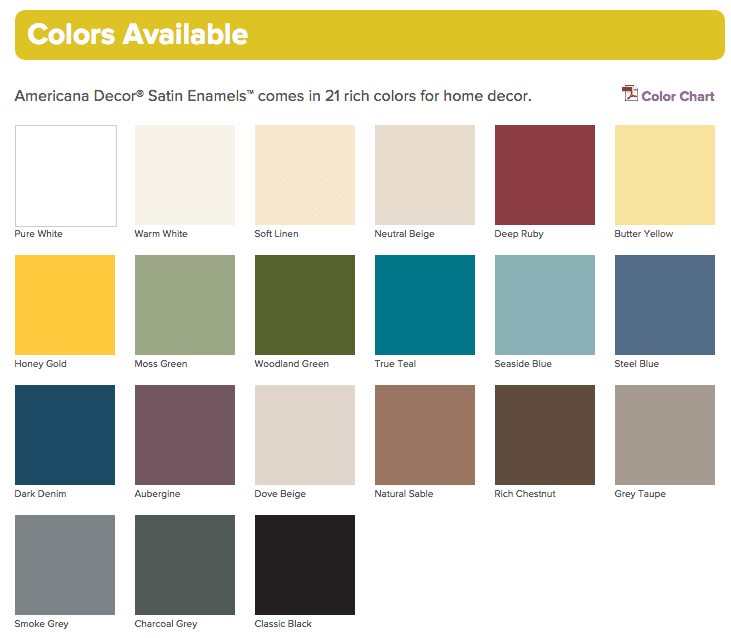
AMERICANA DECOR® SATIN ENAMELS™
Why I took the leap of faith + chose this paint for such an important project:
Read more about our kitchen project:
How to Prep Your Cabinets // Kitchen Island Update // 12 Ideas to Embellish Your Kitchen on a Budget
After talking with my professional painter friends, several thought I was crazy to try this paint line. Yet the overwhelming majority encouraged me to consider acrylic enamels (or enamel-like) paints for a hard finish. So why NOT this line, right? Oil based enamels are great for all colors EXCEPT for white — so that was out since oil based paints will yellow over time. So that’s another reason I chose water-based acrylic enamel since we are using Pure White on some cabinets. To apply, DecoArt recommended several thin coats for long lasting durability. This AMERICANA DECOR® specialty paint line fits my criteria perfectly, and it’s designed specifically for high-use furniture items (like cabinets). There are a few more reasons I really wanted to try this paint:
Reason #1: I love the paint colors they have to choose from
We chose Dove Beige for the island, and Pure White for the cabinets. Here is my affiliate link to shop on Amazon.
Reason #2: It provides a high-performance finish
Normally when I accidentally drip latex paint onto our laminate floors (hey, it happens!) it could be easily scraped off with my fingernail. Not this stuff! I had to actually get a scraper from the woodshop to carefully remove my paint splatters. This is a GREAT sign that this paint is more durable, even better than the high-performance latex paints available. This paint dries VERY HARD. This is enamel, remember?
Reason #3: It’s self-leveling and leaves minimal brush strokes
If you do have brush strokes, you can dip your brush in water (it’s an acrylic enamel which is water based) to ensure the paint stays thin enough to level out. You can also lightly sand between coats. The trick to a long-lasting finish and durability is a thin application with multiple coats. To give the paint some “tooth” or rough application, you can also roll it on as well.
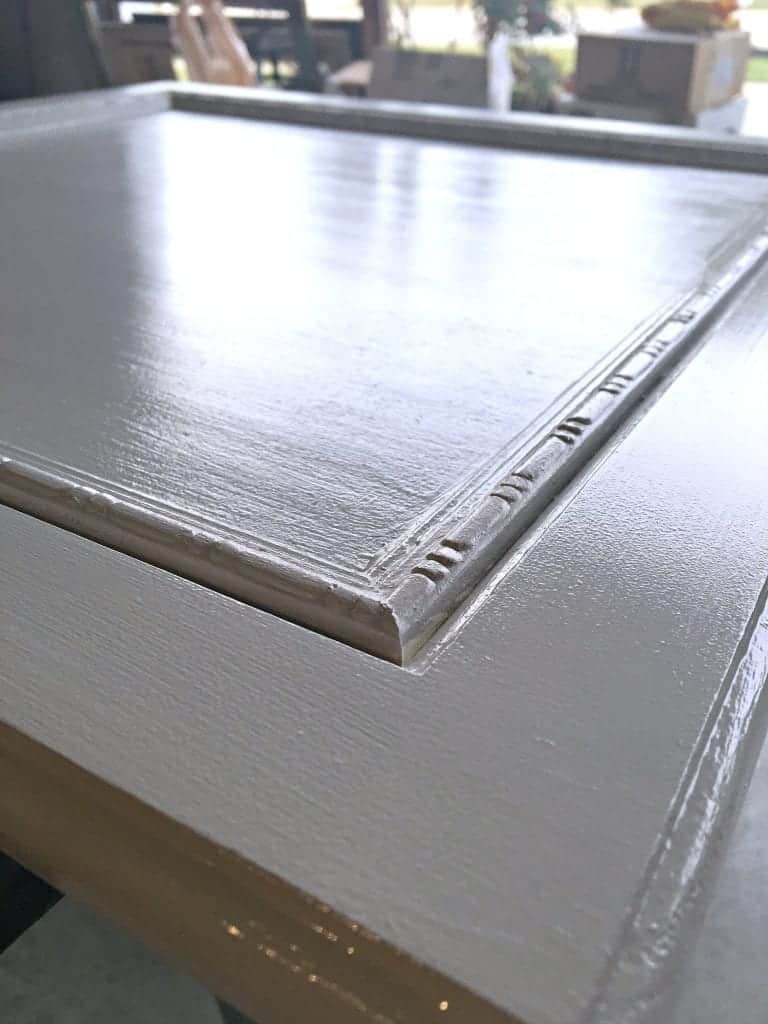
Reason #4: The brushes!
The brushes are thin and easy to use, and they get in all the nooks and crannies (especially in the beadboard). This style of brush also promotes a thin application. Very important if you want a long-lasting, durable finish. But in the end, I used a watered down version in my paint sprayer and it turned out great!
Reason #5: No top coat needed
Woah. If you haven’t painted cabinets before, this is huge. This will make touching up the cabinets SO simple. Since I’ve already been through a kitchen cabinet paint job once…additional layers of paint, including a top coat make touching up difficult (because you’d have to repeat the layers). With DecoArt, no additional steps needed, and you can keep your cabinets looking fresh by keeping the paint on-hand for any mishaps. (And let’s face it, paint is paint…and chipping can happen).
Reason #6: Stain Blocker
If you have a wood grain in your cabinets (I’m a little picky about that) or worried about tannins bleeding through your lighter paint, they offer a stain blocker. I used it primarily as a brushable wood filler as a step between the primer and paint. We wanted to be a thousand percent sure that we would never have to paint these cabinets again!
UPDATE:
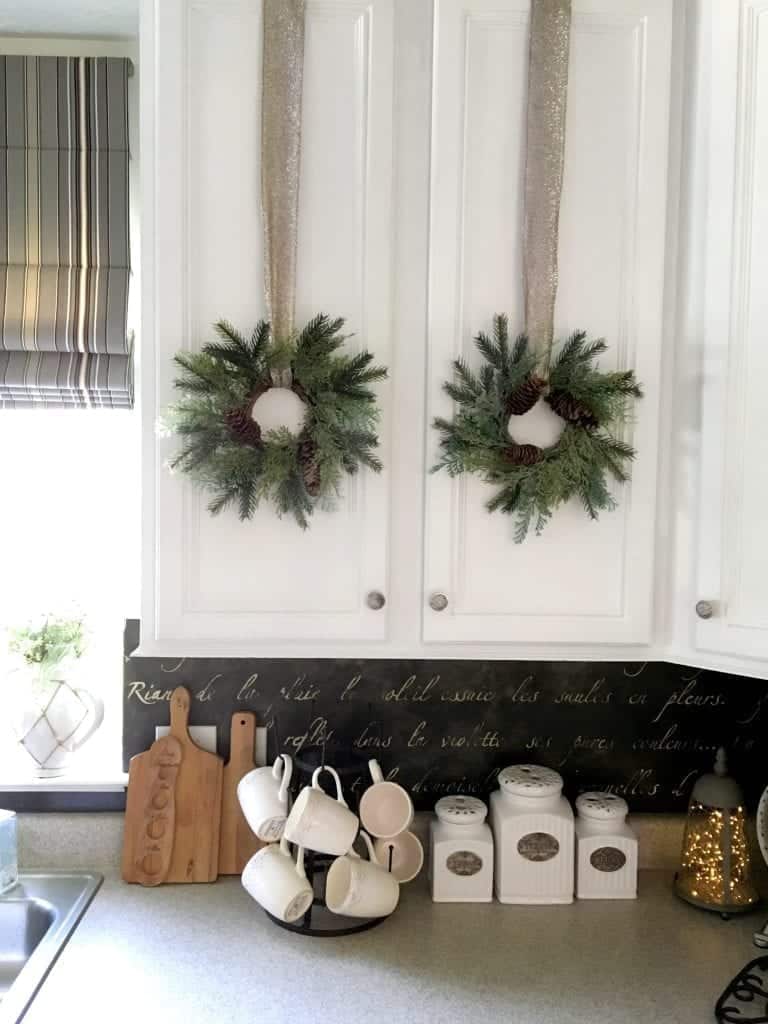
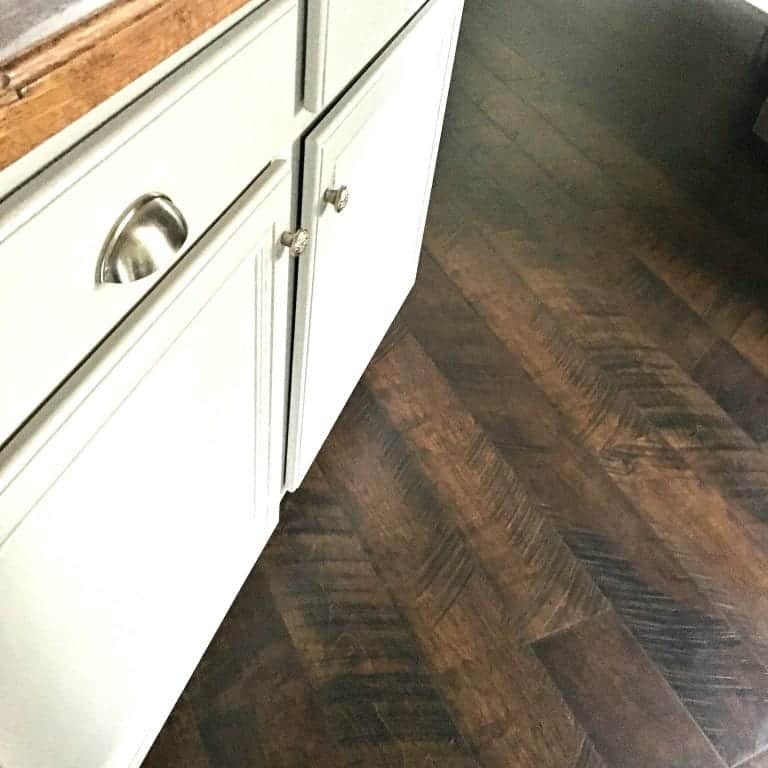
So…after 7 months I was expecting SOME problem because I have not been terribly lucky in this department. But I’ll have you know — not ONE chip, scratch or touch up! NO tannins bleeding through….and the wood grain is barely visible. Expecting the worst, we stored a few extra containers on hand if needed, but we haven’t had to use them once. My only complaint is that they need to make larger containers for a kitchen paint project. I will post another update in several months to let you know how they’re holding up, but for now…this stuff is really great for any high-traffic furniture projects, doors or cabinets in your home.
Pin it for later:
Read more about our kitchen project:
How to Prep Your Cabinets // Kitchen Island Update // 12 Ideas to Embellish Your Kitchen on a Budget



Hello, the best paint(we have found) for kitchen cabinets is FLOOR PAINT. Put it on with a roller and small paint brush, take doors off first and clean and rub down,2to3 coats allowing to dry completely in between each layer and they look like shop bought ,no streaks
Great idea Lana! I could totally see how that would be resilient…thanks for the suggestion. Have a great weekend!
Do I need a paint sprayer to paint my kitchen cabinets? If so when do I use it? Thank you for your reply.
I read your post with great interest because I must paint my existing base cabinets to match newly installed uppers that were sprayed with enamel. I have the left over paint but am curious about the type of sprayer you used.
I’m not sure of the type of existing paint but it has yellowed over time. I planned to use a deglosser rather than sand. Will that work for enamel ?
Hi Mary, thanks for commenting…my experience with deglossing isn’t great. I like a very clean, smooth finish which is why I opted to sand my cabinets followed by a primer and stain blocker. Instead of deglossing, I would do a light sanding and cleaning the cabinets thoroughly with TSP. This prevents tannins from leaking through your paint which could yellow them. If you’re painting white, I really like Heirloom Traditions Paint, the Heritage Collection which is a bonding / primer / paint all in one and could save you a step (coupon code SNAZZY to save). I have not used a sprayer with Heirloom Traditions but the one I used with the DecoArt paint was from Homeright and I love it!
Thanks for the info about the prep. but I have to use the enamel that the cabinet maker used on the new uppers. He gave me the remains of 5 gal Color matched to SW Snowbound. I don’t know Homeright.
Hi, I am about to paint my cabinets with this paint. What kind of primer did you use?
How is your backsplash holding up?
Not one single chip or scratch. It hides dirt well and I wipe it down with a sponge. No issues whatsoever.
What is the French script stencil you used for your kitchen backsplash and the steps to creating the backsplash?
Here is the tutorial and all the steps for stenciling. We love how it turned out. https://www.snazzylittlethings.com/diy-stenciled-french-backsplash/
I am getting ready to paint my cabinets with this same paint. I k ow every project is different, but could you tell me how many containers of the paint you used for your project? I just want to get a base idea of how much money I need to save up!! Thank you for your wonderful post!
It’s been a few years… how’s it still holding up?
Curious how it is holding up after several years now.
I too was hoping for an update!
Looks beautiful!
Thank you!
Can a water based glaze be used over this paint?
This turned out so beautiful. Going through that many tiny jars would probably drive me crazy! You are correct to say, they need to have a larger option for larger projects.
do you need to prime before you put this on shelves?
I did prime it, yes.
How many jars of paint did you use for your kitchen cabinets?
I think it was about 6 for 2 coats of paint. One jar goes a very long way.