Make a Wood Frame Without Power Tools
A sneaky way to create a wood frame without purchasing wood or power tools! Use an existing canvas. Remove the canvas exposing the bare wood. Then follow the steps to make a pretty, rustic frame.

Rustic wood frames are super easy to make even without power tools or purchasing wood. In this tutorial I’ll share how I made several holiday canvas art projects without any power tools and a trip to the craft store. Make each framed art in under an hour each with your Cricut! There are SO many designs in Cricut Design Space, too. So you aren’t limited to the designs I chose for this project.
Materials You’ll Need:
Time needed: 1 hour
Follow steps 1 & 2 for an INSTANT wood frame!
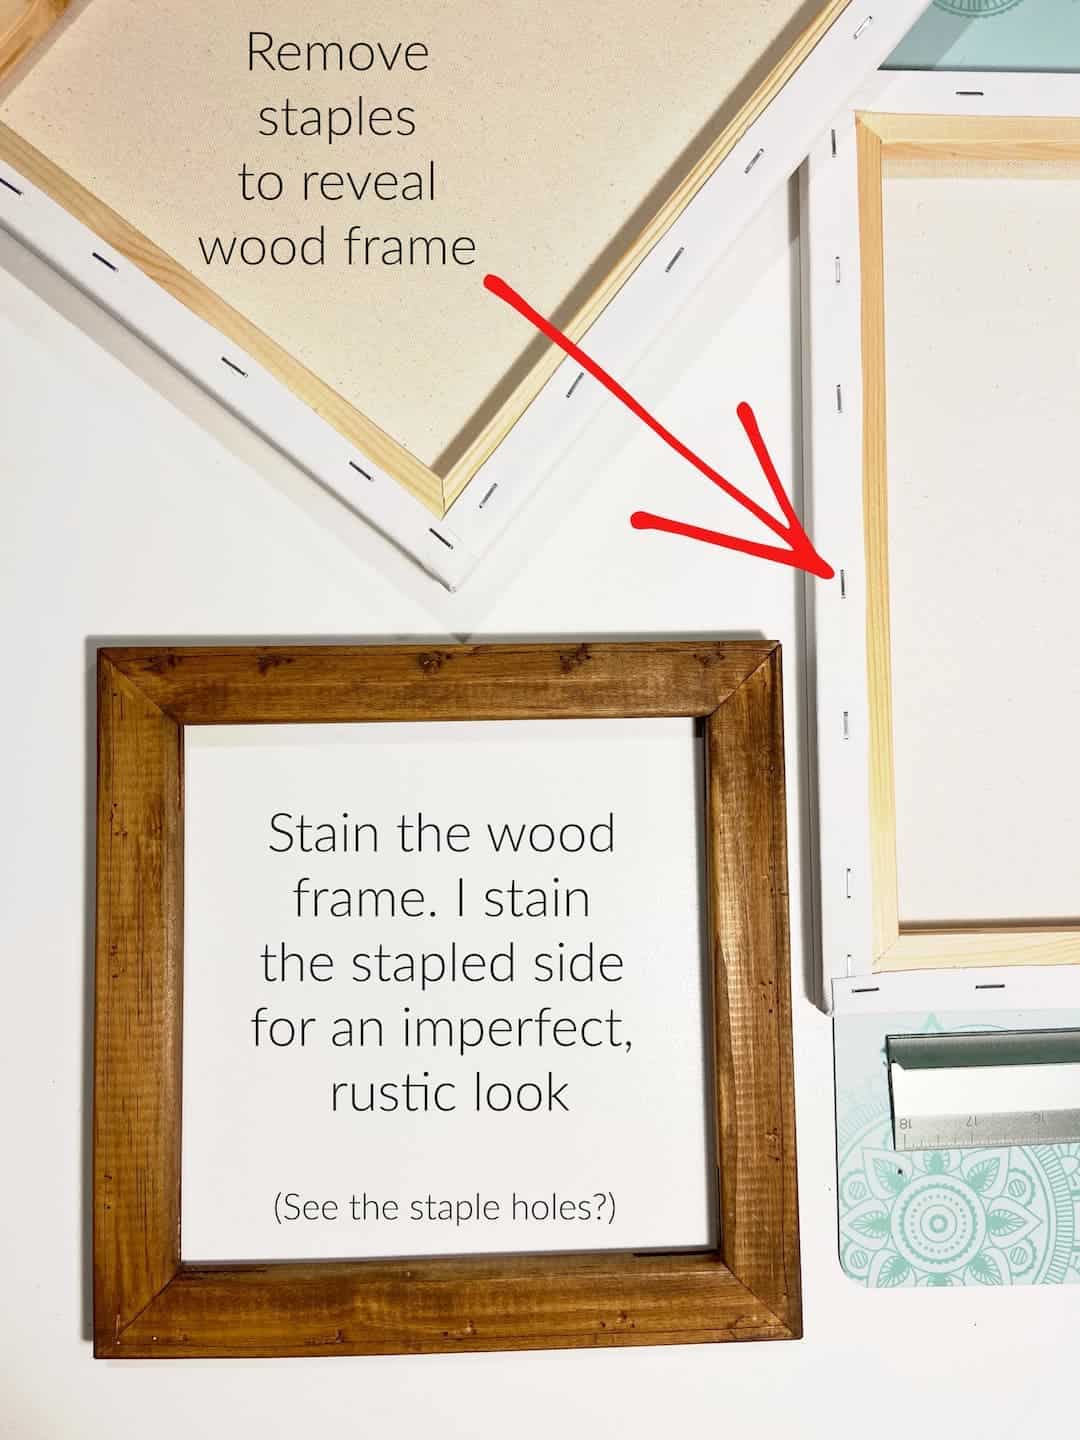
- Start with a 10″ x 10″ Gallery Wrapped Canvas
Use a tack-puller screwdriver to remove canvas and staples from the wood. Stain the wood frame in a color of your choice. Set aside the canvas, you will use this again later.
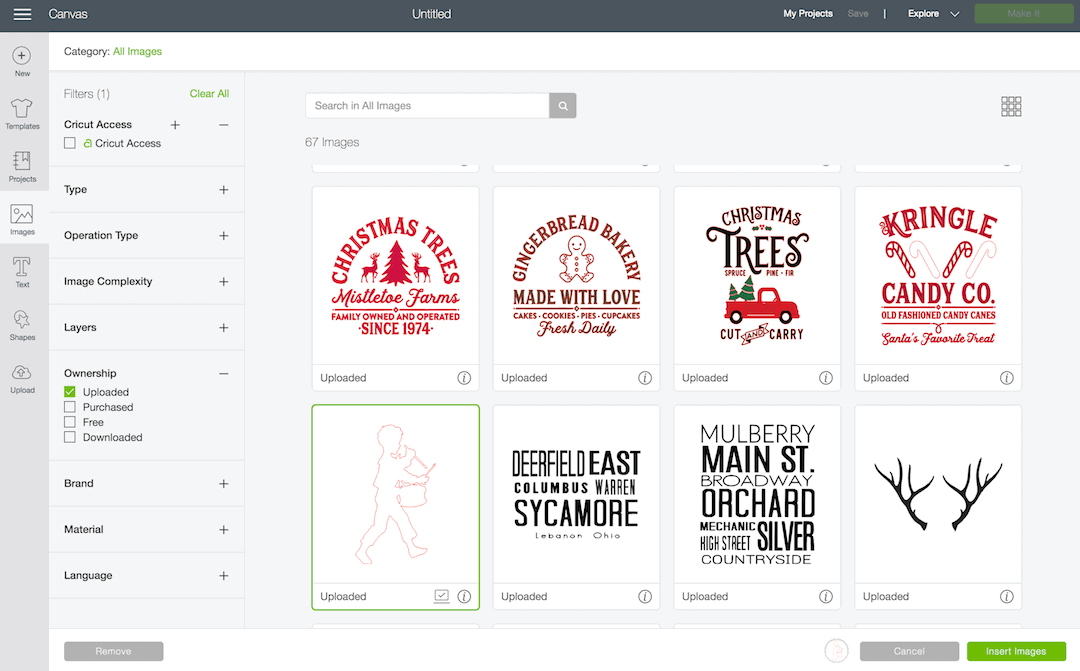
- Upload Image in Cricut Design Space
Upload your own art into Cricut Design Space, or search the images library for a variety of silhouettes. Click “Insert Images”
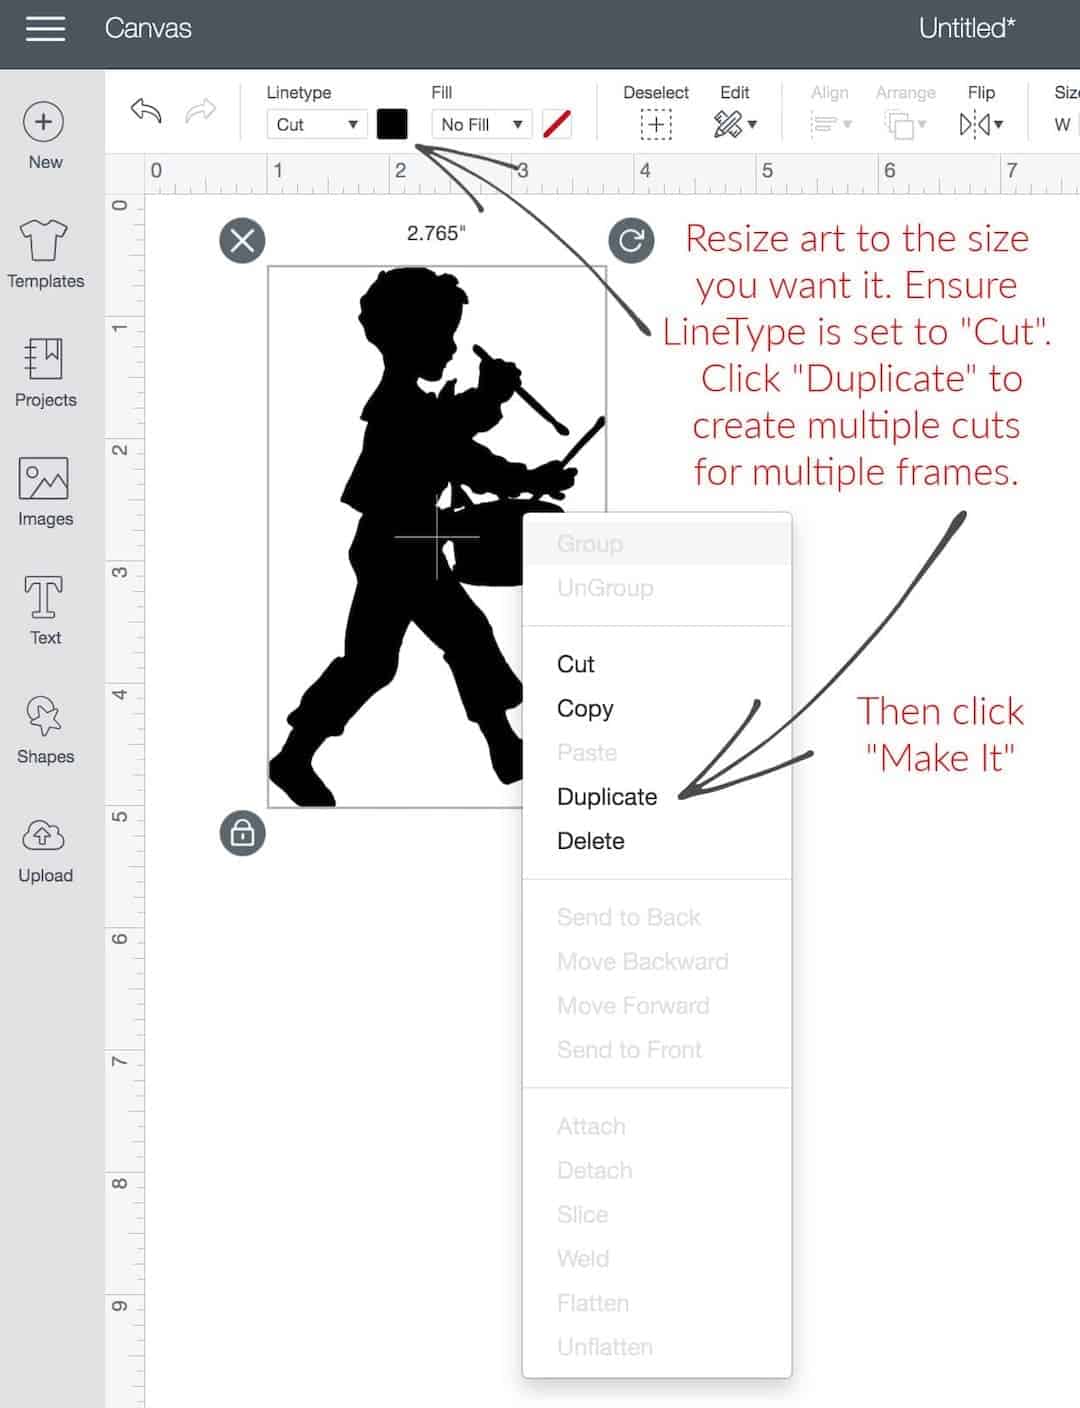
- Edit Image in Cricut Design Space
- Place Cricut Iron On Vinyl Shiny Side Down onto Cut Mat
Shiny side down place Cricut Everyday Iron On Vinyls onto your cut mat. Cut your image then weed the excess.
- Heat Set The Image on Canvas Using Cricut EasyPress
On the white side of the canvas, place your newly cut image (shiny side up) on the white side of the canvas. Set image for 15 seconds at 350 degrees. Let the image cool before removing film. If the image sticks, just stop and reset the image with more heat.
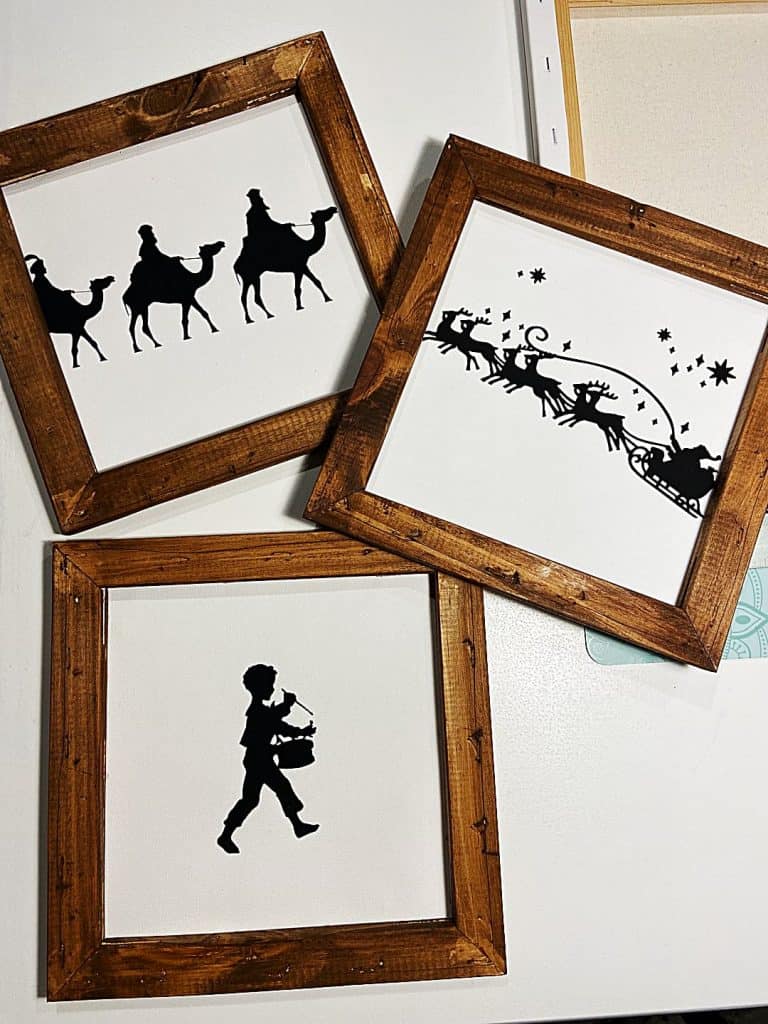
So easy! Be sure to follow along with even more holiday projects made using my Cricut materials.


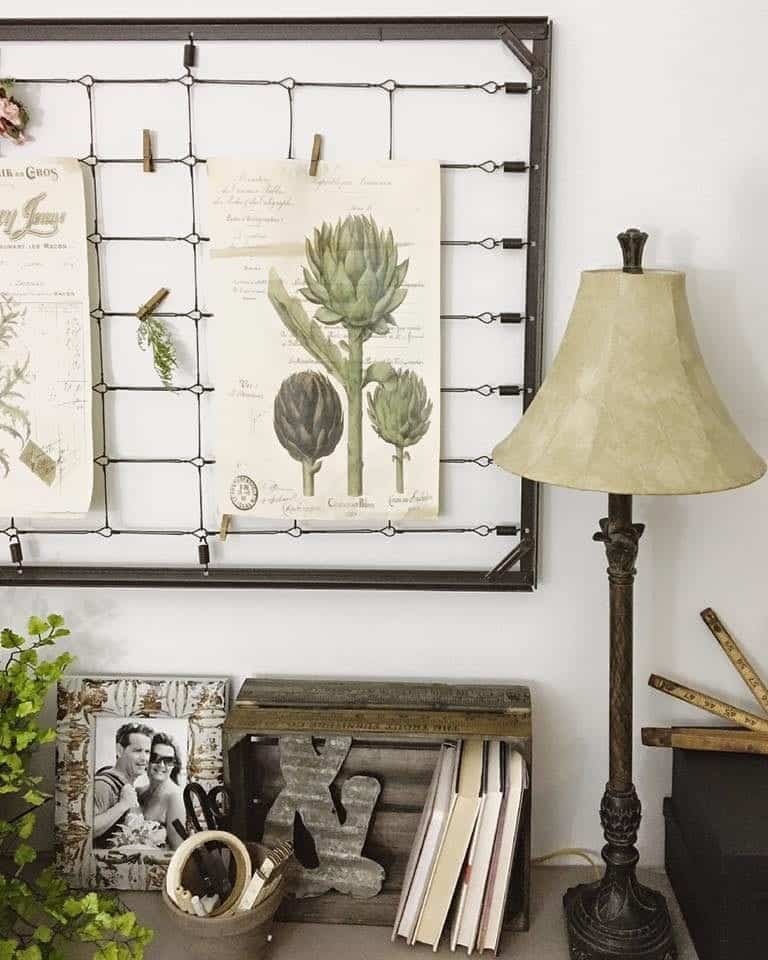


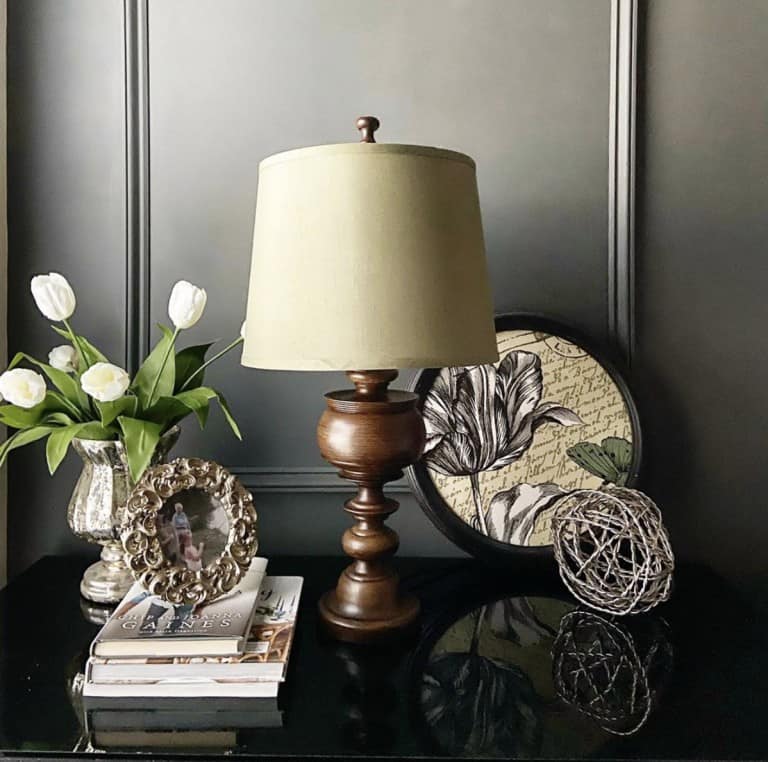
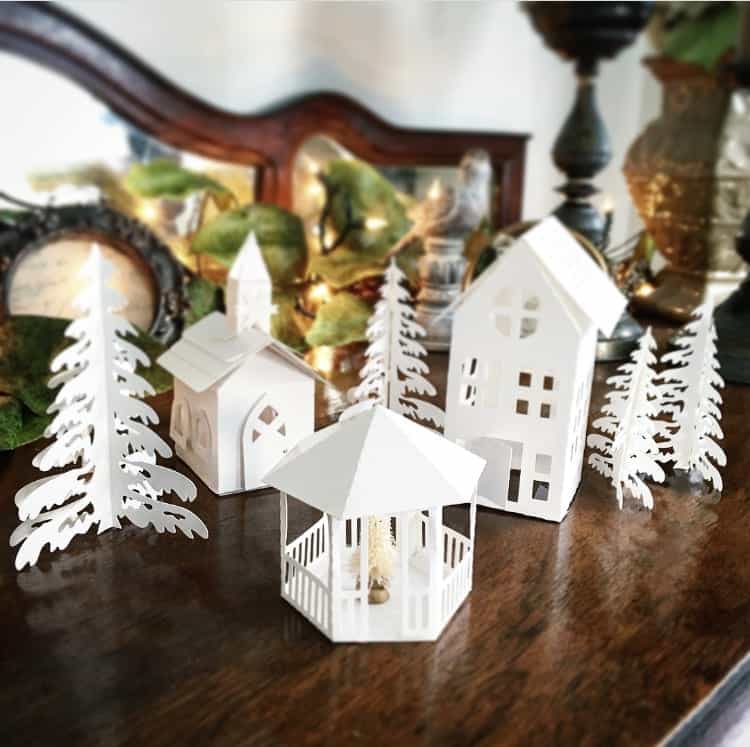
Oh my! I love how these no power tool frames turned out and I can’t wait to try this.
Lots of possibilities with this little hack! :)