DIY: Stenciled French Backsplash
I had a beautiful stencil with a script version of the French sonnet, “Springtime in Paris” and held onto it for many months until my vision became clear. Finally I used it to create a DIY stenciled French backsplash. It was meant to be temporary until we could afford tile, but I’ve grown to love it! I’ve made a few tiny changes to the kitchen since the first photo above was taken.
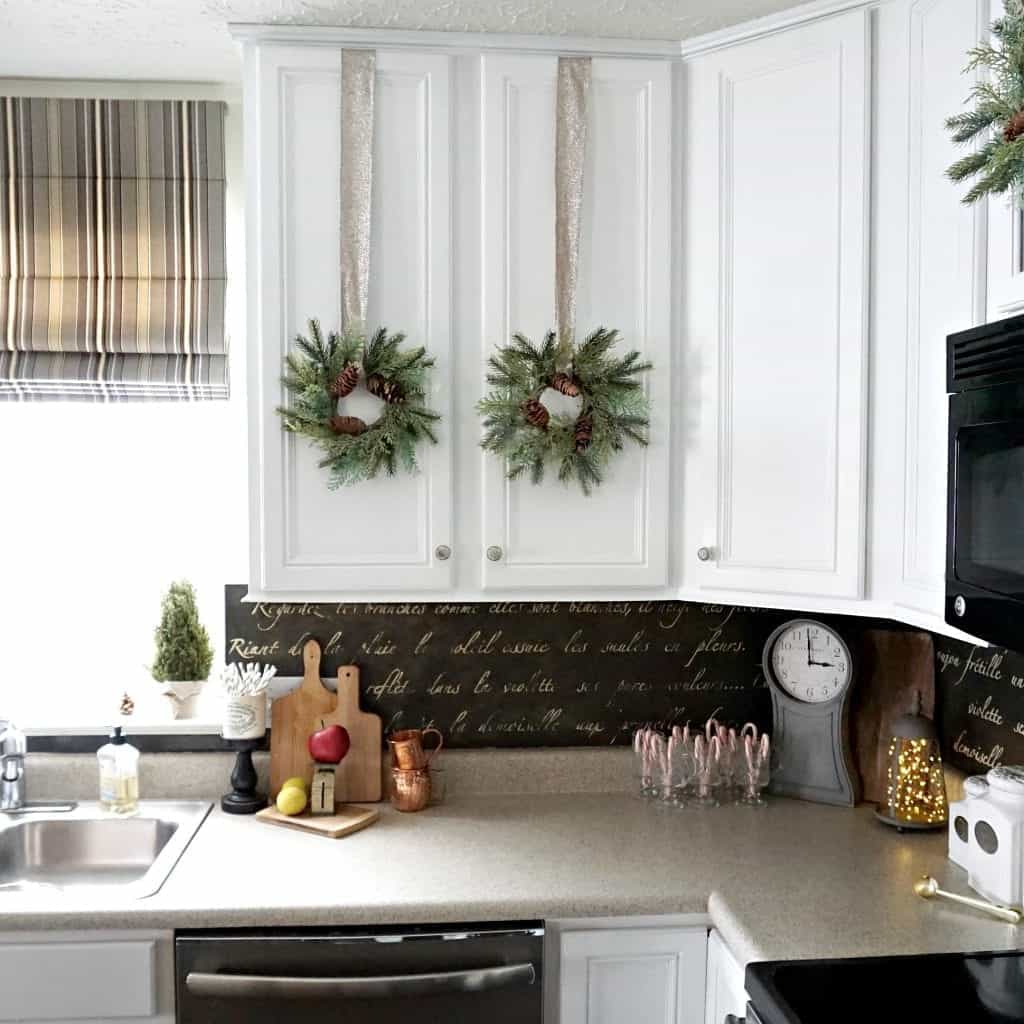 I repainted my cabinets to make them whiter. I changed the decor and hardware over the years, but so far, the stenciled backsplash has stayed in place. If you’d like help doing this at home, you can hire me for an online consultation. I’m happy to help! For our backsplash, I was willing to try something different that wasn’t permanent (like tile can be). I felt a zero-commit backsplash gave me the impact I wanted. And if I sell and the buyers don’t like it? They can easily tile over it.
DIY Stenciled French Backsplash
Here are some photos of the kitchen immediately after we moved in. Initially they were bare oak cabinets with no backsplash. I remodeled this room one small project at a time to bring it to it’s current state.
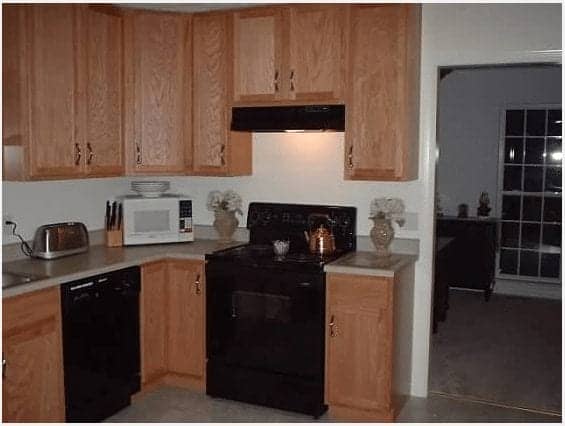
Kitchen (before):

Step 1: Choosing Your Stencil + Color Palette
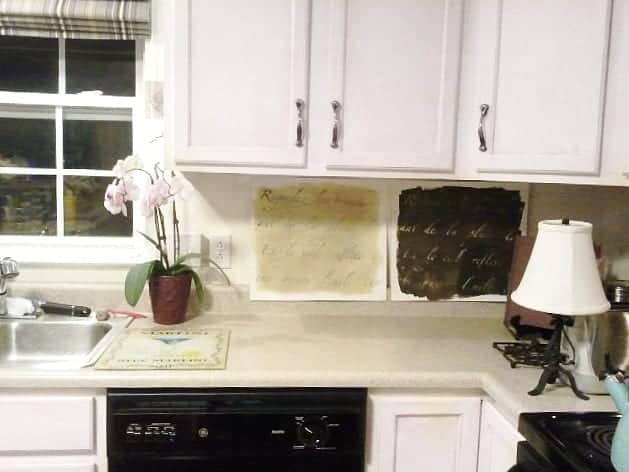
In my case, I narrowed my color choices down to two (dark stencil on light background / light on dark). Then I experimented with different sponge and cross-brushed techniques applying a metallic patina on both). I made my decision to settle on the dark paint with a textured patina.
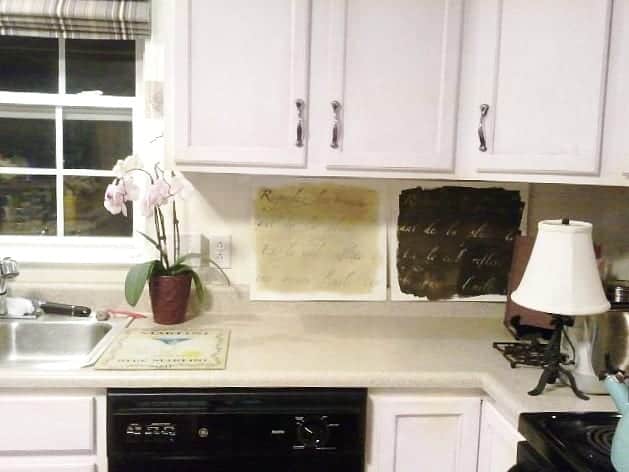
Step 2: Assess The Wall Condition
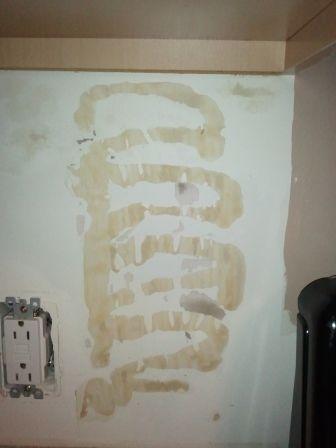
If your wall has cosmetic issues or if it’s not a smooth surface, then giving your wall a textured look may be in order. If your walls are smooth then you certainly don’t need to take this step. In my case, I had a squiggly line of glue on my wall. I am the culprit — this was my weak attempt to glue my wallpaper that I had for years, and it was falling down. Once the wallpaper was removed, the textured wall was helpful in covering up my mistake. (If you prefer not to texturize the wall, you can skip the wall texturing portion of the tutorial).
Step 3: Apply Wall Texture
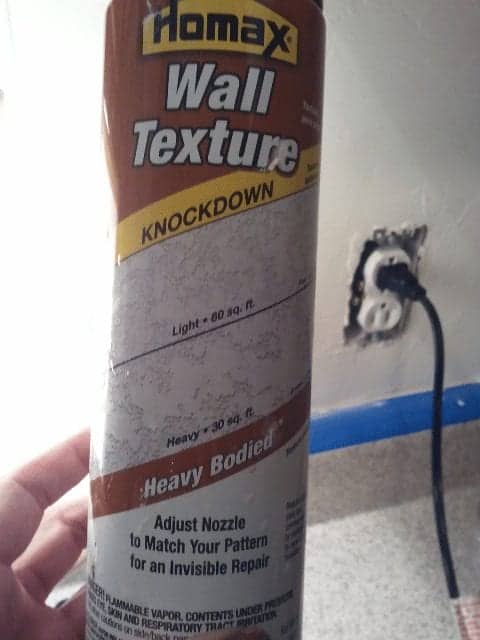
To texture the wall, I sprayed the Homax Wall Texture directly from the can onto the spatula, then immediately applied to the wall applying in a criss cross pattern.
Step 4: Let Dry 24-48 Hours
My technique as I applied the Homax wall texture was to create a criss cross pattern all over the entire backsplash. Just work with it while it’s wet to make the texture look natural. This approach helped cover up the glue disaster.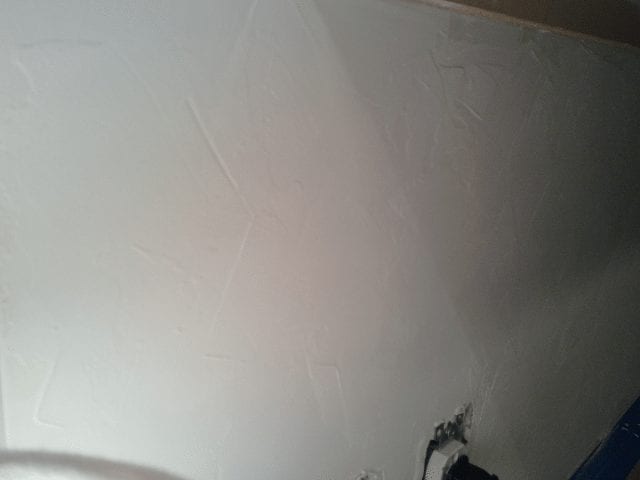
You need to let this dry 24 – 48 hours. The fact that it doesn’t dry quickly is actually a bonus — it gives you time to work with the product and create the texture you want. This approach conveniently covered up the glue disaster, bumps and and imperfections. (If you have holes in your walls, this texture should only be applied after you properly patch the holes).
5) Tape Off The Counter + Paint
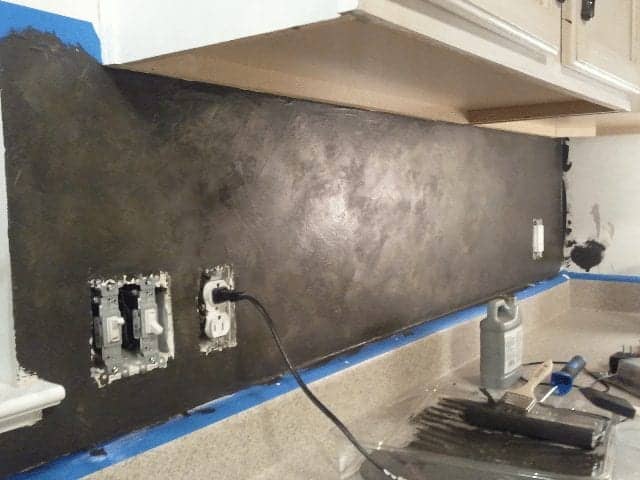
Use the color of your choice. I chose an interior latex paint in a high gloss. I painted the wall like I would any other wall. I trimmed corners and edges using an angled 2″ synthetic brush. Then a wall roller for the main area. The color I used can be found in this post. So this dark paint was the first layer of paint.
(OPTIONAL): Before stenciling, add depth with another color
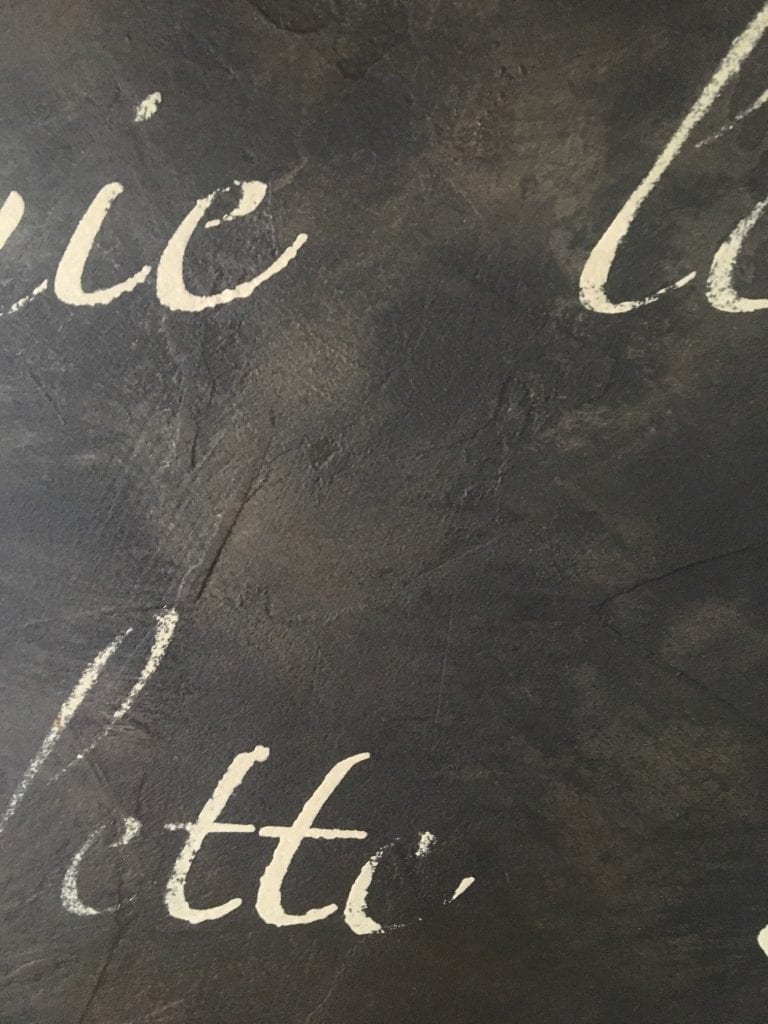
I decided I didn’t love the solid black backsplash. It looked a little stark. So I layered another lighter layer of paint to give the black a softer, more natural looking finish. I dry brushed a lighter patina overtop of the black before applying my stencil. (See the photo below for a close up of the patina). To create this effect: just dip your brush in your accent paint, squeegee it by wiping off the excess paint on a paper towel. Then lightly apply in a criss-cross pattern. You can blend, wipe off the excess brush marks as needed until you get the desired effect.
Step 5: Apply the Stencil of your choice
Some tips & lessons learned:
- Tape up your stencil where you’d like it to be.
- Using a foam roller (see link in materials), squeegee the excess paint off of your roller (as shown) onto a piece of paper and paper towel. This reduces bleed.
- Roll the foam roller with paint across your stencil template.
- I always pull back my stencil very carefully to ensure it looks ok. If any bleed occurs I try to wipe it off but in this case I liked the rustic, imperfect look.
- Carefully remove the stencil. Once the previous stencil is dry, repeat.
- Continue lining up your stencil and make sure it’s not going uphill or crooked.
- If any bleed through occurs, you can use an artists brush to touch up.
This part was so fun and rewarding! This was my first stencil project and I didn’t have a tripod to take photos. Each time I lined up a verse, I would then use a level to ensure my letters didn’t go up or downhill, then apply tape…then roll on the paint! I accidentally had a paint “glob” (see the second line…lesson learned), so I suggest you squeegee (roll out) your paint roller to get rid of excess paint to avoid the same mistake. It was easily fixed with an artist brush.
Step 8: Final Top Coat
Apply a water based polyurethane. This particular top coat won’t yellow over time. Wipe down gently with a soft cloth (microfiber works well) to keep clean!
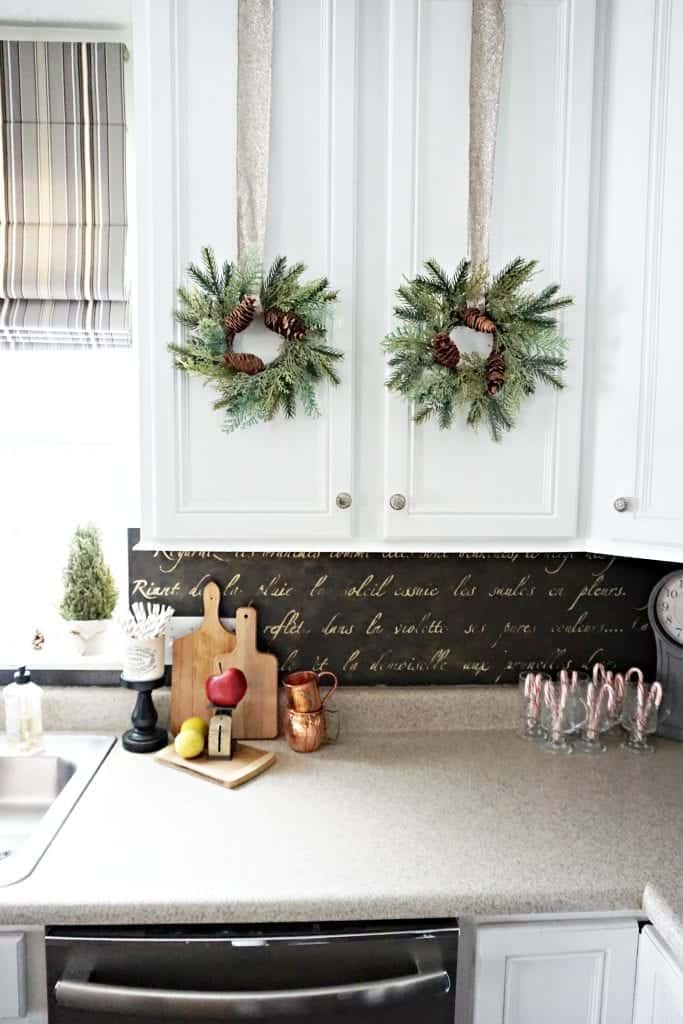
Voila! Very simple, very cost-effective! And now, I can’t imagine my kitchen without it!


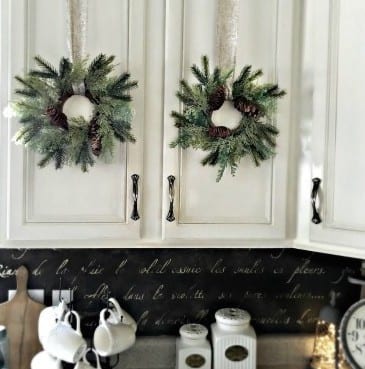
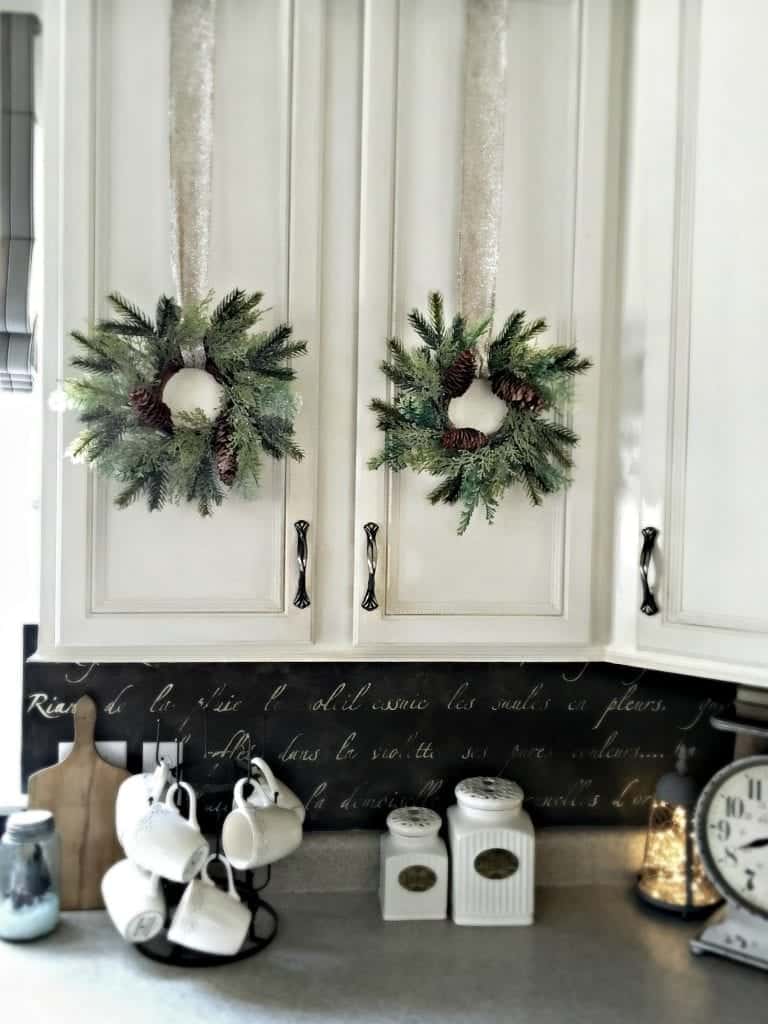
Love your stencil backsplash. I currently have my backsplash painted chocolate brown and have not found the right tile to commit to either, but this is the perfect solution!
Did you wrap the text around the corner onto the adjoining wall or begin the entire verse again?
Does the entire verse fit between your cabinet and countertop?
What type of paint did you use considering it needs to be washable? Thanks…
Hi Sharon! I love stencils and if I”m not careful I will likely overdo it stenciling my whole home. The base paint called “Fired Earth” — here is the information, and I bought it in high-gloss: http://www.lowes.com/pd_34143-4-60111FIREDEARTH_0__?productId=3814073. Then I applied a polyurethane overtop but because it’s so dark I rarely seen any splashing (so it hides dirt really well). The stencil fit perfectly between the countertop and the cabinets. It does extend into the corner which is not an easy task. But I stage things in the corners to cover up any mistakes :) ….as far as the verse, I tried to keep it in order but at some point I cut the stencil up and used it on other things. So it’s not a perfect repeat. I made sure that it was centered over the stove which seems to be a focal point of the entire project. Thanks for stopping by! :)
I absolutely love your backsplash! Very unique and so creative! You did such a nice job! I would love if you would drop by and link this up to Celebrate It! blog party. It’s all about sharing how we celebrate the big and small moments of our everyday lives.
http://thefreshmancook.blogspot.com/2015/01/celebrate-it-blog-party29.html
Teri – thank you so much for stopping by to comment Teri! I will be sure to stop by your party – you do the same this Thursday since I am having my FIRST link party ever sharing recipes, DIY and crafts.
Jeanette, I love this idea and will do my backsplash in a very similar fashion! Where did you purchase the stencil for this project?
Thank you
Thanks Sandra, the stencil is called “Springtime in Paris” and was purchased from Royal Design Studio.
Hi, Love the choices you have made for your kitchen reno! Fabulous ! My kitchen cabinets are very similar to your own and I was wondering how difficult it was using the Rust -o- leum cabinet transformation? I will be attempting this myself and wondered what advice you might be willing to share with me. How many of the Rust-o-leum kits did you purchase? Thanks in advance!
Thank you Kim! This was an EARLY DIY of mine, and I didn’t quite get the results I was hoping for on the cabinets. I thought I prepped them properly, and I ended up using one kit as I recall, but I did have trouble with the paint adhering to the cabinets. It is chipping around the handles so I will be sanding and redoing the cabinets, hopefully before winter. I will try a different method of paint application altogether as well. I hope this helps as you tackle your own kitchen.
AWESOME………LOVE IT !!! YEARS AGO I DID THIS TO ONE WALL IN MY KITCHEN AND WHILE IT WAS WET I PUT WHEAT IN IT, THEN WHEN TRY I PAINTED IT A SOFT YELLOW AND STAINED IT THEN I WENT OVER THE WHEAT WITH SOFT YELLOW WHEN THE LIGHT WAS OUT IT POPPED……….AWESOME!!!
What did you do with the script around outlets?
Thank you for your great back splash stencil desing. I plan on using it on my bath room walls.
You are also right about having too many tchotchkes..
I am very eclectic and thus have collected so many different tchotchkes.
I need to fine tune and define my style.and declutter..
Did you use another color in areas to lighten or is it a trick of the lighting? How did you attach your wreaths with the ribbon if I did that they would be hitting me in the face all the time? Thank you for your great ideas, I love the stencil company I have been buying stencils from them for a long time.
Thank you. No it must be a trick with lighting. I pinned the wreaths at an inconspicuous part of the top / backside of the cabinet.