Weathered Gray Cherry Table Makeover
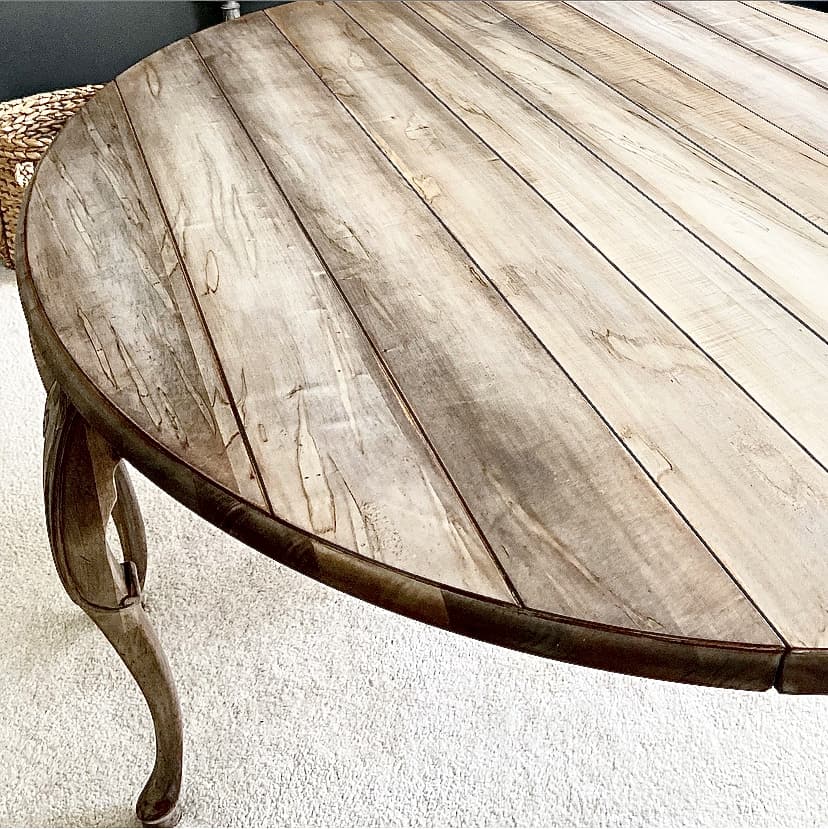
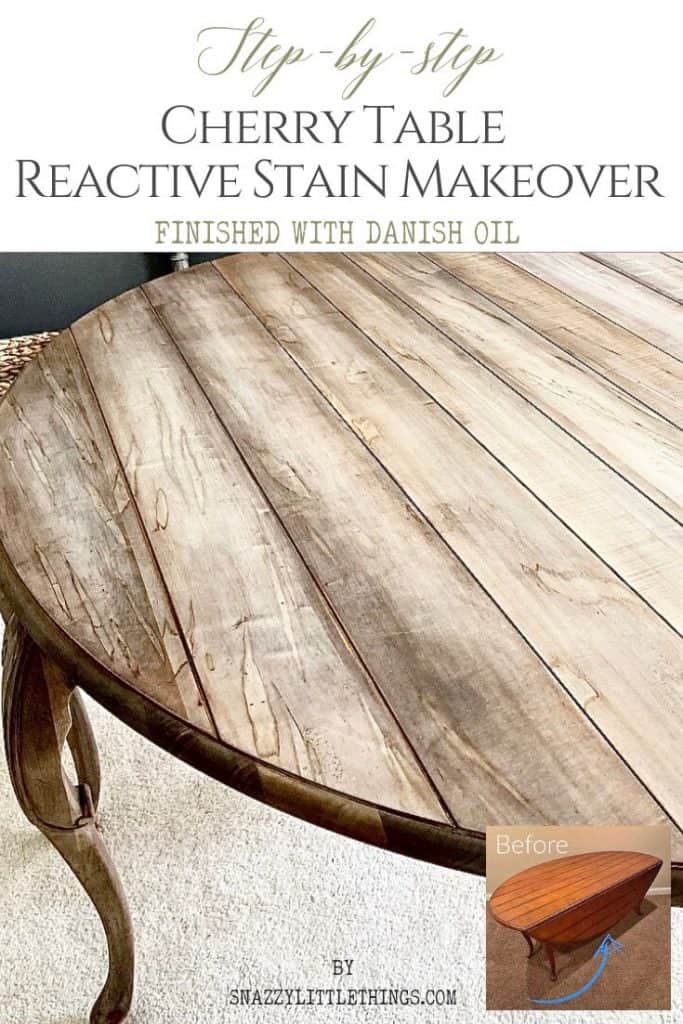
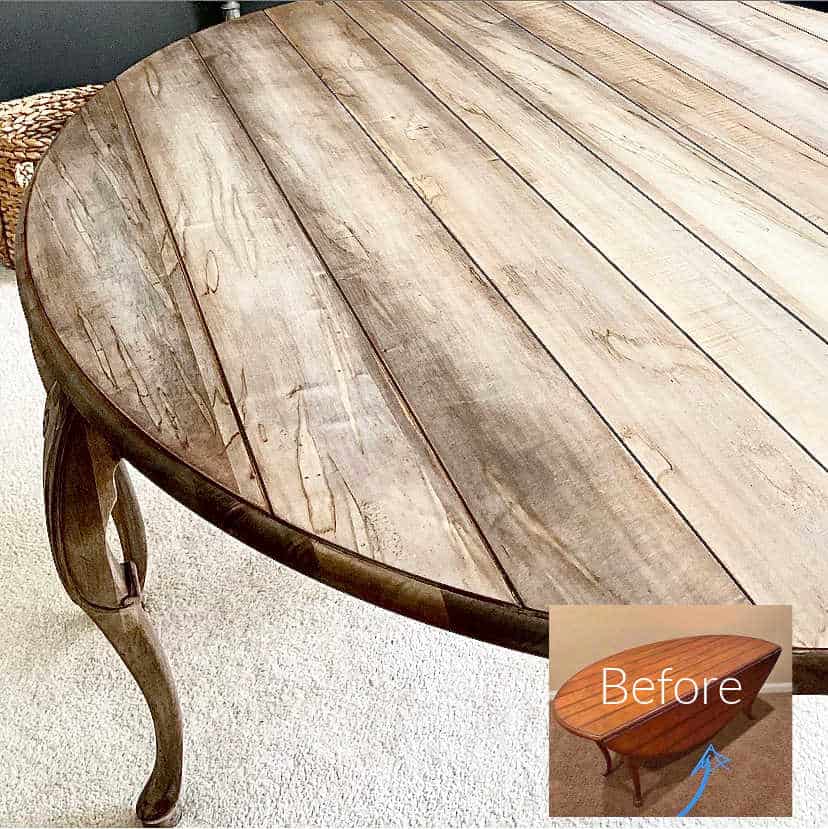
A red cherry table turned driftwood gray using a reactive stain finish! Reactive stains cause a chemical reaction in wood, making it look weathered and aged.
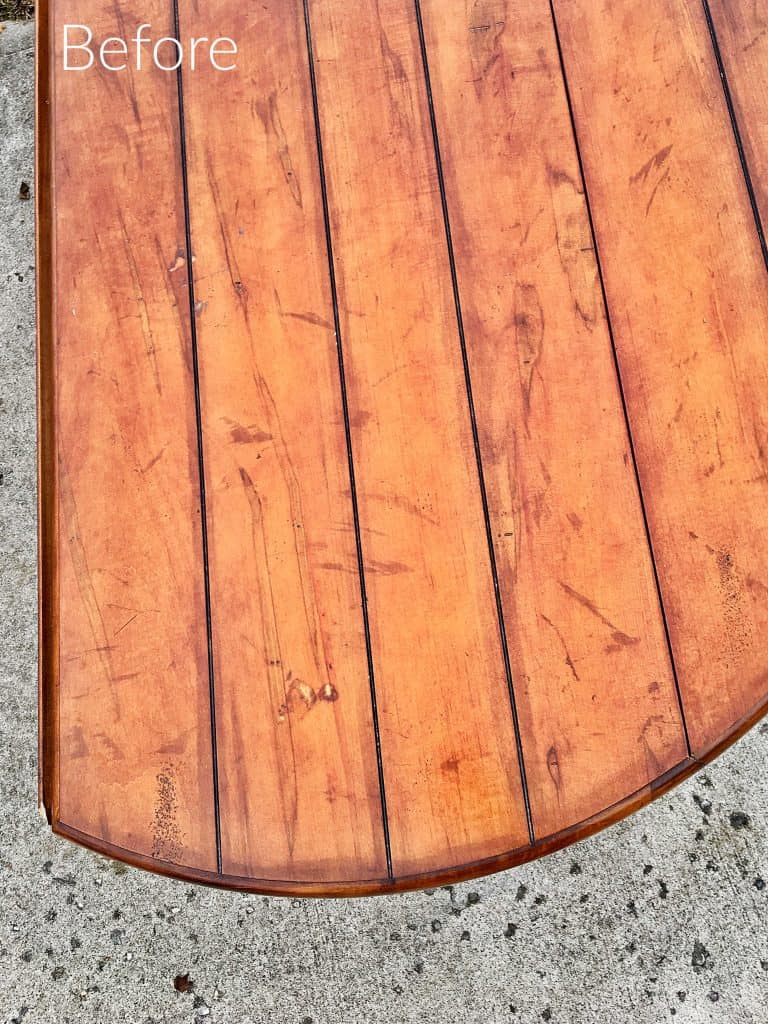
We scored this very RED spalted (ambrosia) cherry table for $50 and refinished it in a Restoration Hardware-style weathered finish. Changing cherry wood into anything but red is tricky, so I tested out several different stains to get exactly the color we wanted for this heirloom piece. Click here to see more of my furniture projects.
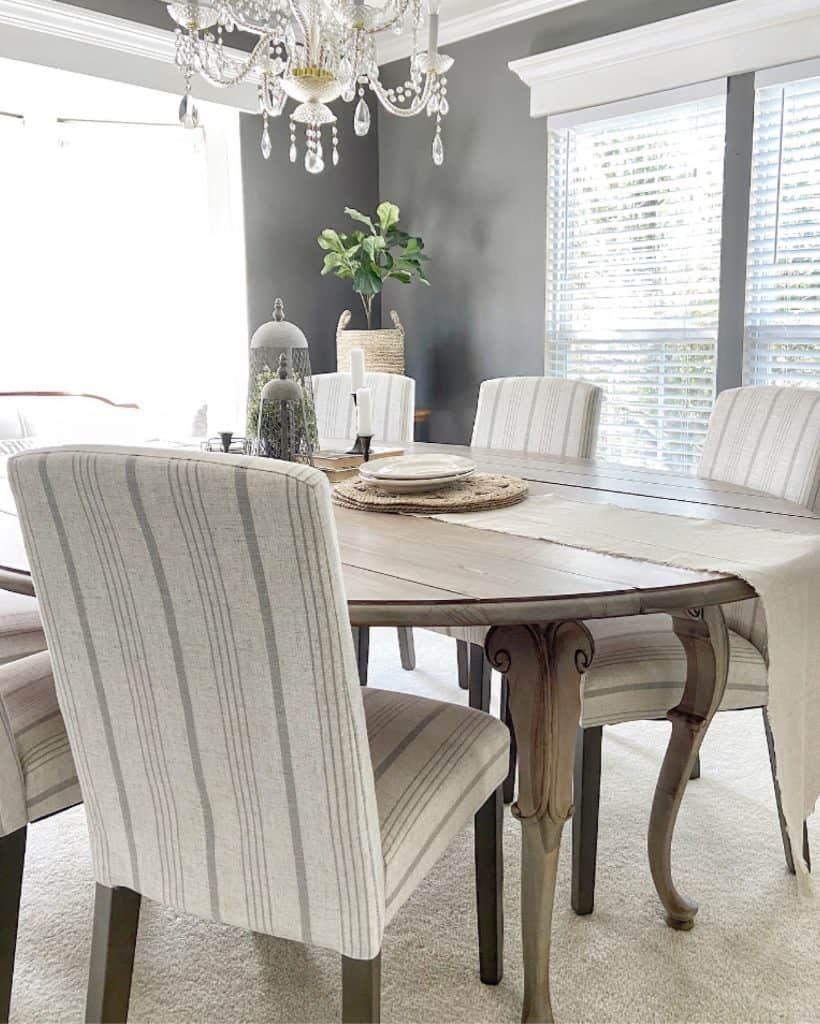
Our formal dining room has been sitting empty as I debated how to use this space. A library? Office? But seeing that our family has grown tired of the metal chairs in our dinette, the decision has been made. Formal dining it is! (And I hear that formal dining rooms are making a comeback!)
Cherry Table Makeover Stained Gray
I found this gorgeous, vintage French cabriole leg dining table on Facebook Marketplace for only $50. It was the right shape and size, just not the right color. It’s so unique and the legs are just gorgeous. A makeover needed to do it justice.
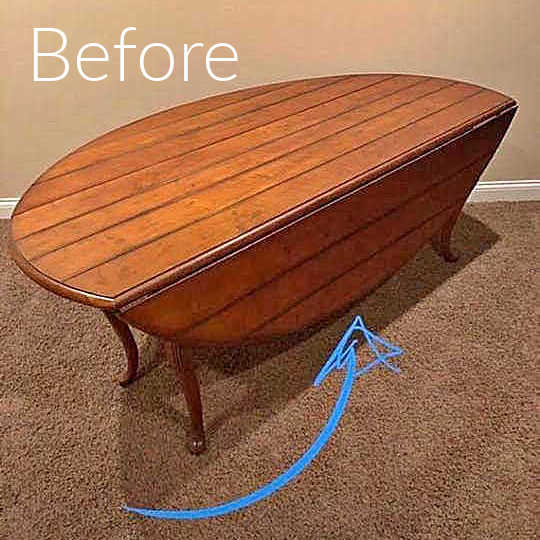
I couldn’t pass it up knowing how beautiful it would be once finished. But as usual, I knew there would be a lot of work involved getting the unique patterns in the wood to show through.
Stripping and sanding the table
Instead of writing a long post about stripping the wood, I linked videos showing how I stripped the table (visuals are always better).
Videos–> I used Jasco Premium Paint Remover. First, I applied the stripping agent and spread it out evenly. Waited about 15-20 minutes, then removed the first layer of stain. I wired-brushed the crevices then cleaned the entire table using mineral spirits to remove any residue. The legs were actually the hardest!
Power & Hand Sanding the Table
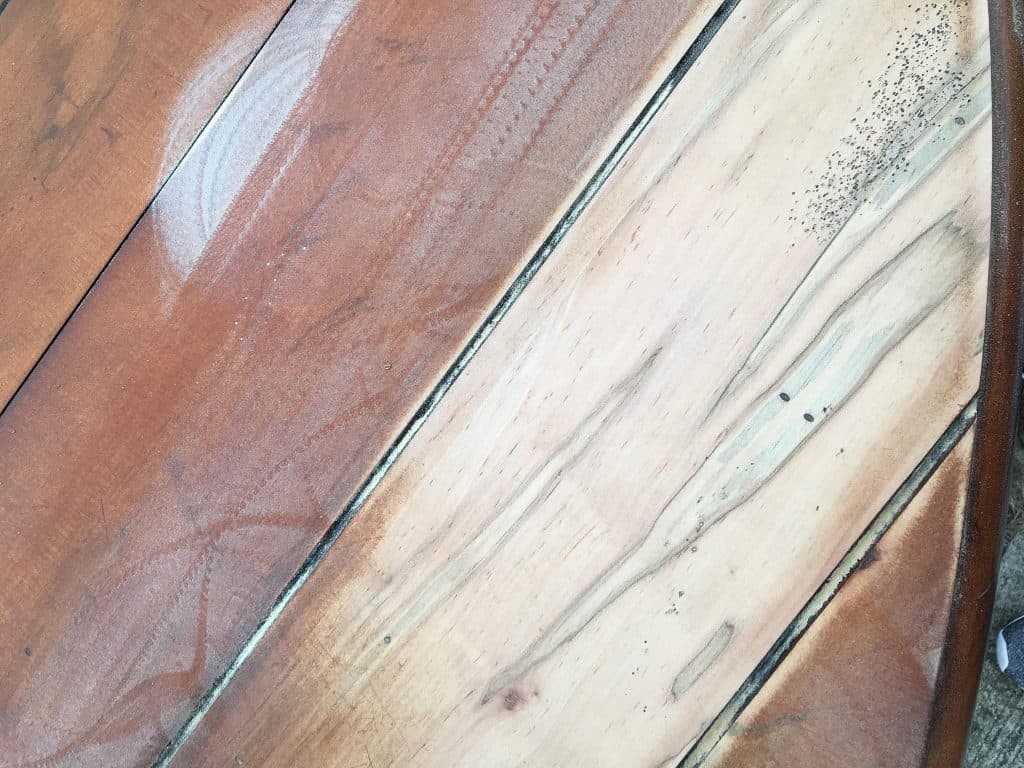
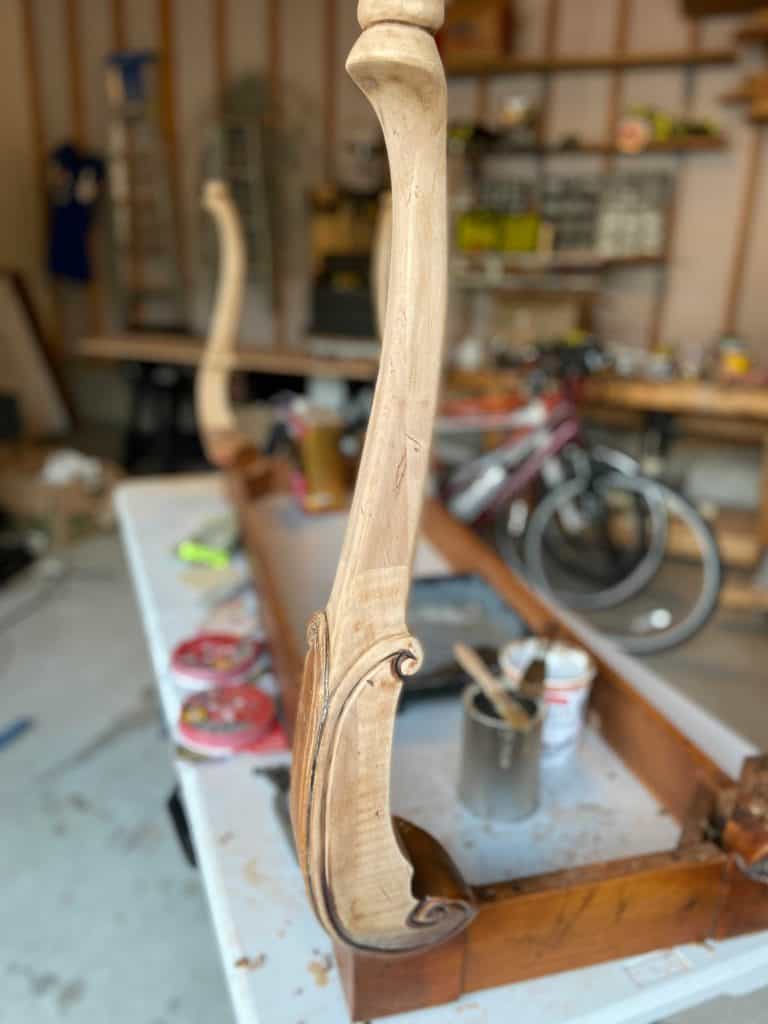
We sanded by using a combination of power and hand sanding. Since we knew we wanted to re-stain the table, we had to remove every bit of the existing stain. We started with 60 grit (the roughest) followed by 80, 120, then ultimately 220 grit (finest) sandpapers. Hand sanding with a sanding block is great for legs.
Testing Different Stains on Cherry
I tested out a few different stains in an inconspicuous spot on the table. Which is your favorite? We chose the top test, weathered wood accelerator with a layer of medium walnut danish oil.
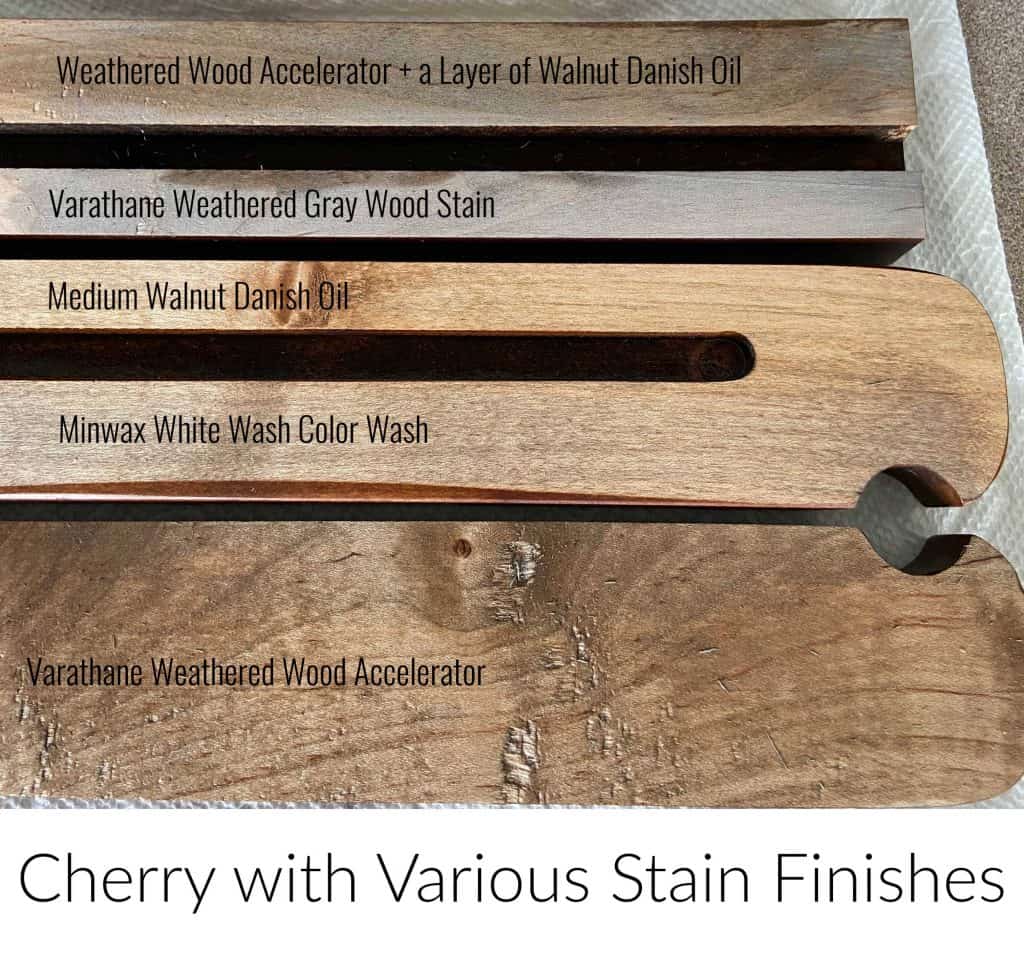
Applying the Reactive Stain (Video)
First I applied the reactive stain on the legs. Let it sit for about an hour and let it work its magic. Click the video below to see what it does to the wood. :)
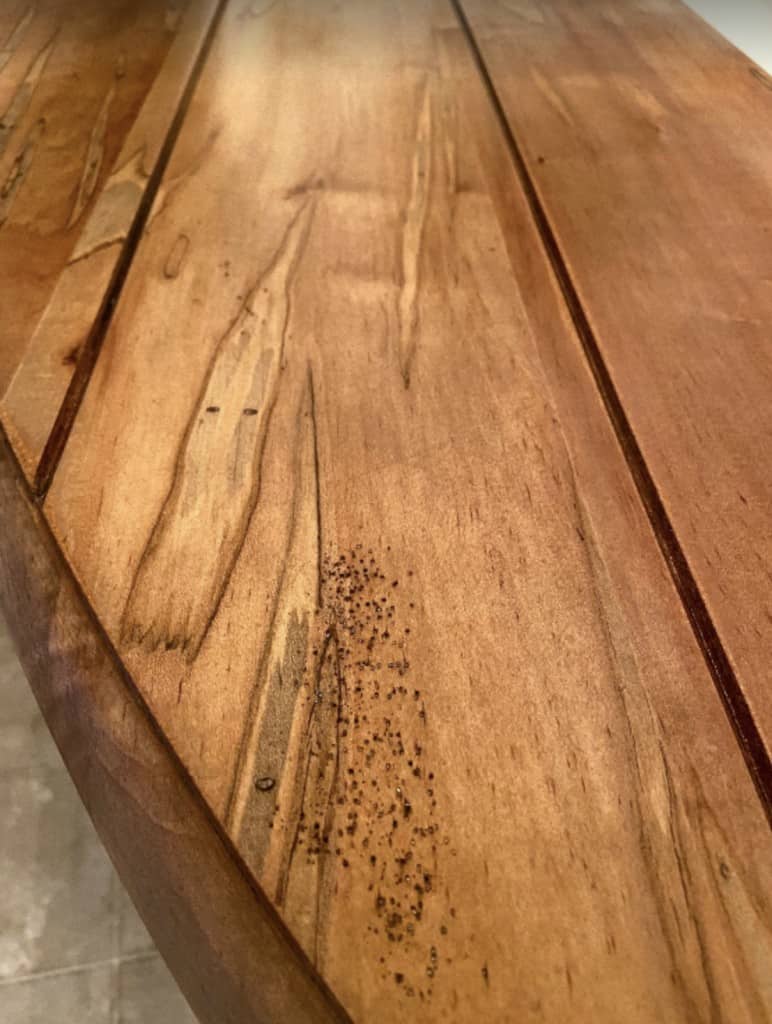
Reactive stain 1st applied 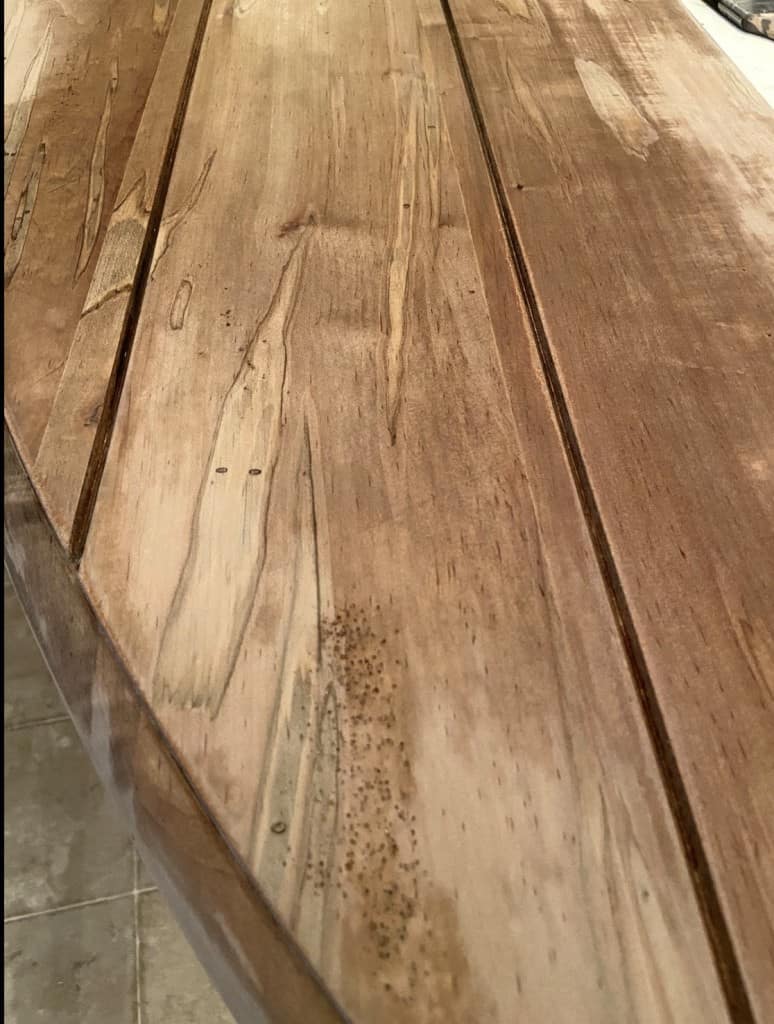
…after 15 minutes 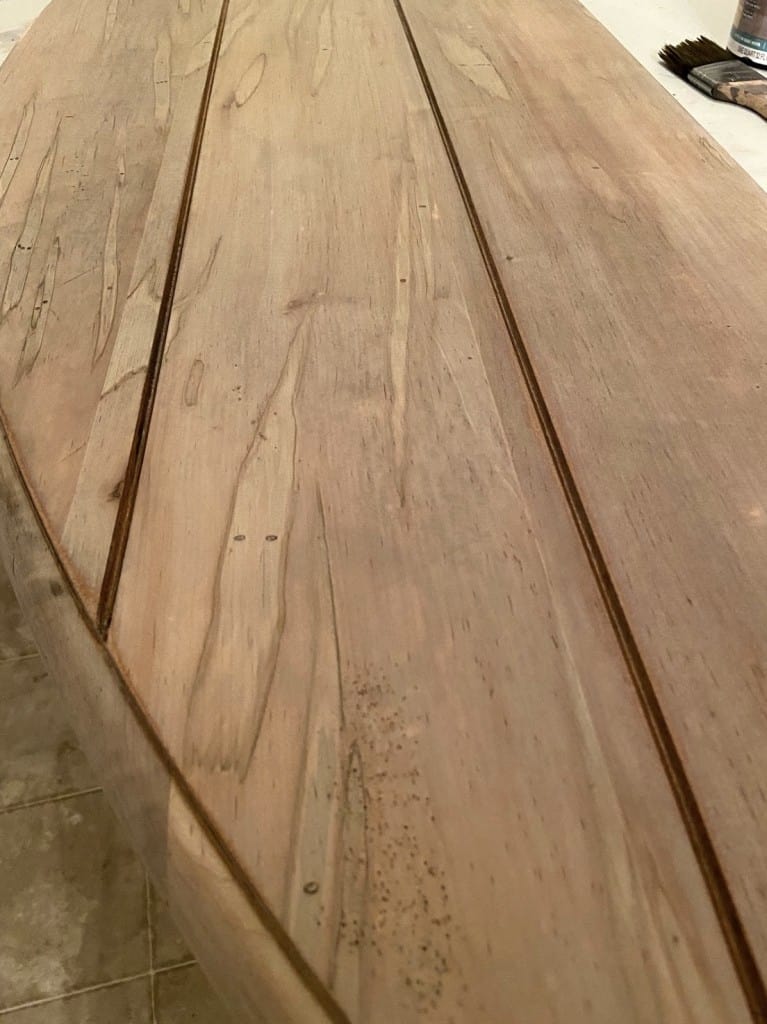
…after 1 hour
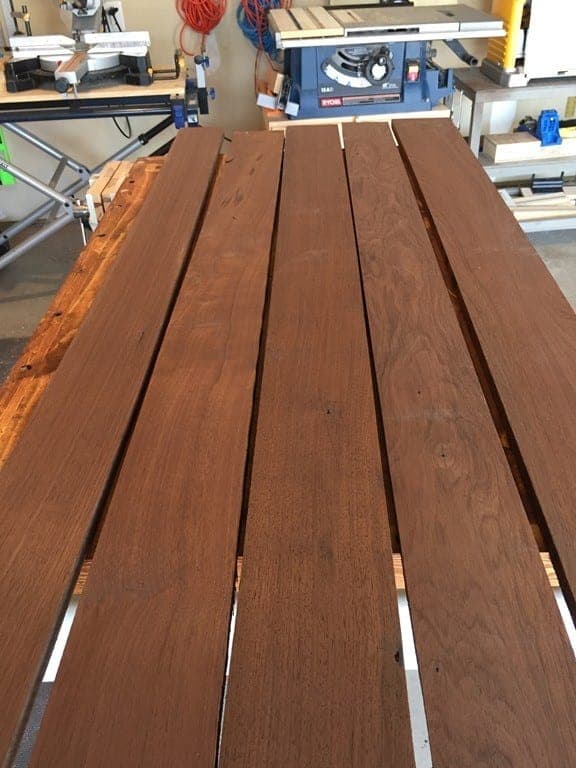
After applying danish oil
Once the reactive stain was dry, applying a medium walnut danish oil made the wood grain really POP!
Once the danish oil was dry, I used a foam brush and applied 4-5 layers of water based top coat.
We stopped and started this table makeover so many times, but it’s so worth it to have our own heirloom piece that we created together. I’m so happy to play with this new “canvas” and to try some pretty tablescapes (which will be a first for me!)
To see more of my furniture projects, be sure to click this link. I’ll be posting about the chairs soon, but today was all about featuring the table. So stay tuned!




Ab-so-lute-ly stunning!! I appreciate the hard work!
Thank you Ginger, we’re so glad to finally define this space. The table is the star of this room, we just love it!
What weathered wood accelerator did you use/brand? I’m sorry if you posted somewhere and I missed it. I looked, Just couldn’t find it. Thanks!
Hi Elaine, I’m updating the post to include a full list of resources. Sorry for omitting that, will update the post asap.
Elaine, it’s called Varathane Weathered Wood Accelerator. And then I used Medium Walnut Danish Oil which was pretty dark. So I would try Light Walnut, too.
Your finished table is magnificent, Jeannette! You can just see the love you and Mark put into it.
Thank you Sharon, we are so happy with it! :) SO much work, too!
Ummm… that table…..those legs…….amazing……speechless….one of the most beautiful makeovers I’ve ever seen. You took a nice table and made it into an awe-inspiring work of art. 50$!!!! To buy something like that in a store would be well over $3,000.
Wow that’s a HUGE compliment, Christie. Thank you! You might be right about that price, I haven’t seen many tables like this one. We sold the rustic farmhouse table (in an earlier post) that we refinished for around $450 after we refinished it. Once our house is furnished we may start trying to sell bigger pieces like this again in our local shop.
That turned out beautiful! I am shocked you were able to get the red out! (Sounds like an eye drop commercial!) LOL
The finish is awsome and so beautiful with your grays you have going on in the dining room. Looks expensive, great makeover!
ME TOO! I was sooo nervous about this makeover, but these reactive stains are really great and seem to change the composition of the wood. Grays and natural oak is what we love, even during the painted furniture craze I still loved it and would strip anything that was oak (versus paint it). Fingers crossed that I’m choosing decor that stays in style for a long time. Thanks Shelly for the kind words! This was a tough project but so worth it.
Stunning!!! The colour choice is perfect. Those legs! I was surprised at just how big this table is too. I love everything about it. So much hard work, and it shows. I have two cherry night tables that I’ve not been overly happy with because of the reddish colour, but I really don’t want to paint them as they have 7 drawers!! . I might just try this!!!
Your makeovers are always so awe inspiringly beautiful!! ❤️
Hi Darlene, I’m so glad this helped. Stripping furniture is definitely the harder path, but the results are so rewarding. Using the danish oil really warmed up the gray – but still toned the red. I didn’t think this color was possible with cherry unless I faux painted it. I love that the real wood grain is showing through.
Wow! That is beautiful. And as previously mentioned would go for several thousand elsewhere. On a side note, what color paint is in the dining room; I’ve been trying to get the right grey in mine and love your color.
Thanks Paula, we are so relieved this project is finished and now we can enjoy it. The paint on the walls in the dining room is Kendall Charcoal by Benjamin Moore. :)
I get so excited when I see that you’ve completed another project! Thank you for all your information that you share with us! Absolutely beautiful!
Diana
That’s so kind, Diana. Your comment made my day! I do take my time so I know it’s a long wait between my projects. Thanks for still being here :)
I really love the reactive stain it brings the best of this furniture. It’s very perfect I really love it! Tile Installers Thornton
Thanks Jess! It was a nerve-wracking at first but once I applied a light layer of Danish Oil it turned out exactly the way I hoped. Thanks so much we use this table EVERY day! :)
Beautiful work!! The wood species is wormy maple. The notable characteristics are the worm holes and streaks it creates around them. Maple is light & has green and peach tones that you see throughout. 🤓
This is GORGEOUS! I am wondering if you applied a wood conditioner after you sanded, but before that first layer of reactive aged brown stain? Also how did the Danish Oil apply- I mean it almost looks like it lighted the aged brown stain that was applied before it? Maybe it’s the photo lighting, but I love it! Also what did you used to apply the Danish oil with- a brush or rag? I’m looking to copy this exact process for my coffee and end table set I just found. How’s your table holding up? I will likely seal with a water-based Poly as you did, so long as it is still holding up to all the traffic and beating a table top gets. Sorry for the twenty questions, would love your opinion, so inspiring this page was for me!
Did you use the Weathered Wood or Aged Wood by Verathane? It looks like it went on brown, which makes me think it was the Aged Wood, but all your mentioned says it was the Weathered wood (which is more gray). Please let me know which one you used, really wanting to replicate this look. Thank you.
I was wondering since you have done the table if it has darkened in grey color or brown color? Has it changed at all? The reason I ask is that the manufacturer of the Weathered wood Accelerator suggests: Varathane Weathered Wood Accelerator works through a reaction with the tannin in the wood. Sealing the surface with our Watco Lacquer Spray is the best way to stop this reaction, and prevent any change in the color. Applying a polyurethane directly over the Weathered Wood Accelerator may cause discoloration to occur. So I’m trying to figure out if I need the lacquer or not. Thanks.
Has this darkened over time as cherry is prone to do?
No it has held up exactly as it was, maybe a bit richer in terms of wood grain but not darker.
Thanks, I’m refinishing a cherry dining table, so that helps a lot!
This is so beautiful! I am looking at purchasing a cherry wood table I’d like to finish. I am wanting to stain in for more of a neutral golden tone color. Do you have any suggestions for colors? Would I need an accelerator for this to get rid of that pinkish tone? Thank you for any advice you can share.
Thank you Stacey. I purchased several cans of reactive stain and tested mine out since there is really no control over how the “reactive” aspects will behave with different wood types. So I would choose the stain based on the manufacturers chart (they have many that show you different reactive stains on different wood types). If it doesn’t turn out quite the way you want, try applying a Danish Oil treatment overtop which did wonders for our project. I hope this helps!
Amazing job! Looks great! I have cherry cabinets in that same tone that you started with, do you think this would work on cabinets??
Thank you! For the reactive stain on cherry cabinets, I would recommend you test it out on the inside of a cabinet to ensure you get the results you want. It would have to be stripped and sanded down to the natural wood in order for it to work. I hope this helps!