Rustic Farmhouse Table Makeover with Danish Oil
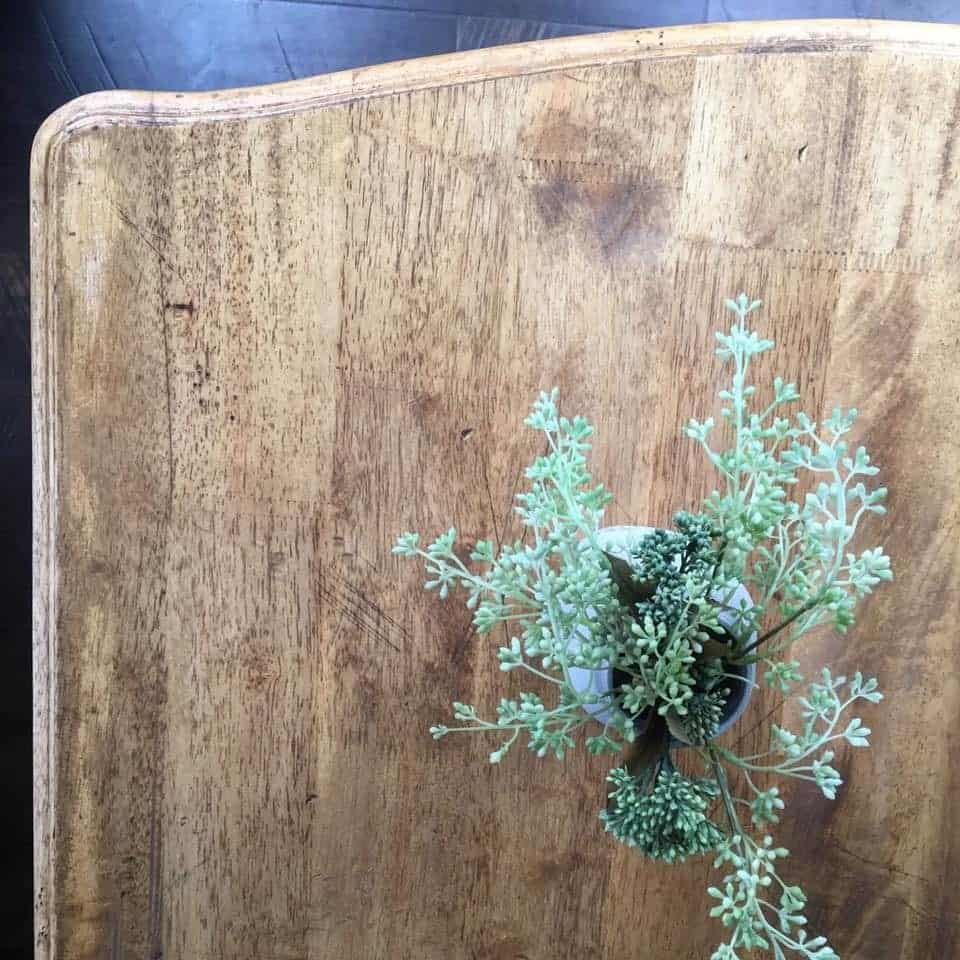
I’m drawn to “old world” European rustic natural wood finishes. That’s not easy to find here in Ohio. When I spotted this orange tone 90’s-era dining room table online for $50 I learned that danish oil would give me that old-world finish that I wanted. UPDATE: I sold this table for $450!
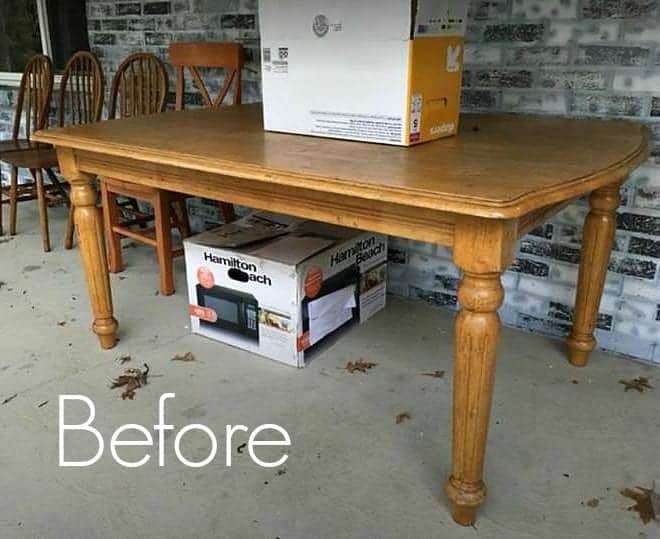
BEFORE: orangey oak table as seen on Facebook Marketplace
Fixing the orange tone on this table would mean removing the stain. I picked it up Wednesday…by Friday night it was done! Now we’re heading out celebrating with wine! :)
Thrifted Farmhouse Dining Table Makeover
The gorgeous fluted, turned legs is what grabbed my attention. To purchase new legs this size would cost at least $200, maybe more. And this table is HEAVY, hard solid oak which is a bonus for refinishing and resale. But I just might try to find a way to keep this one (as usual, I tend to fall in love with the pieces we refinish!)
BEFORE:
I was mostly happy with the amount of scratches on the surface, but then I noticed a few unfortunate and too-obvious scratches that weren’t very cool and could just be labeled “damage”. But we like fixing damaged goods around here. ;-)
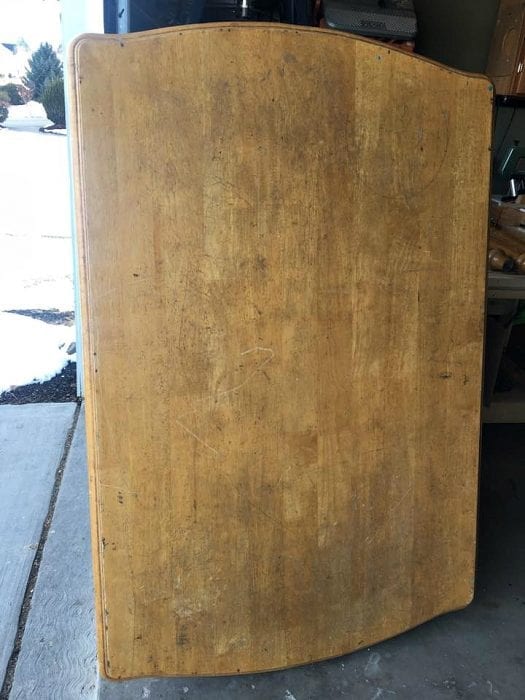
There was a long, deep cut in the surface along with rogue “W” and “O” shaped scratches that needed to be toned down. It definitely possessed the aged characteristics I was hoping for – but there was some work ahead of me to balance out the distressing. Had it not been for those deep, long scratches I might have kept this finish intact.
And it was sooo dirty, cleaning and stripping became a priority.
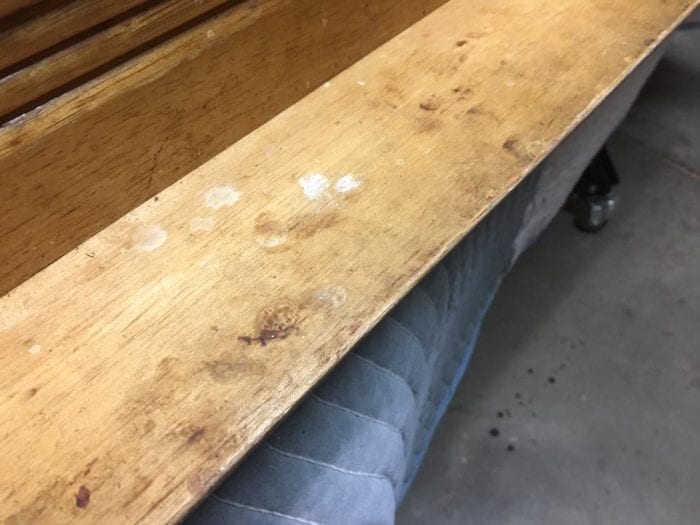
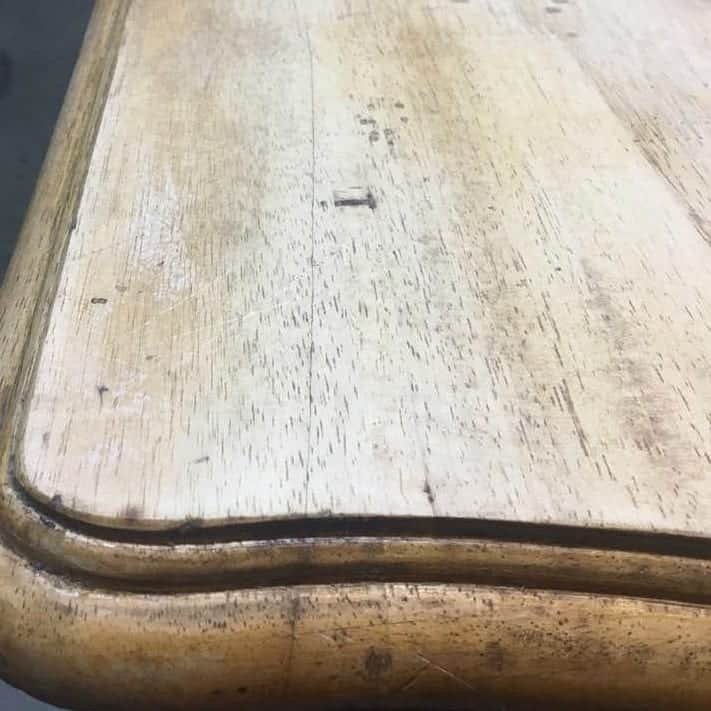
Cleaned, stripped and sanded:
Cleaning and stripping the table took more than a full day of work. Once I was done cleaning every nook-and-cranny, this is how it looked. I was rather pleased. It was so clean…and really beautiful!
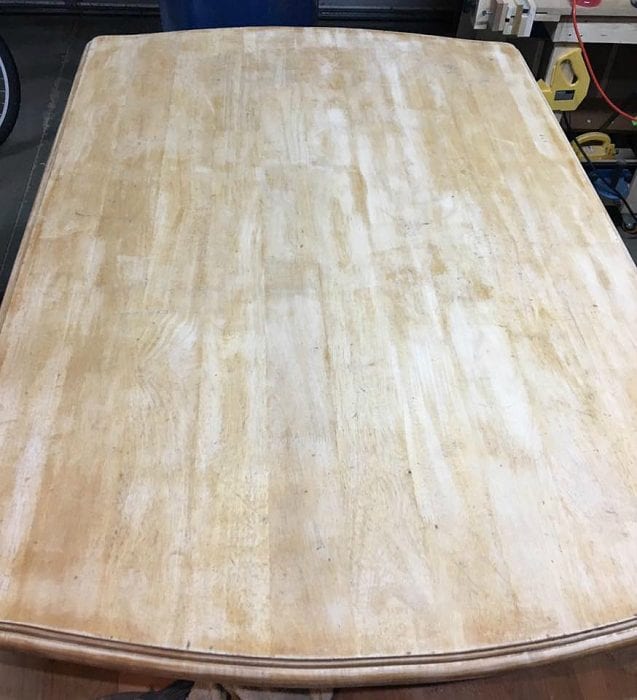
To strip the table I originally tried stripping agent (as you can see on the floor below) but the old varnish was soooo stubborn. So I abandoned that idea and eventually resorted to using a detail sander to remove the finish.
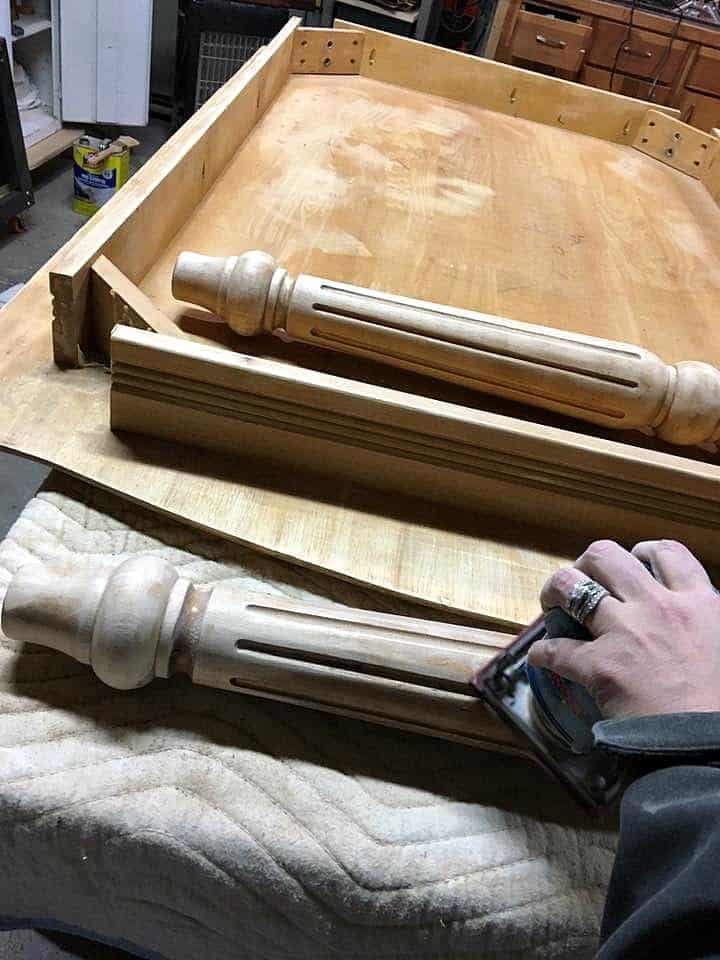
Distressing techniques
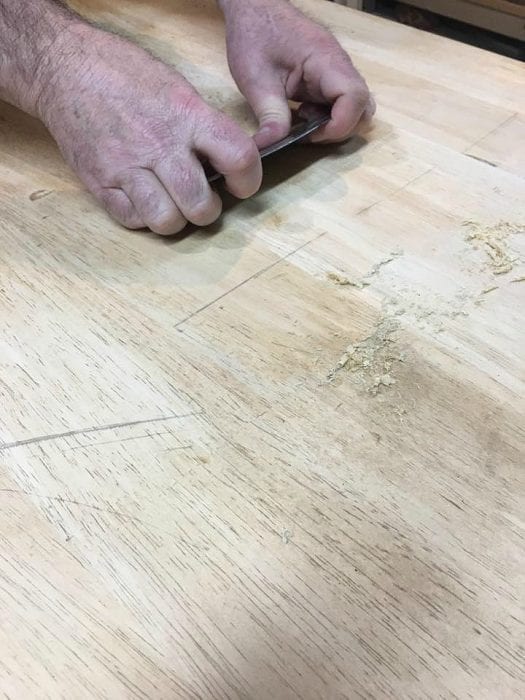
First we tried to reduce the appearance of the long gouge and the crazy “W” and “O” scratches. Here is Mark demonstrating a tool that you use to reduce some of the unnatural, obvious scratches. We used a cabinet scraper (also called credit card scraper) to lessen the deep grooves of certain scratches. Then followed by hand sanding with 60 grit sandpaper as best we could.
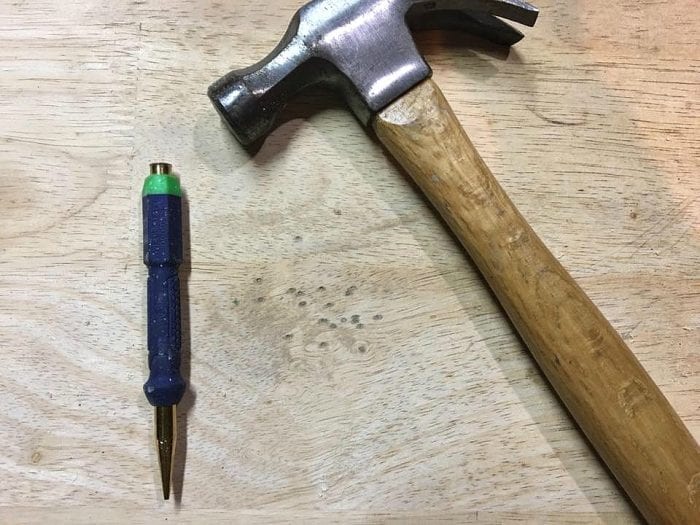
I added my own “faux” distressing which was achieved by a variety of things we had laying around the shop as seen in the pictures below.
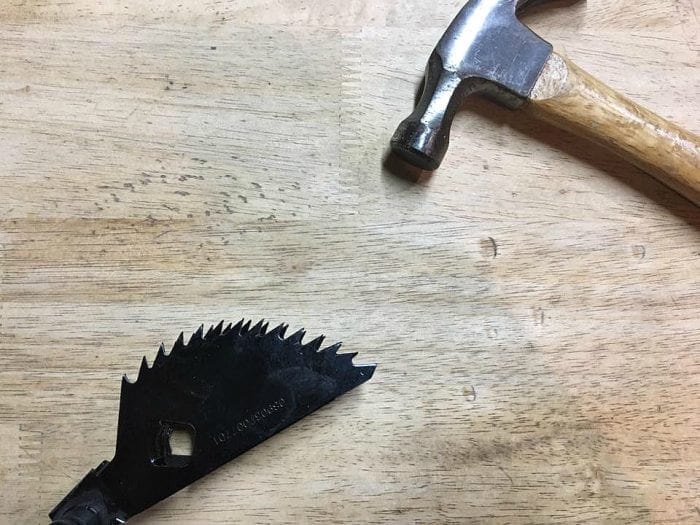
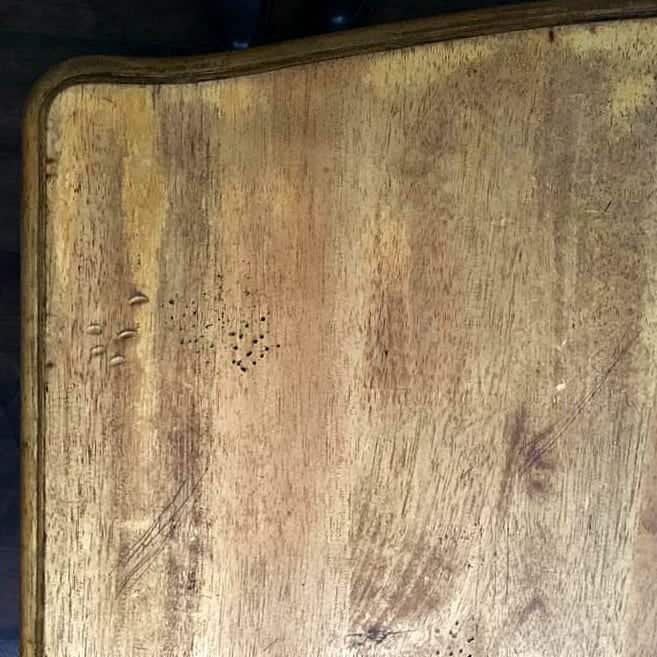
Creating wormholes was fun. I did these in little clusters in various parts of the table. There was zero precision, I just moved my hand and hammered quickly and randomly to get this look:
And I banged the tabletop with this big bolt as well as some random hammer spots around the top.
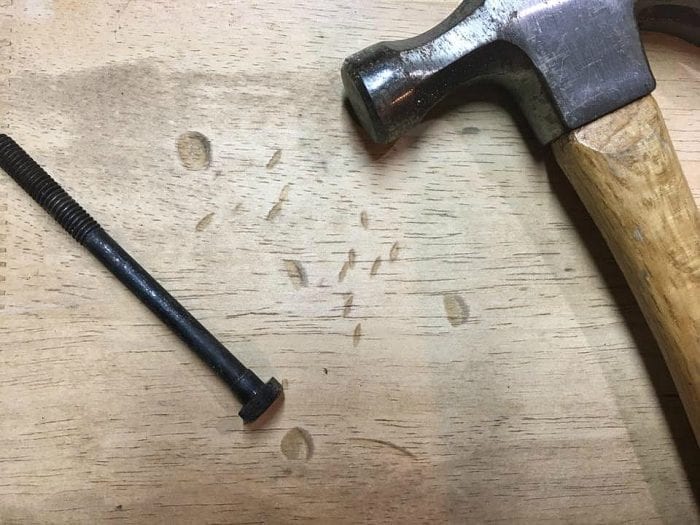
The key is to do this in clusters…not a precise line. The randomness of the distressing was the fun part!
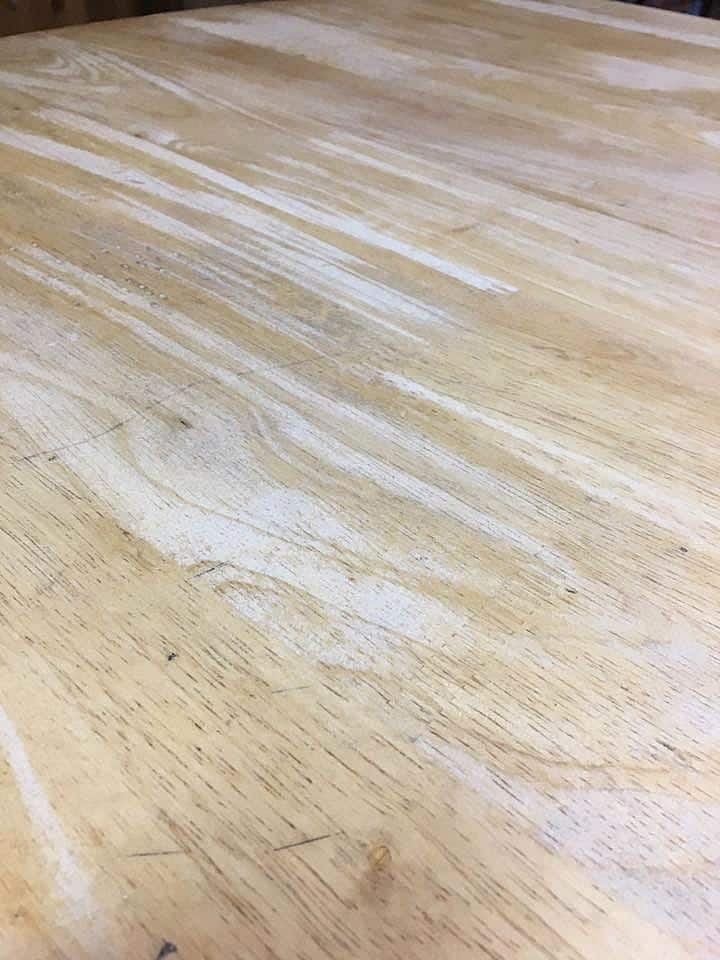
Open the pores of the wood
A tip I learned was that water does an adequate job of opening the pores of the wood and raising the grain. It acts as a pre-stain wood conditioner and improves the evenness of the wood finish you choose.
Why I Chose Danish Oil
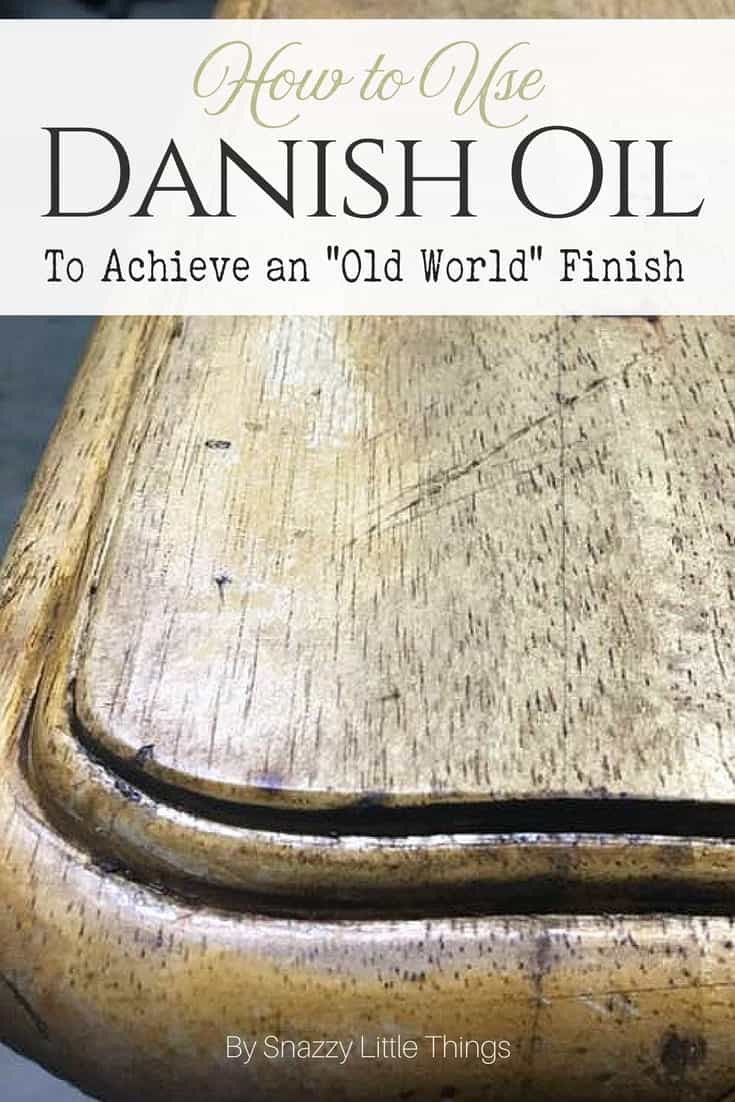
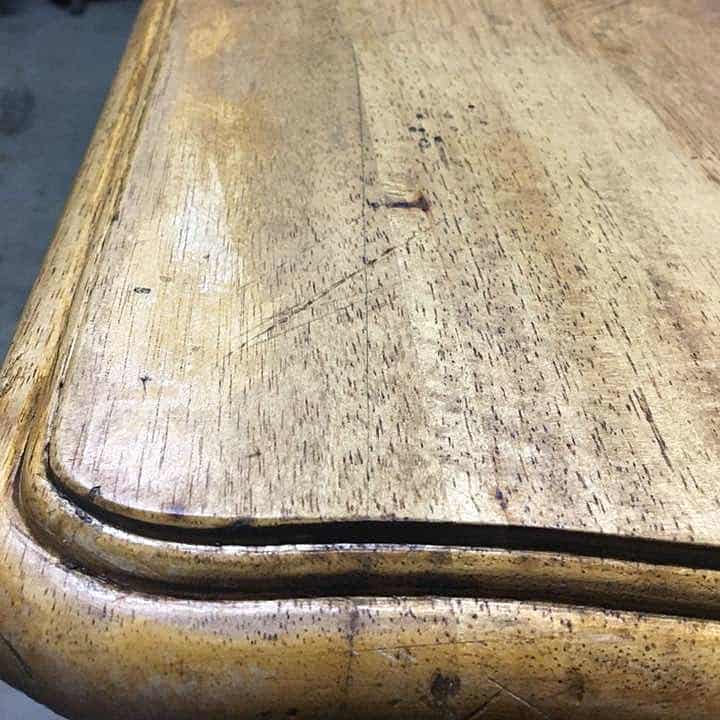
I wanted a mostly natural wood old world, European style table. I didn’t want a dark stain. Only to tone the white oak and enhance the natural wood grain and distressing, Danish Oil in Dark Walnut was the answer.
Danish oil is a lighter application of stain. It tones the wood and darkens the distressed areas. I didn’t want a solid color finish. And now I eliminated the orange finish and gave it much richer tone. I sanded lightly in between coats, then applied a water based polyurethane in matte.
Other Weathered Finishes to Try:
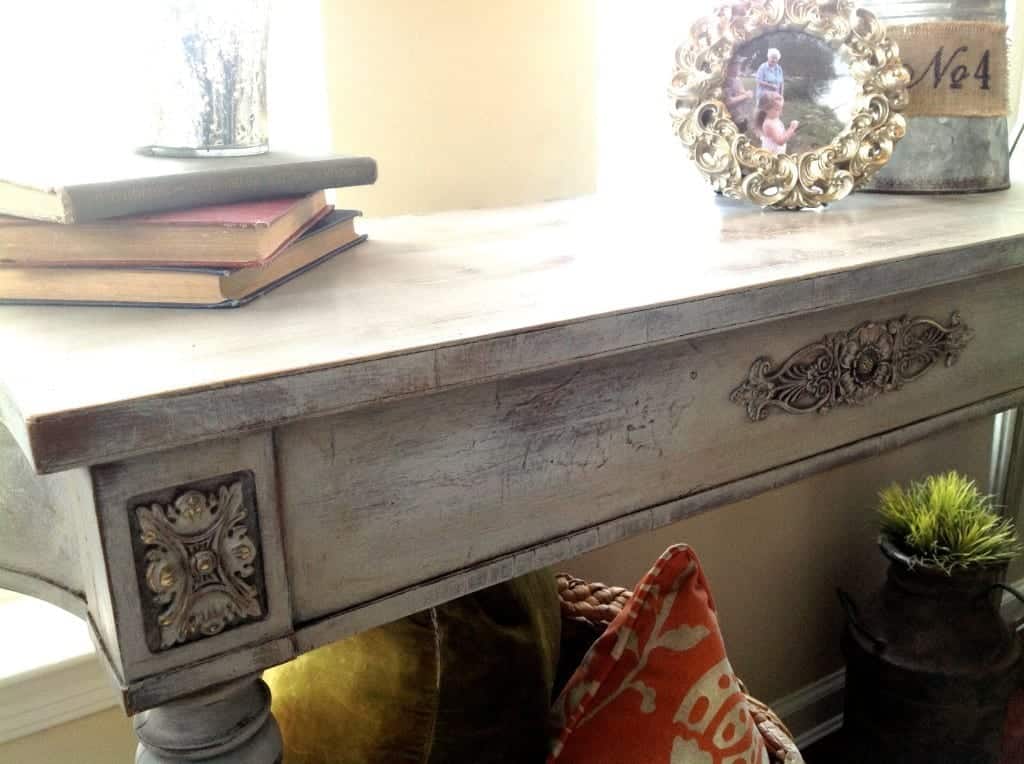
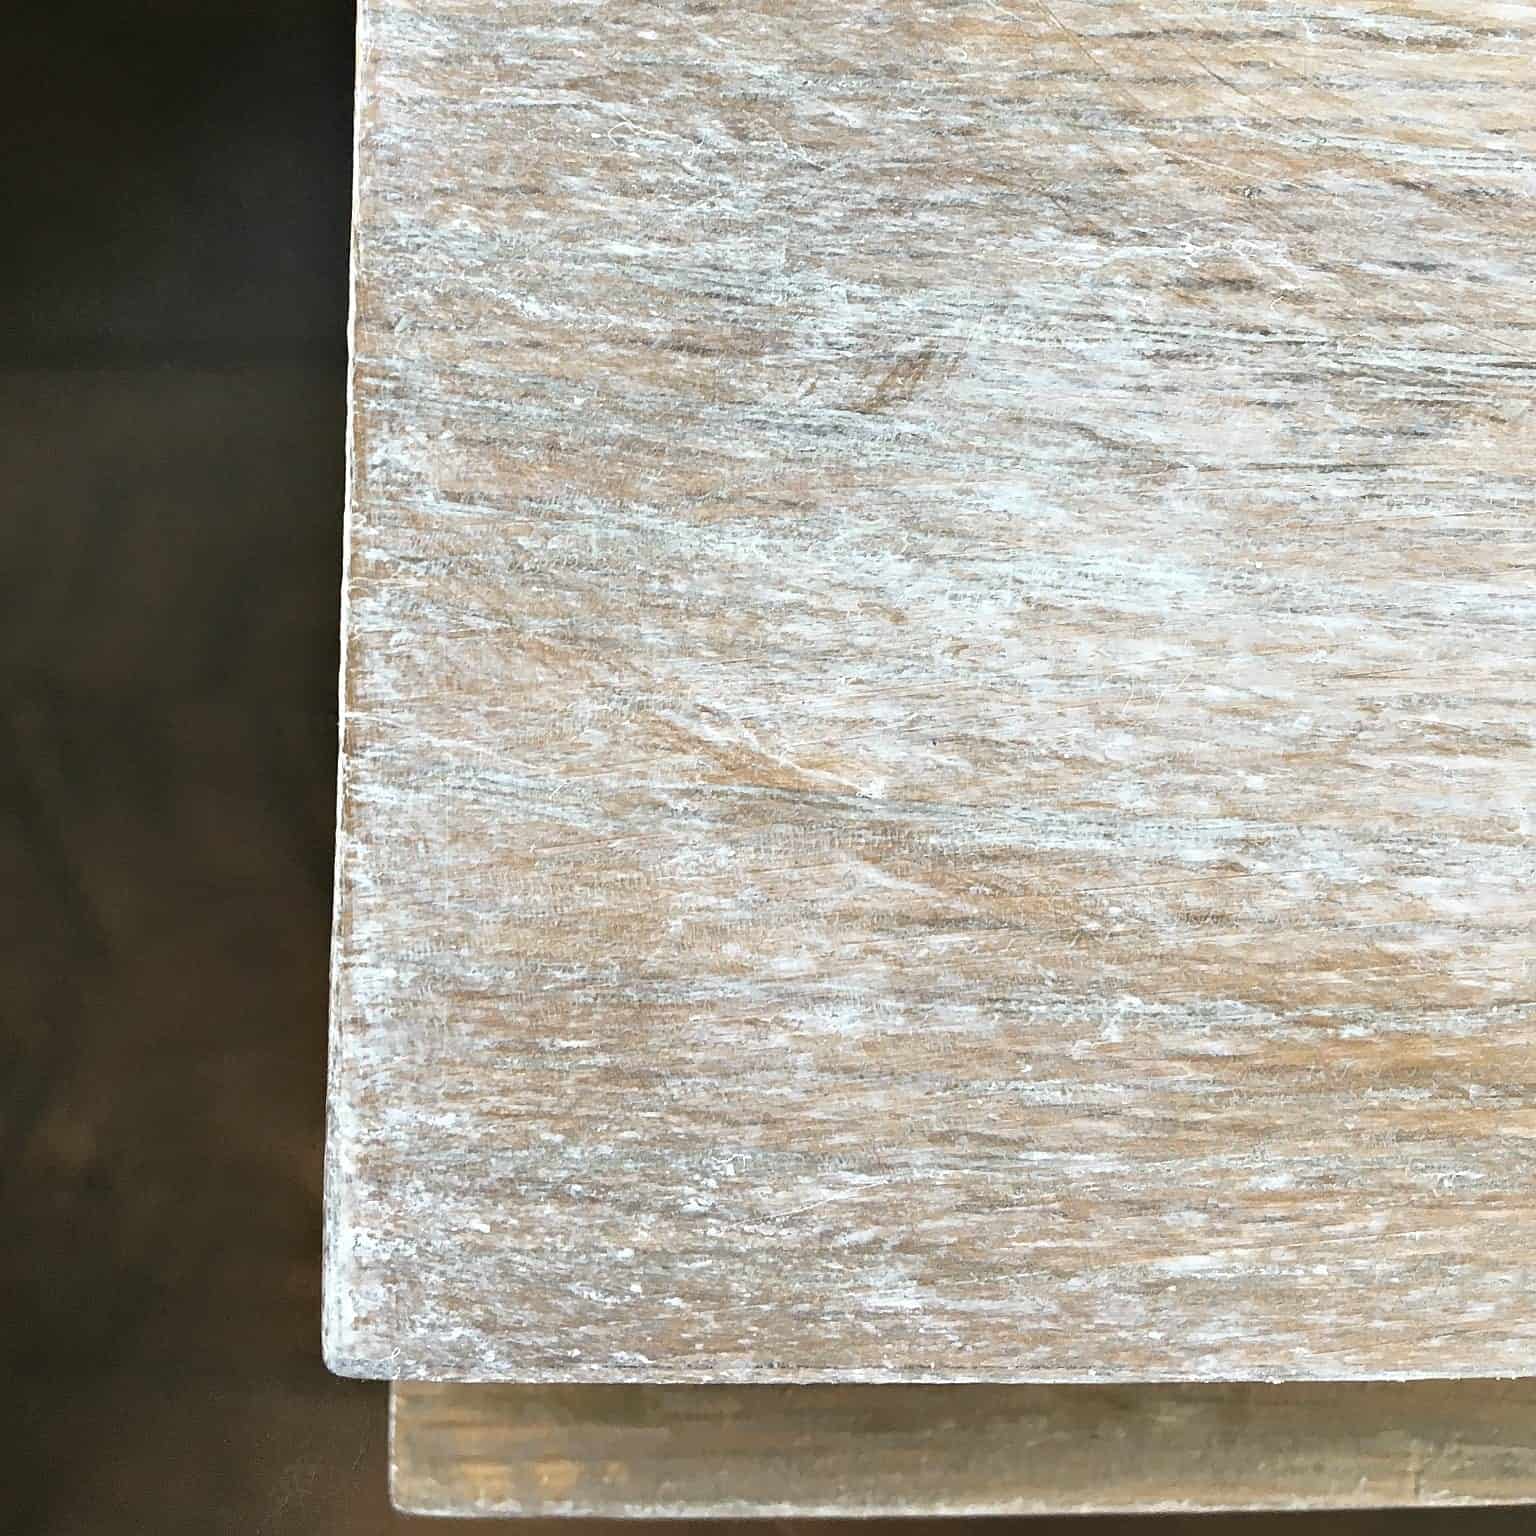
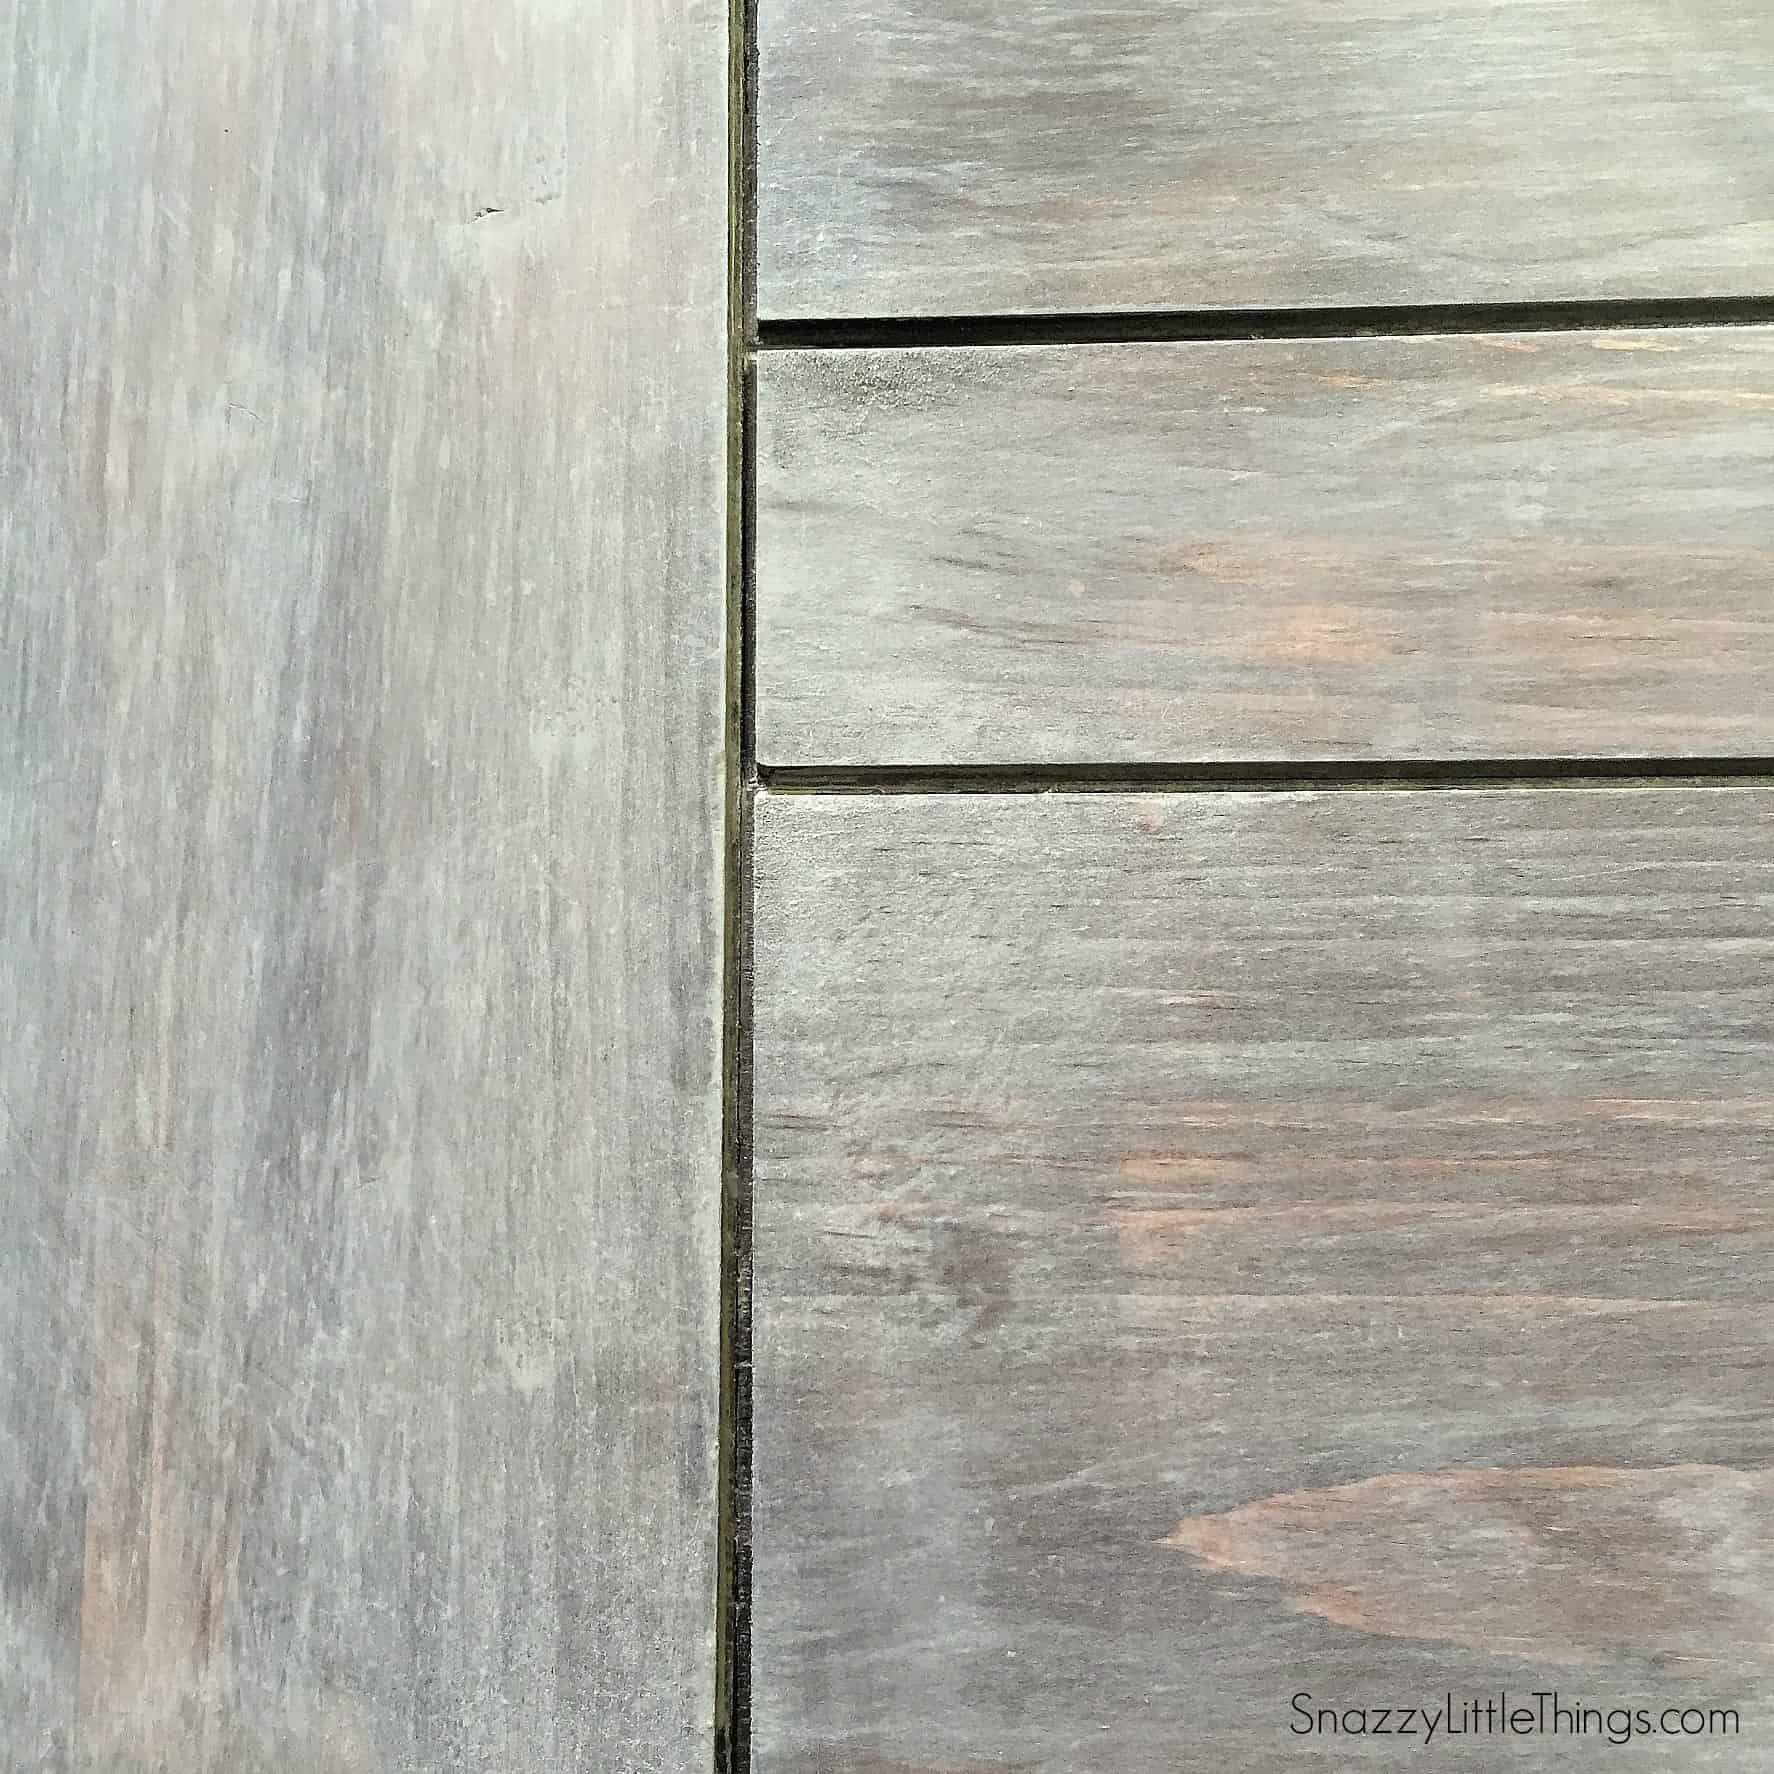
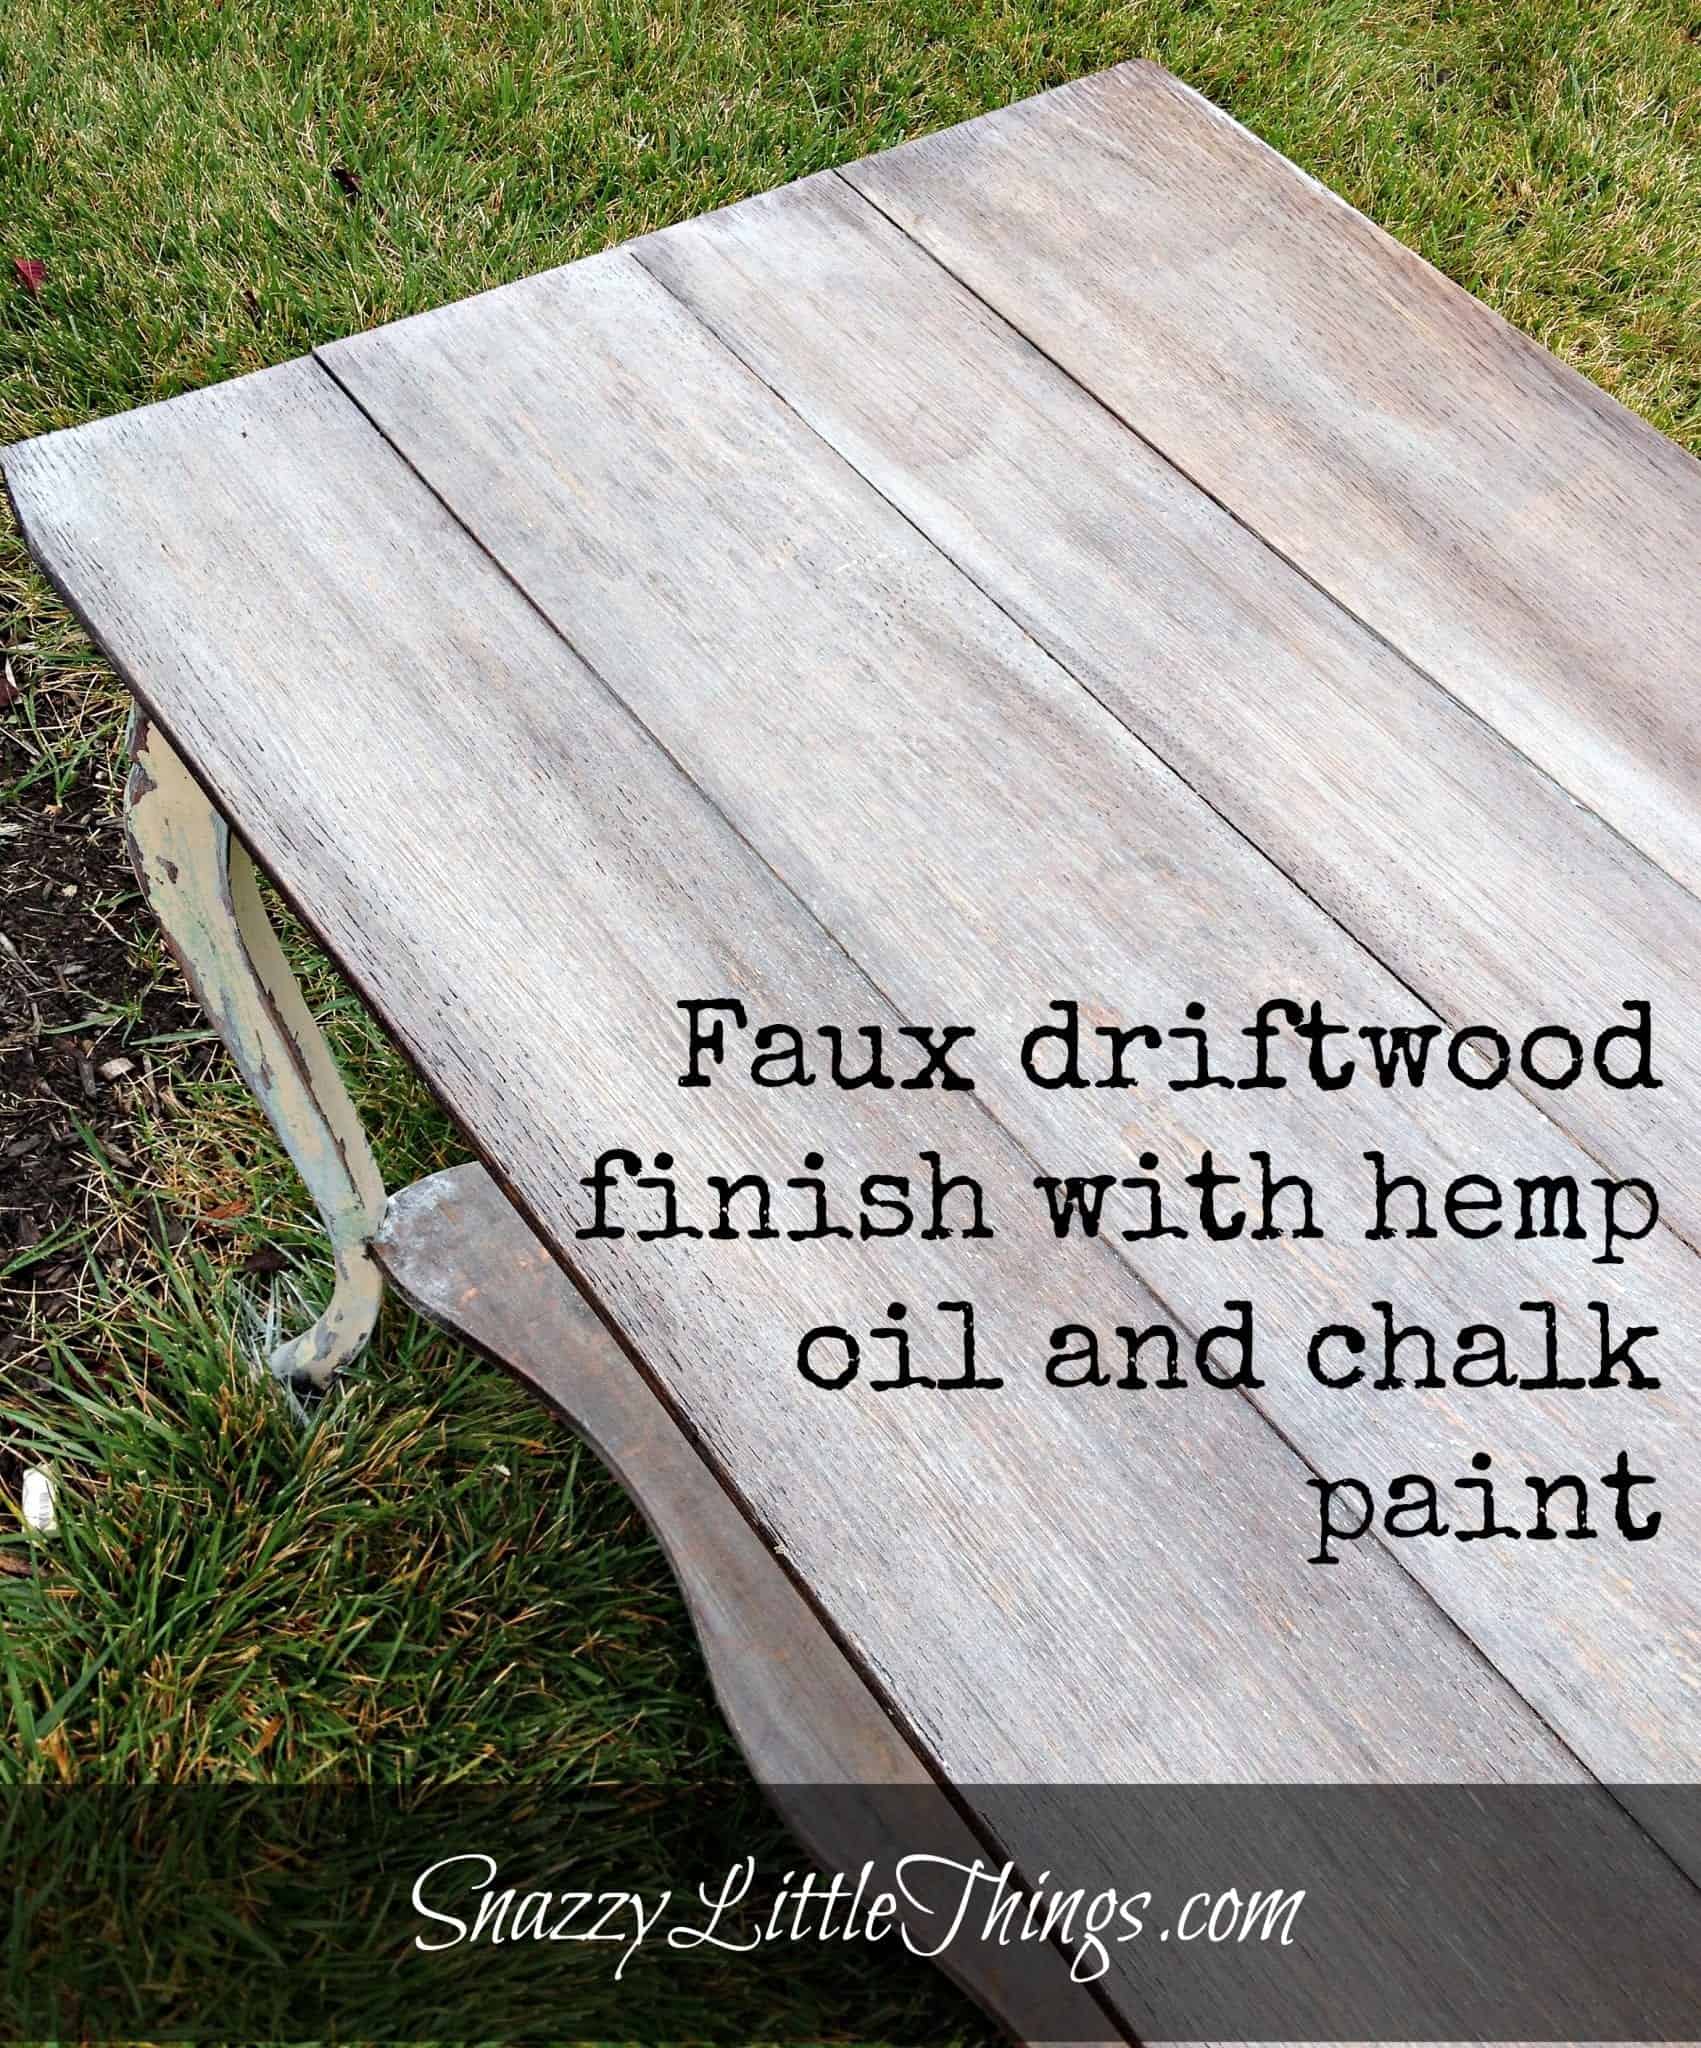
I’ve experimented with several finishes using different products. All different looks and different outcomes using different materials. Which one do you like the best?
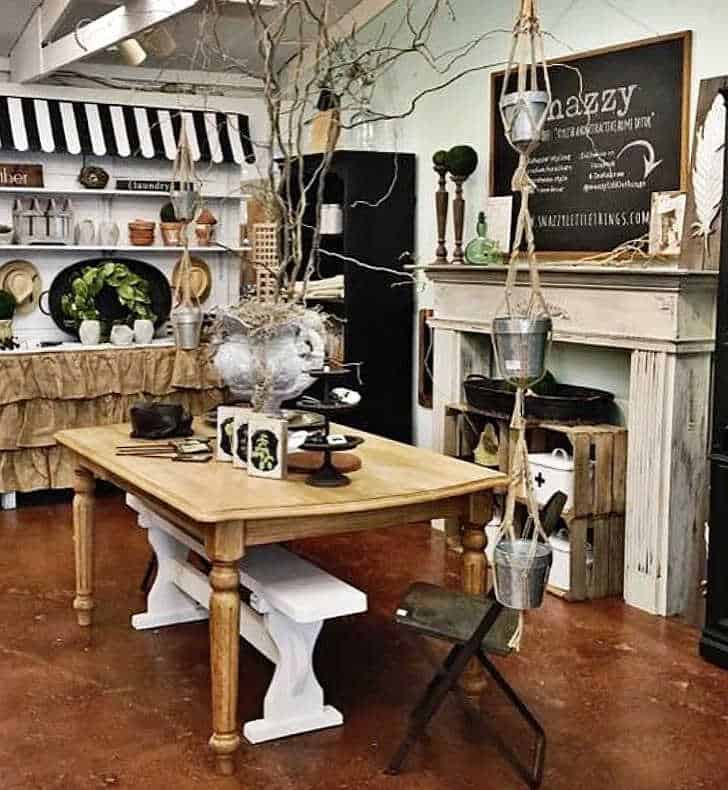
Personally I love them all, but I’m happy to finally have a warmer tone wood finish to add to my repertoire. This piece will be for sale in our booth (Update: sold for $450!)
More projects are in the works for our spring markets. Feel free to ask questions or leave a comment below, I love hearing from you.





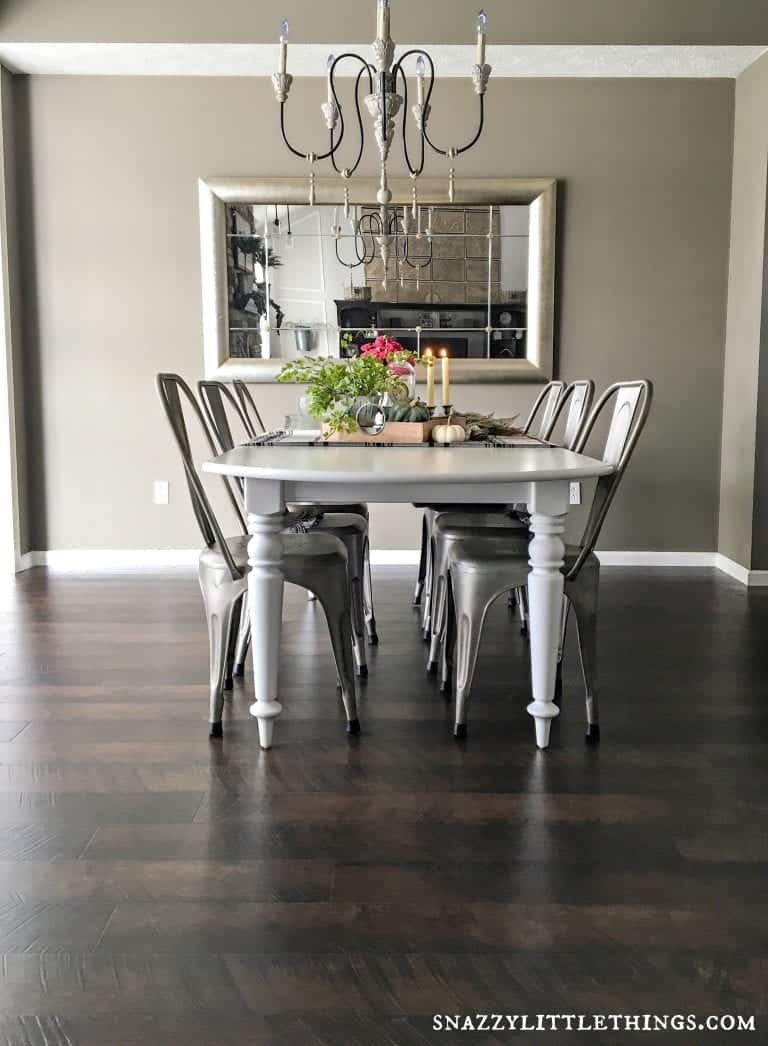
The new tone of this piece is so rich looking! Well done, Jeanette & Mark.
Thanks Sharon!
Wow I love what you did to this table!!
AMAZING!!
Thank you Patricia! This was a fun project and I’m so excited to have a non-painted piece for our booth!
The table looks so much better. I love the technique you used on this project. It’s lovely!
Thanks Vanessa! We are fussing over the finish today. But I think you get the gist of the look we want. Thanks for taking the time to comment. ❤️
That table turned out beautifully! I have a blue stained cabinet I want to make look more wood coloured….would this technique work on it? How do I get the blue tinge out? Any sugesstions welcome. Thanks
Lynne, I think this would work great for your cabinet. If the stripping agent and sanding doesn’t remove all of the blue from the deep wood grain, the danish oil would soak into the grain and temper it a bit – especially the Watco Dark Walnut brand. That could be a really pretty patina.
This looks amazing! All the work you put into it was worth it because that turned out great. Using an oil like that wouldn’t have come to my mind so I’m so glad you posted this. i may have to get something to try this out on myself. The warm tones are just so lovely!
Thanks Evie! I had to study this type of finish because I’m so used to staining. But now I think danish oil is my new favorite finish 😊
You guys did a great job. I’m going to embarrass myself and admit that my dining room table is an early 90’s orange oak 6 seater. It’s almost identical to the one you just did. The table itself is amazing and the perfect size for our family but the color is yuck. I’d love to redo it but, remember our message about the two cane back chairs I bought off Craigslist?!?! Ya well I still have those to tackle. Ugh. Wished I lived close to Ohio. Would love to come see your booth. :)
Holly, thanks and I actually would have kept that color (considering mine isn’t too far off from the original) and would have used liming wax for a true “English Farmhouse” scrubbed pine look.But the scratches were just too much. So stripping and sanding was the only answer I could come up with. I may still add liming wax :)
What an amazing transformation! Using danish oil for doing this project is a great tip. Very informative. Thank you for sharing this post, Jeanette!
Really good article Jeanette :) thanks for sharing.
As someone who restores snooker tables, I’m always looking for additional advice such as this to help me with my work.
Keep up the great work Jeanette!
Thank you!
Oak is my favorite. Your project turned out beautiful. Nice tips especially using water to open the pores of the wood. Stopping by from Merry Monday. Hope to see you back with us this week! Pinned to my Furniture board so I can refer back to these tips.
Hi! absolutely love this. Have you used danish oil on white paint? Thanks!!
I love this look! Thanks for sharing! I also had a question about a piece I saw somewhere on your site that described a little chest of drawers as having a ‘scrubbed pine’ finish. Could you explain that – I loved that look too!
Hello Jeanette,
Where at in Ohio are you? I am near Youngstown area…I have a 90’s round pedestal oak table with 4 oak chairs that i want to do something with…bought from Oak Express back in the 90’s. I really like the raw look but then when i see them up close I’m not so sure anymore…I do like the Old World Look…maybe with just a few worm holes….lol I bought a console table from wayfair that has some worm holes…it’s a dark gray weathered look…but I wanted to keep my table light but not real light…my space is not big so i don’t want anything dark…any suggestions?
Hi Jeanette! Ours isn’t that common of a name anymore. I am in Cincinnati area. I would definitely strip the table down to see what kind of oak you’re working with (red vs white oak). If it’s from wayfair i would make triple sure it’s not an oak veneer over pine. Once you know this, the finish can be determined. In this case ours was a white oak and could handle deeper “faux” wormholes and distressing. And the medium walnut danish oil made it look really Old World. I hope this helps!
I am sanding down cherry antique drop leaf table…… what can I use to tone down the orange tones to leave it more unfinished looking?