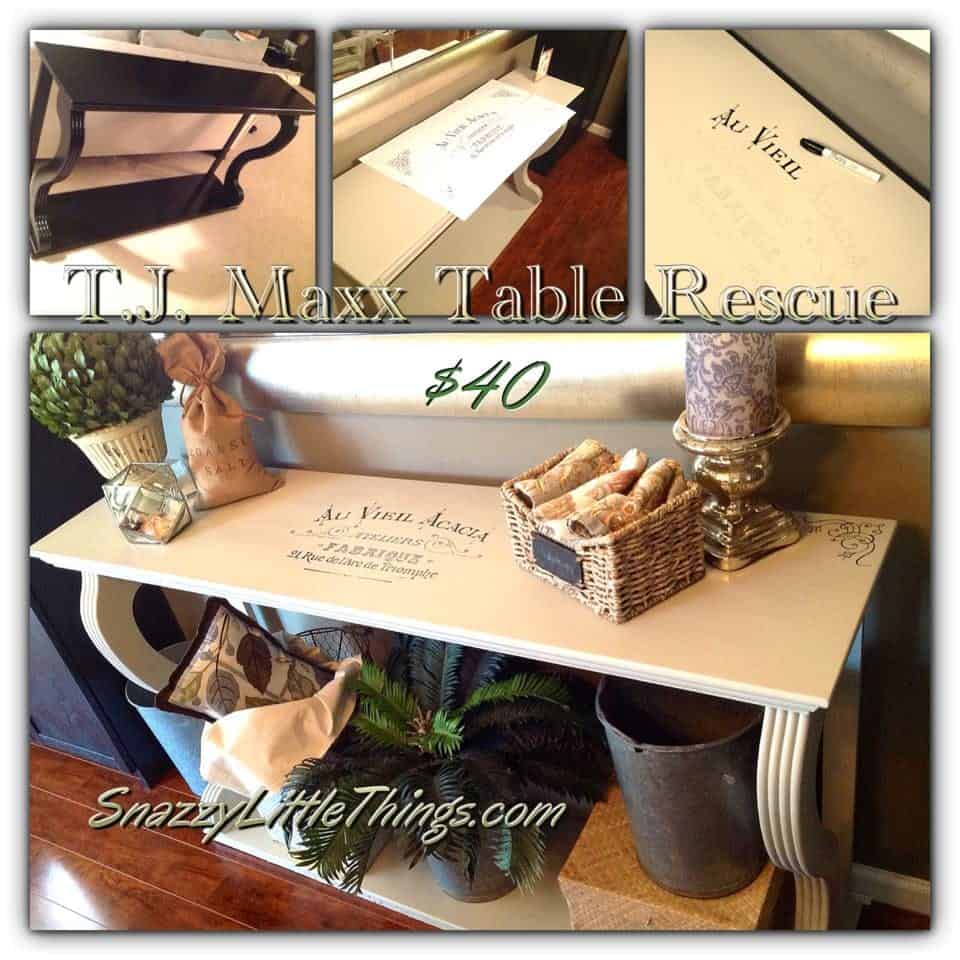
DIY: $40 T.J. Maxx Table Rescue
The clearance section of a store is almost always where I start my shopping journey. It’s the section of the store that I consider is my sanctuary. A place for the misfits. And I happen to feel very comfortable there.
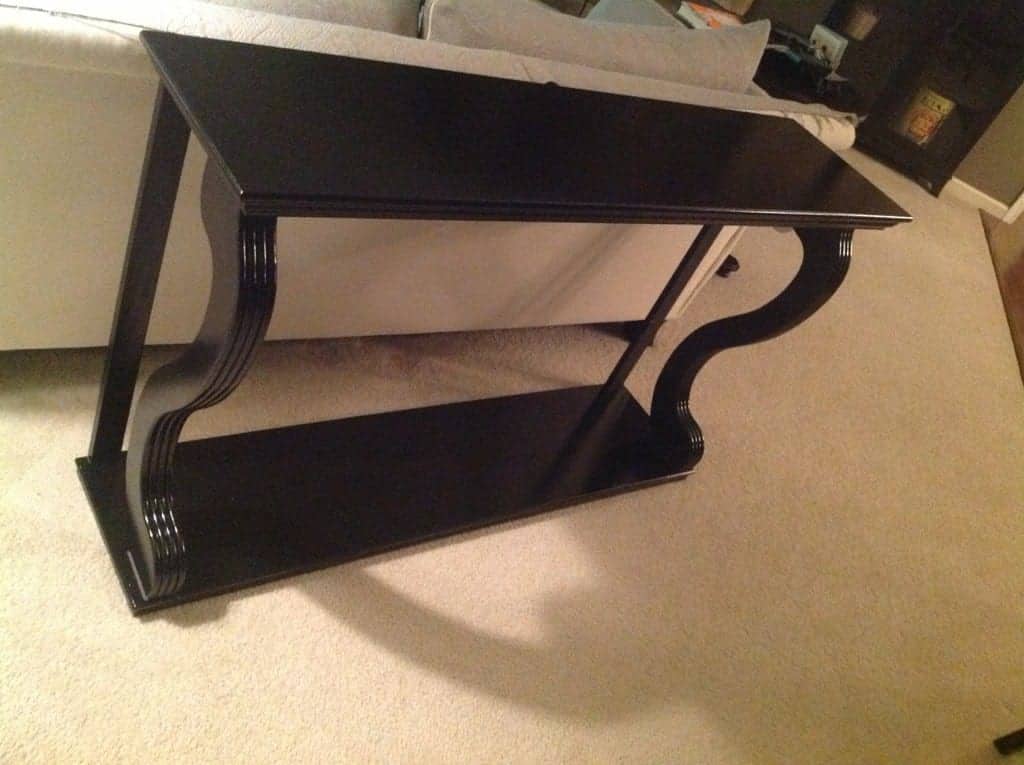
So when I spotted this poor, lonely broken table at T.J. Maxx, I knew I had to rescue the poor soul and bring out the beauty in this piece. ($40 deal, as compared to $129). Bonus! And all it needed was an L bracket to the backside to reinforce the one cracked side. Done.
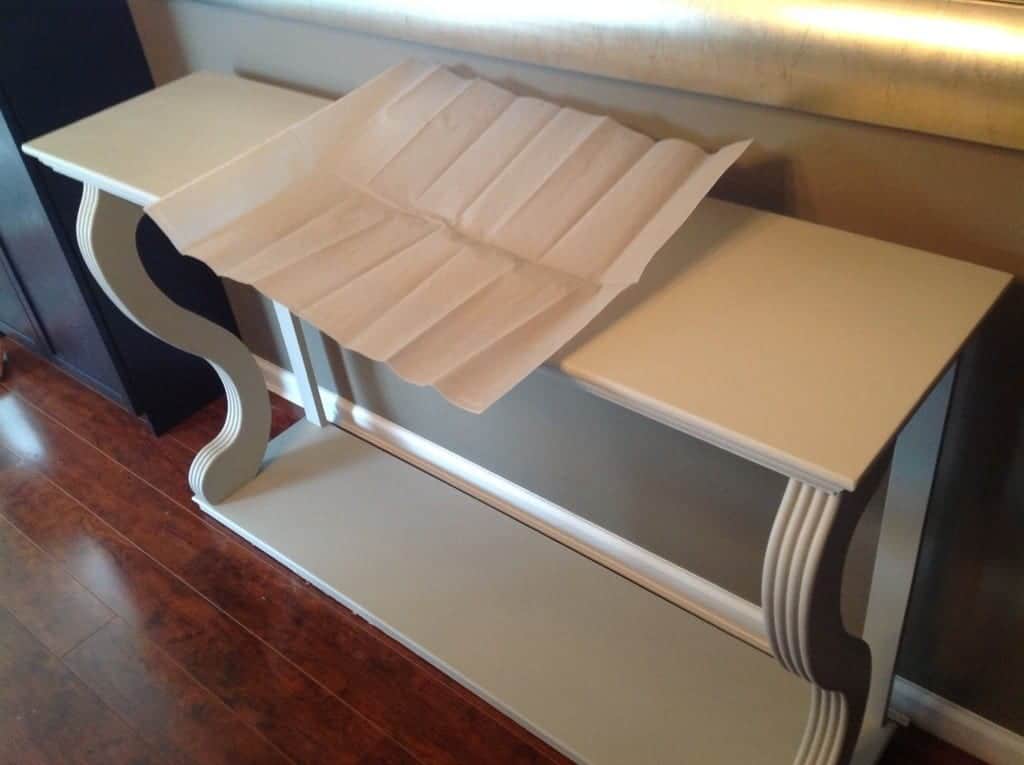
I ended up priming it, then painting it with a flat light grey (this is before I discovered Annie Sloan, but I am still in love with results). I then purchased Martha Stewart Transfer Paper (this is an affiliate link from my own store).
I hopped on my favorite site for royalty-free images, The Graphics Fairy, and I chose an image from this section. Here is the one that I chose:
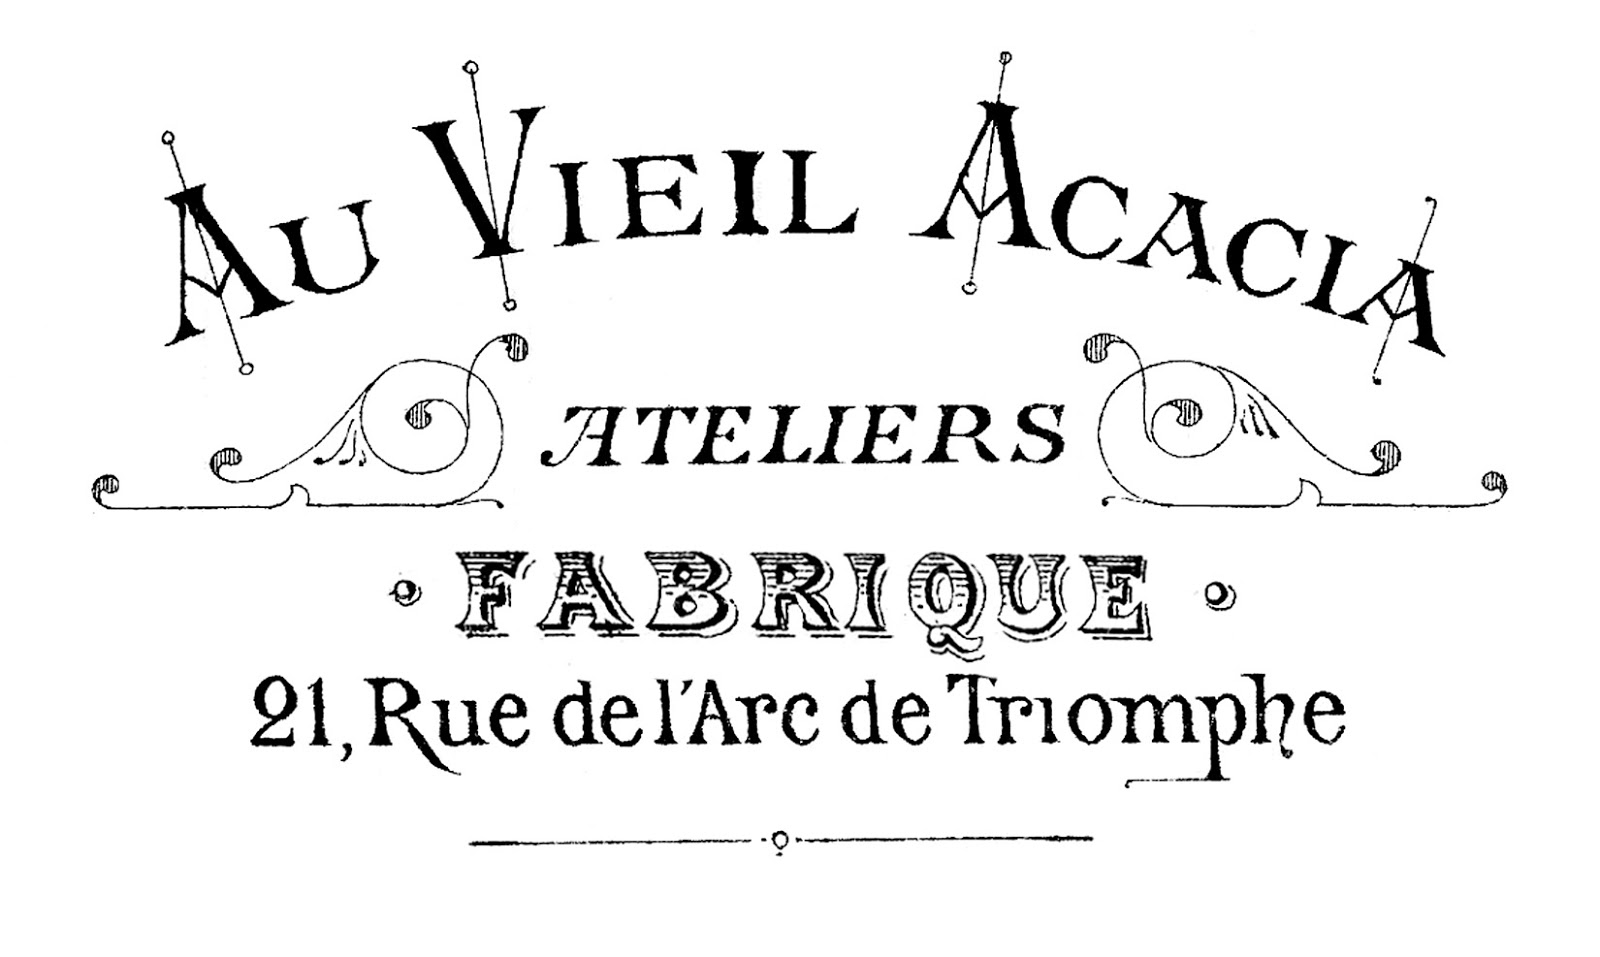
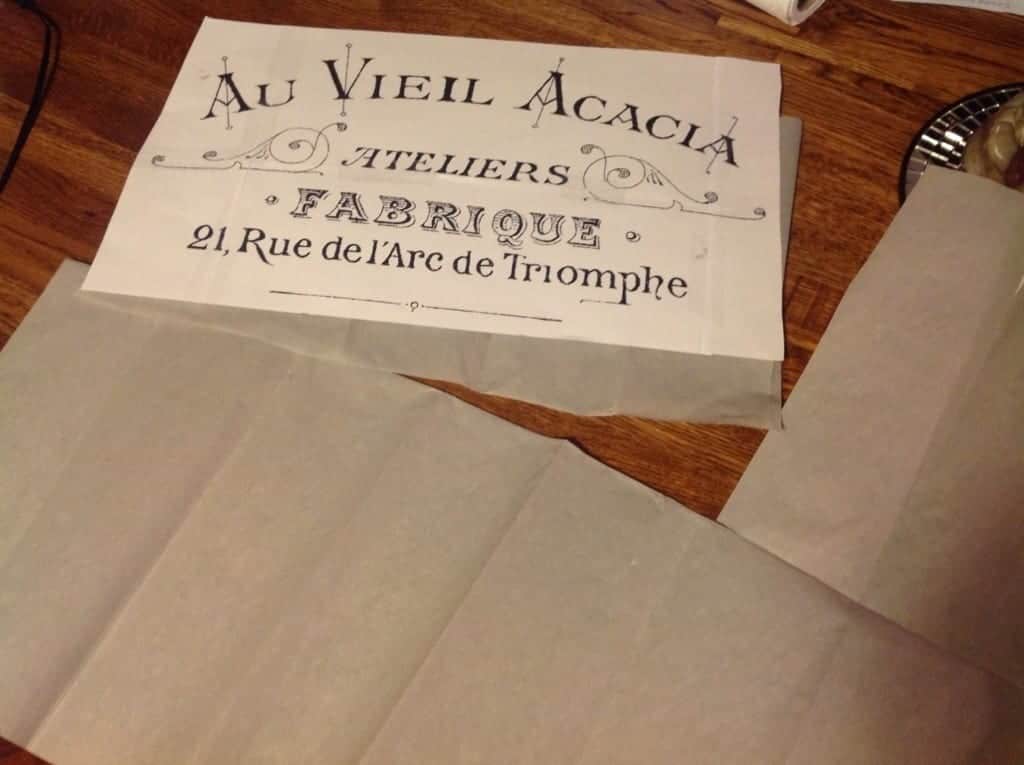
I loved the hand-painted look of the fonts on this particular image. So I enlarged it and tile printed it….see the individual sheets below? That’s called tile printing…
You tile print by doing the following —->
Tile Printing:
Decide on the dimensions that the image will need to be. Then…
Save Image as PDF—>File—>Print—>Look for “Page Scaling”, then select “Tile All Pages”—>”Tile Scale”, and choose how much you’d like to enlarge the print (for this example I chose 200%)—>Click “Show Cut Marks” if you want a dotted line to show where they attach –>your image dimensions in this case end up 51″ long x 33″ high. (See highlighted on the right). Then PRINT!
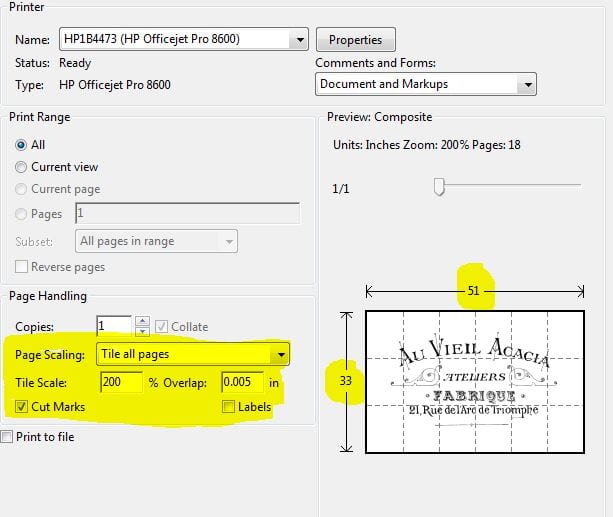
In the pic above, the highlighted areas on the right shows you the actual image dimensions. In this example that I just modeled…the graphic would be huge (51″ x 33″)…but it gives you the idea on how to do this for larger projects.
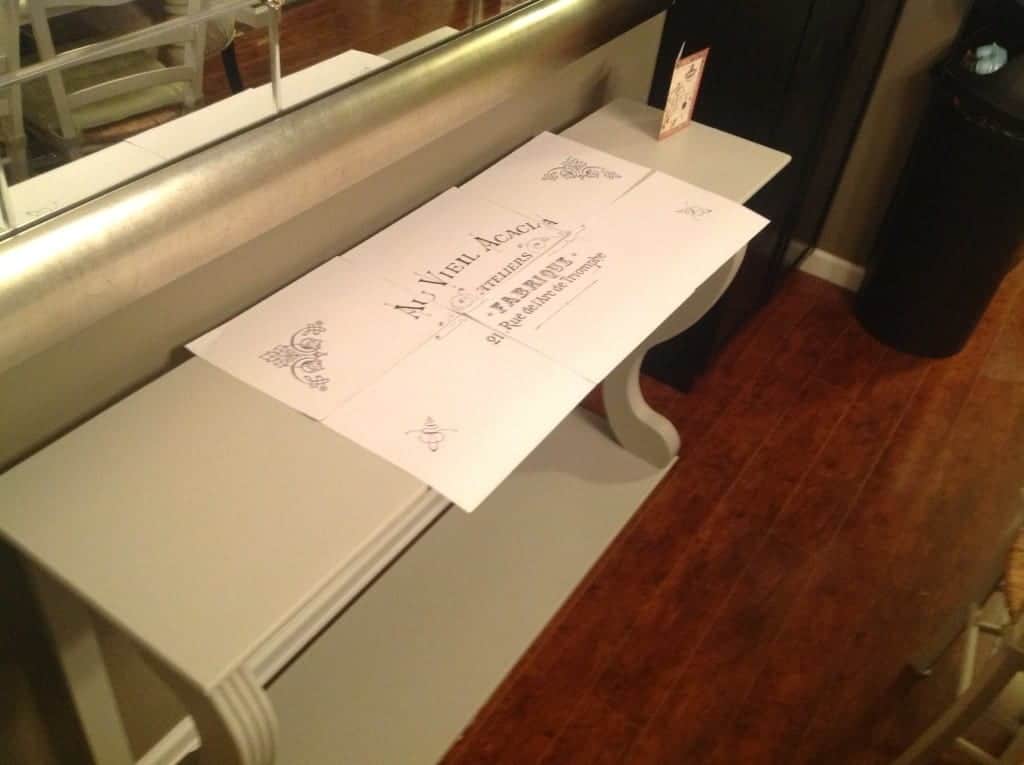
I taped the pieces together…then trimmed off the excess white space. Then laid it on top of the Martha Stewart transfer paper (carbon side down), and traced the entire graphic with a pencil. (Be sure to tape down the carbon paper that is attached to your own image, or it will move).
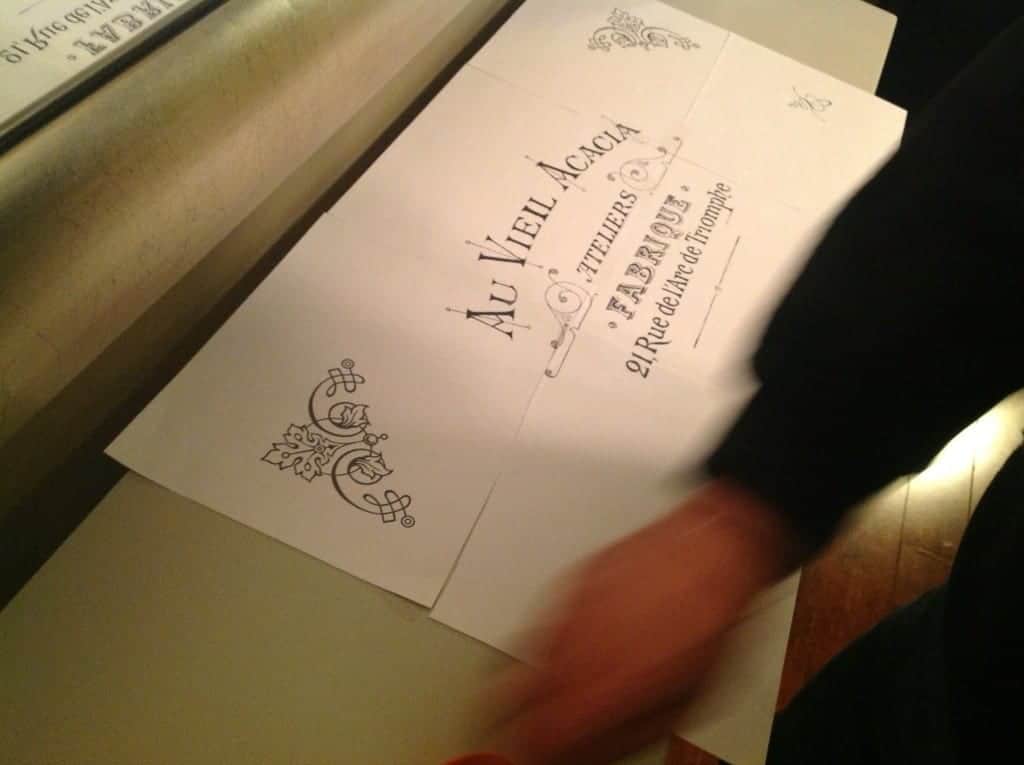
taped together with Scotch tape…
…traced the image FIRST with a pencil. See the carbon renmants below? That’s why you trace first with the pencil. Then…
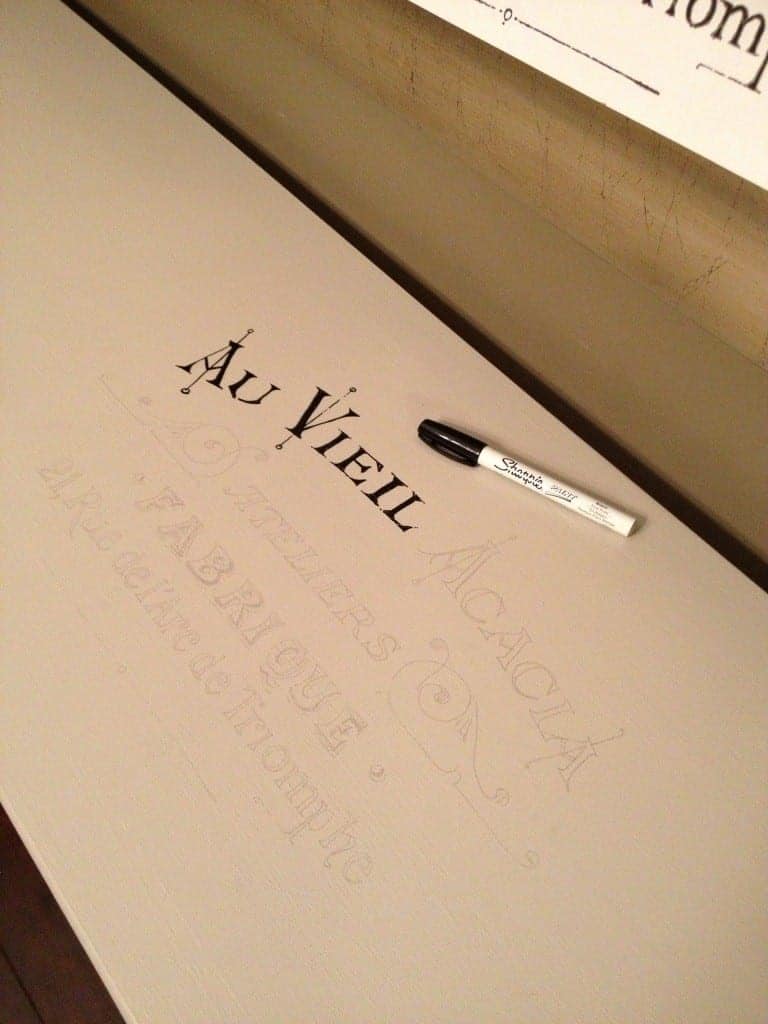
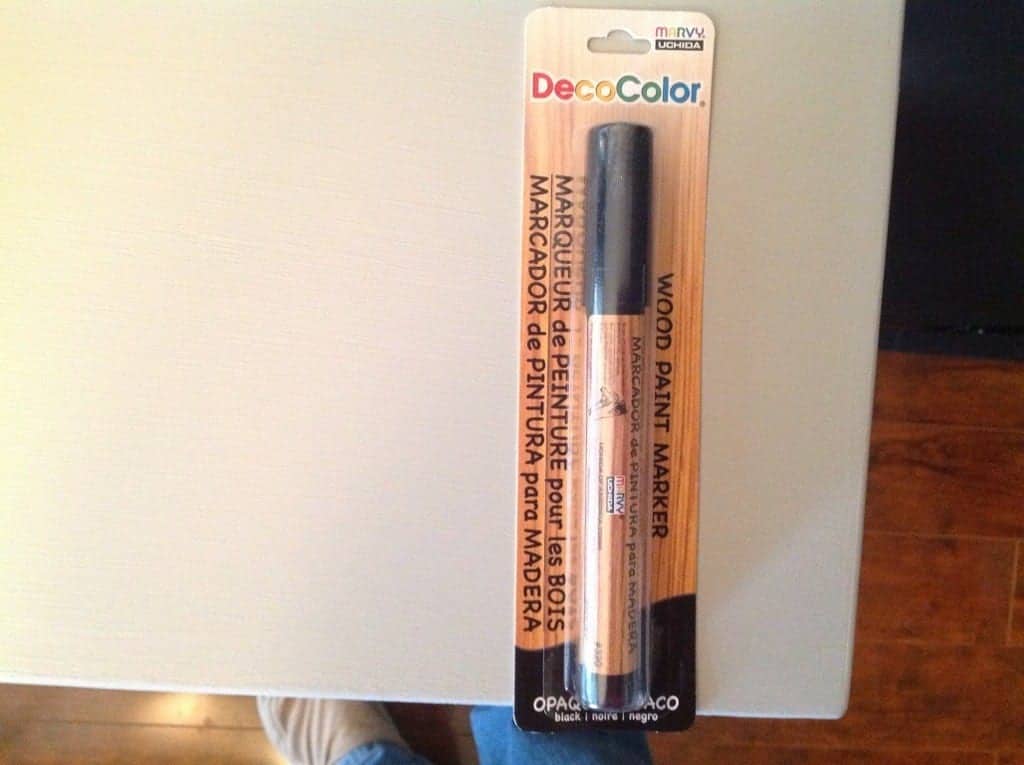
…I purchased a Paint Sharpie to fill in the carbon transfer.
After the image tried, I painted with a matte poly top coat…and…
The Final Reveal:
Another look back at the room in 2005…that big empty wall on the right is where this table sits now.
See the little girl in pink with the hardhat on? :)

This project has been shared with:


What a deal! You really did make up for it! I think your ideas are great and the finished product is going to be absolutely lovely. I personally can’t wait to see it.
Turned out great! I will have to try the enlarging technique. New follower.
Wow! Makes me want to go to the clearance section right now. I love how you transformed this table.
Thanks so much for the info on tile printing!!!!!!! I know I could have probably googled it, but having it here motivates me to do the projects that I’ve put off because I didn’t know how to do this.
I’m from México. I saw your page yesterday and i’m complete love.
Thank you !
Welcome!! I’m so glad you stopped by and said hello :)